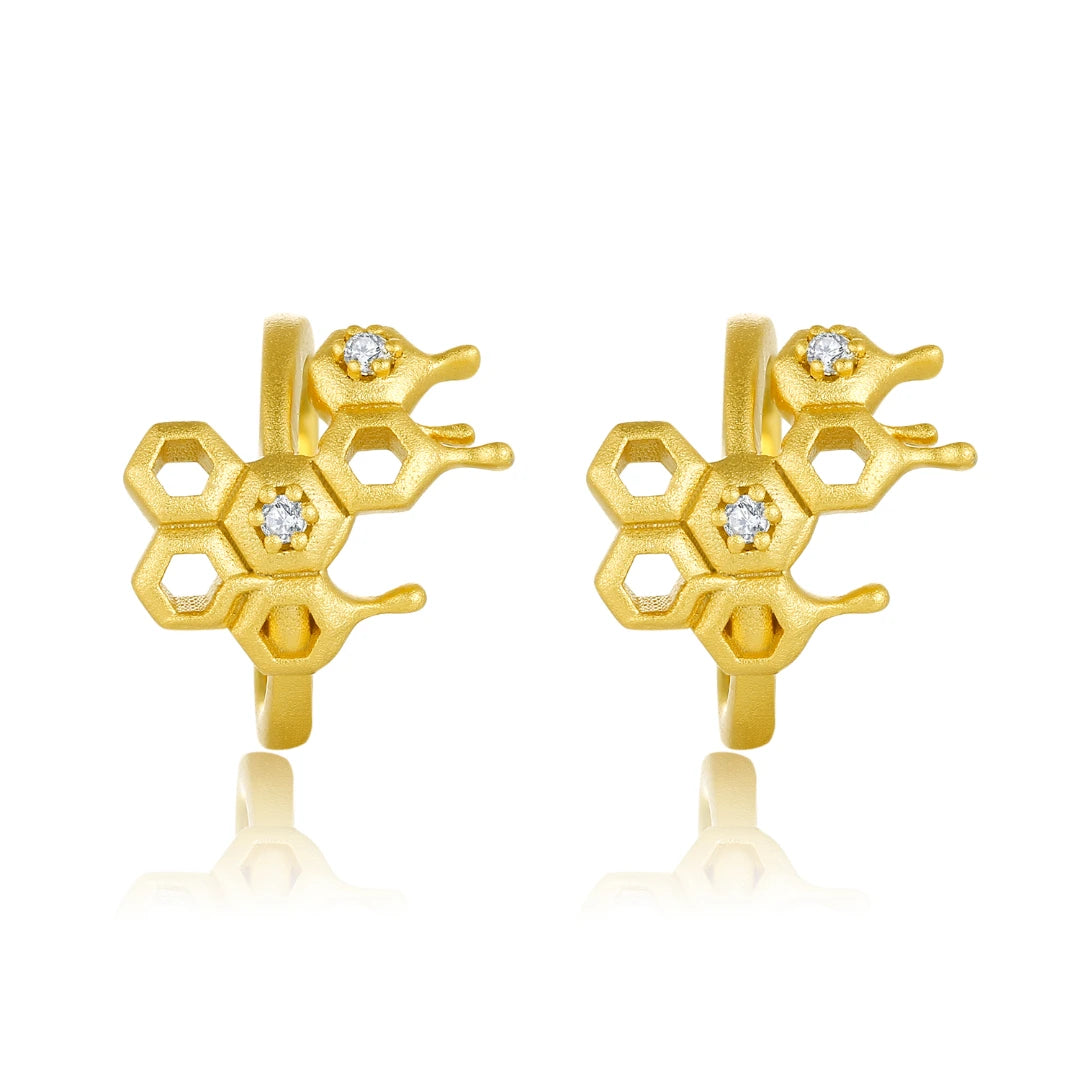
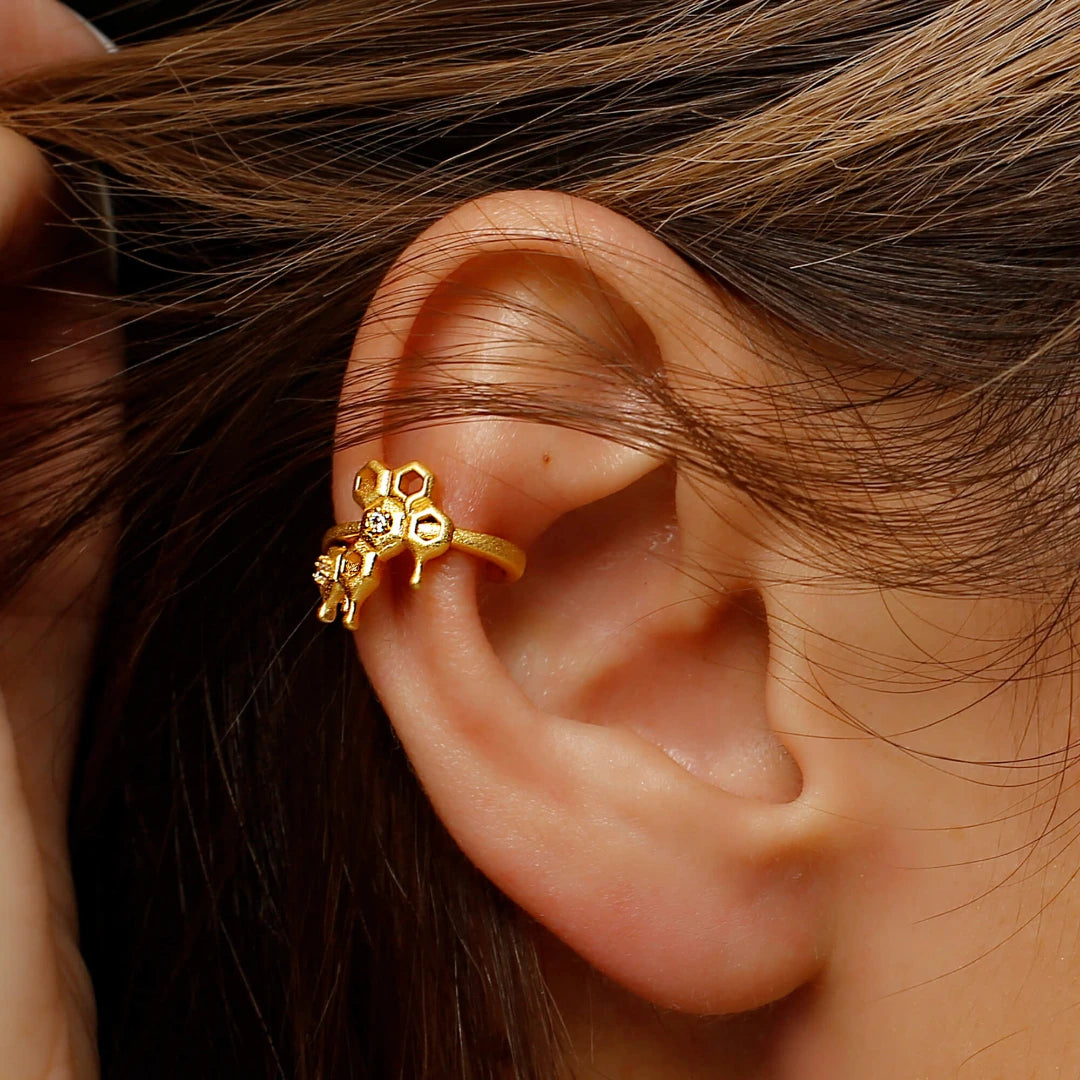
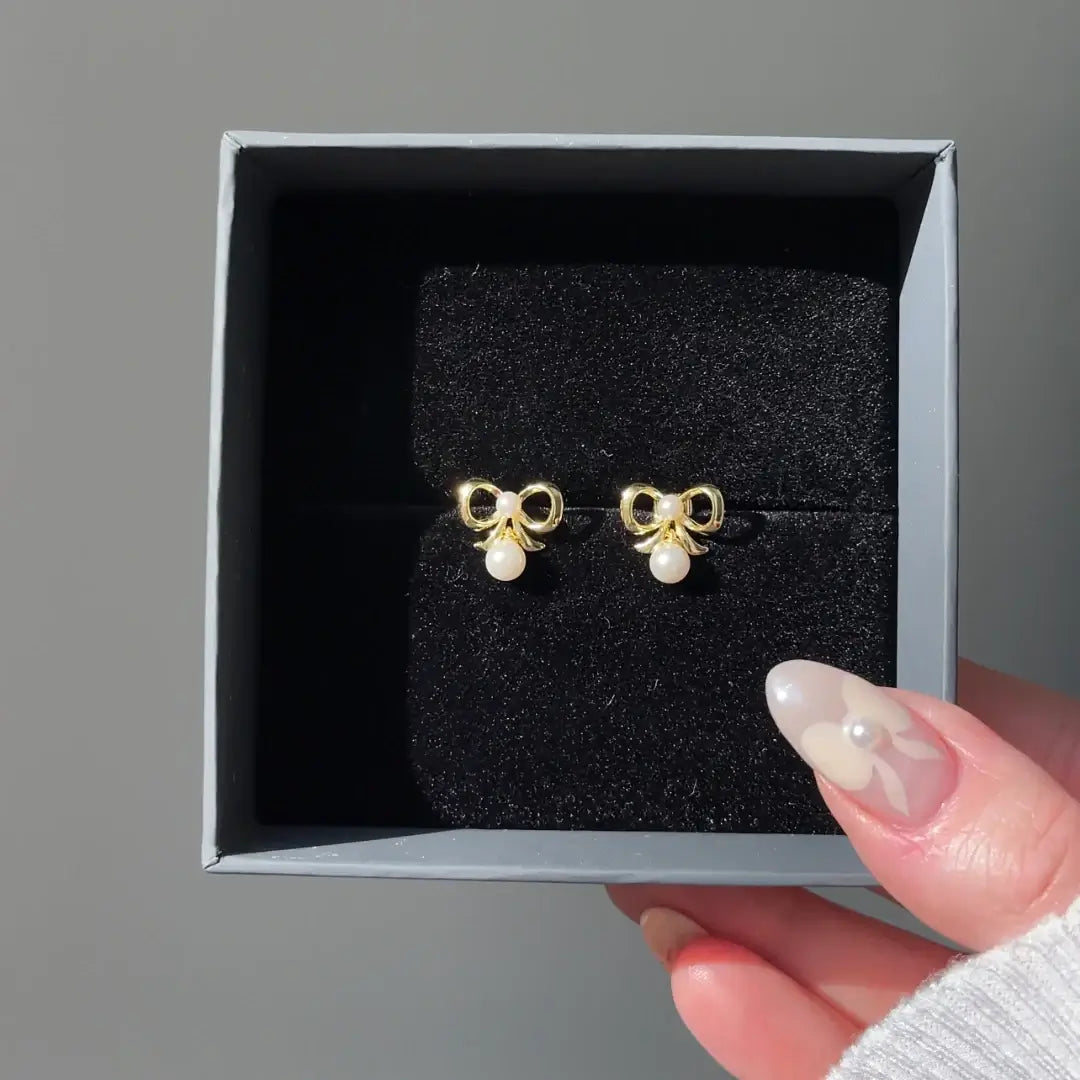
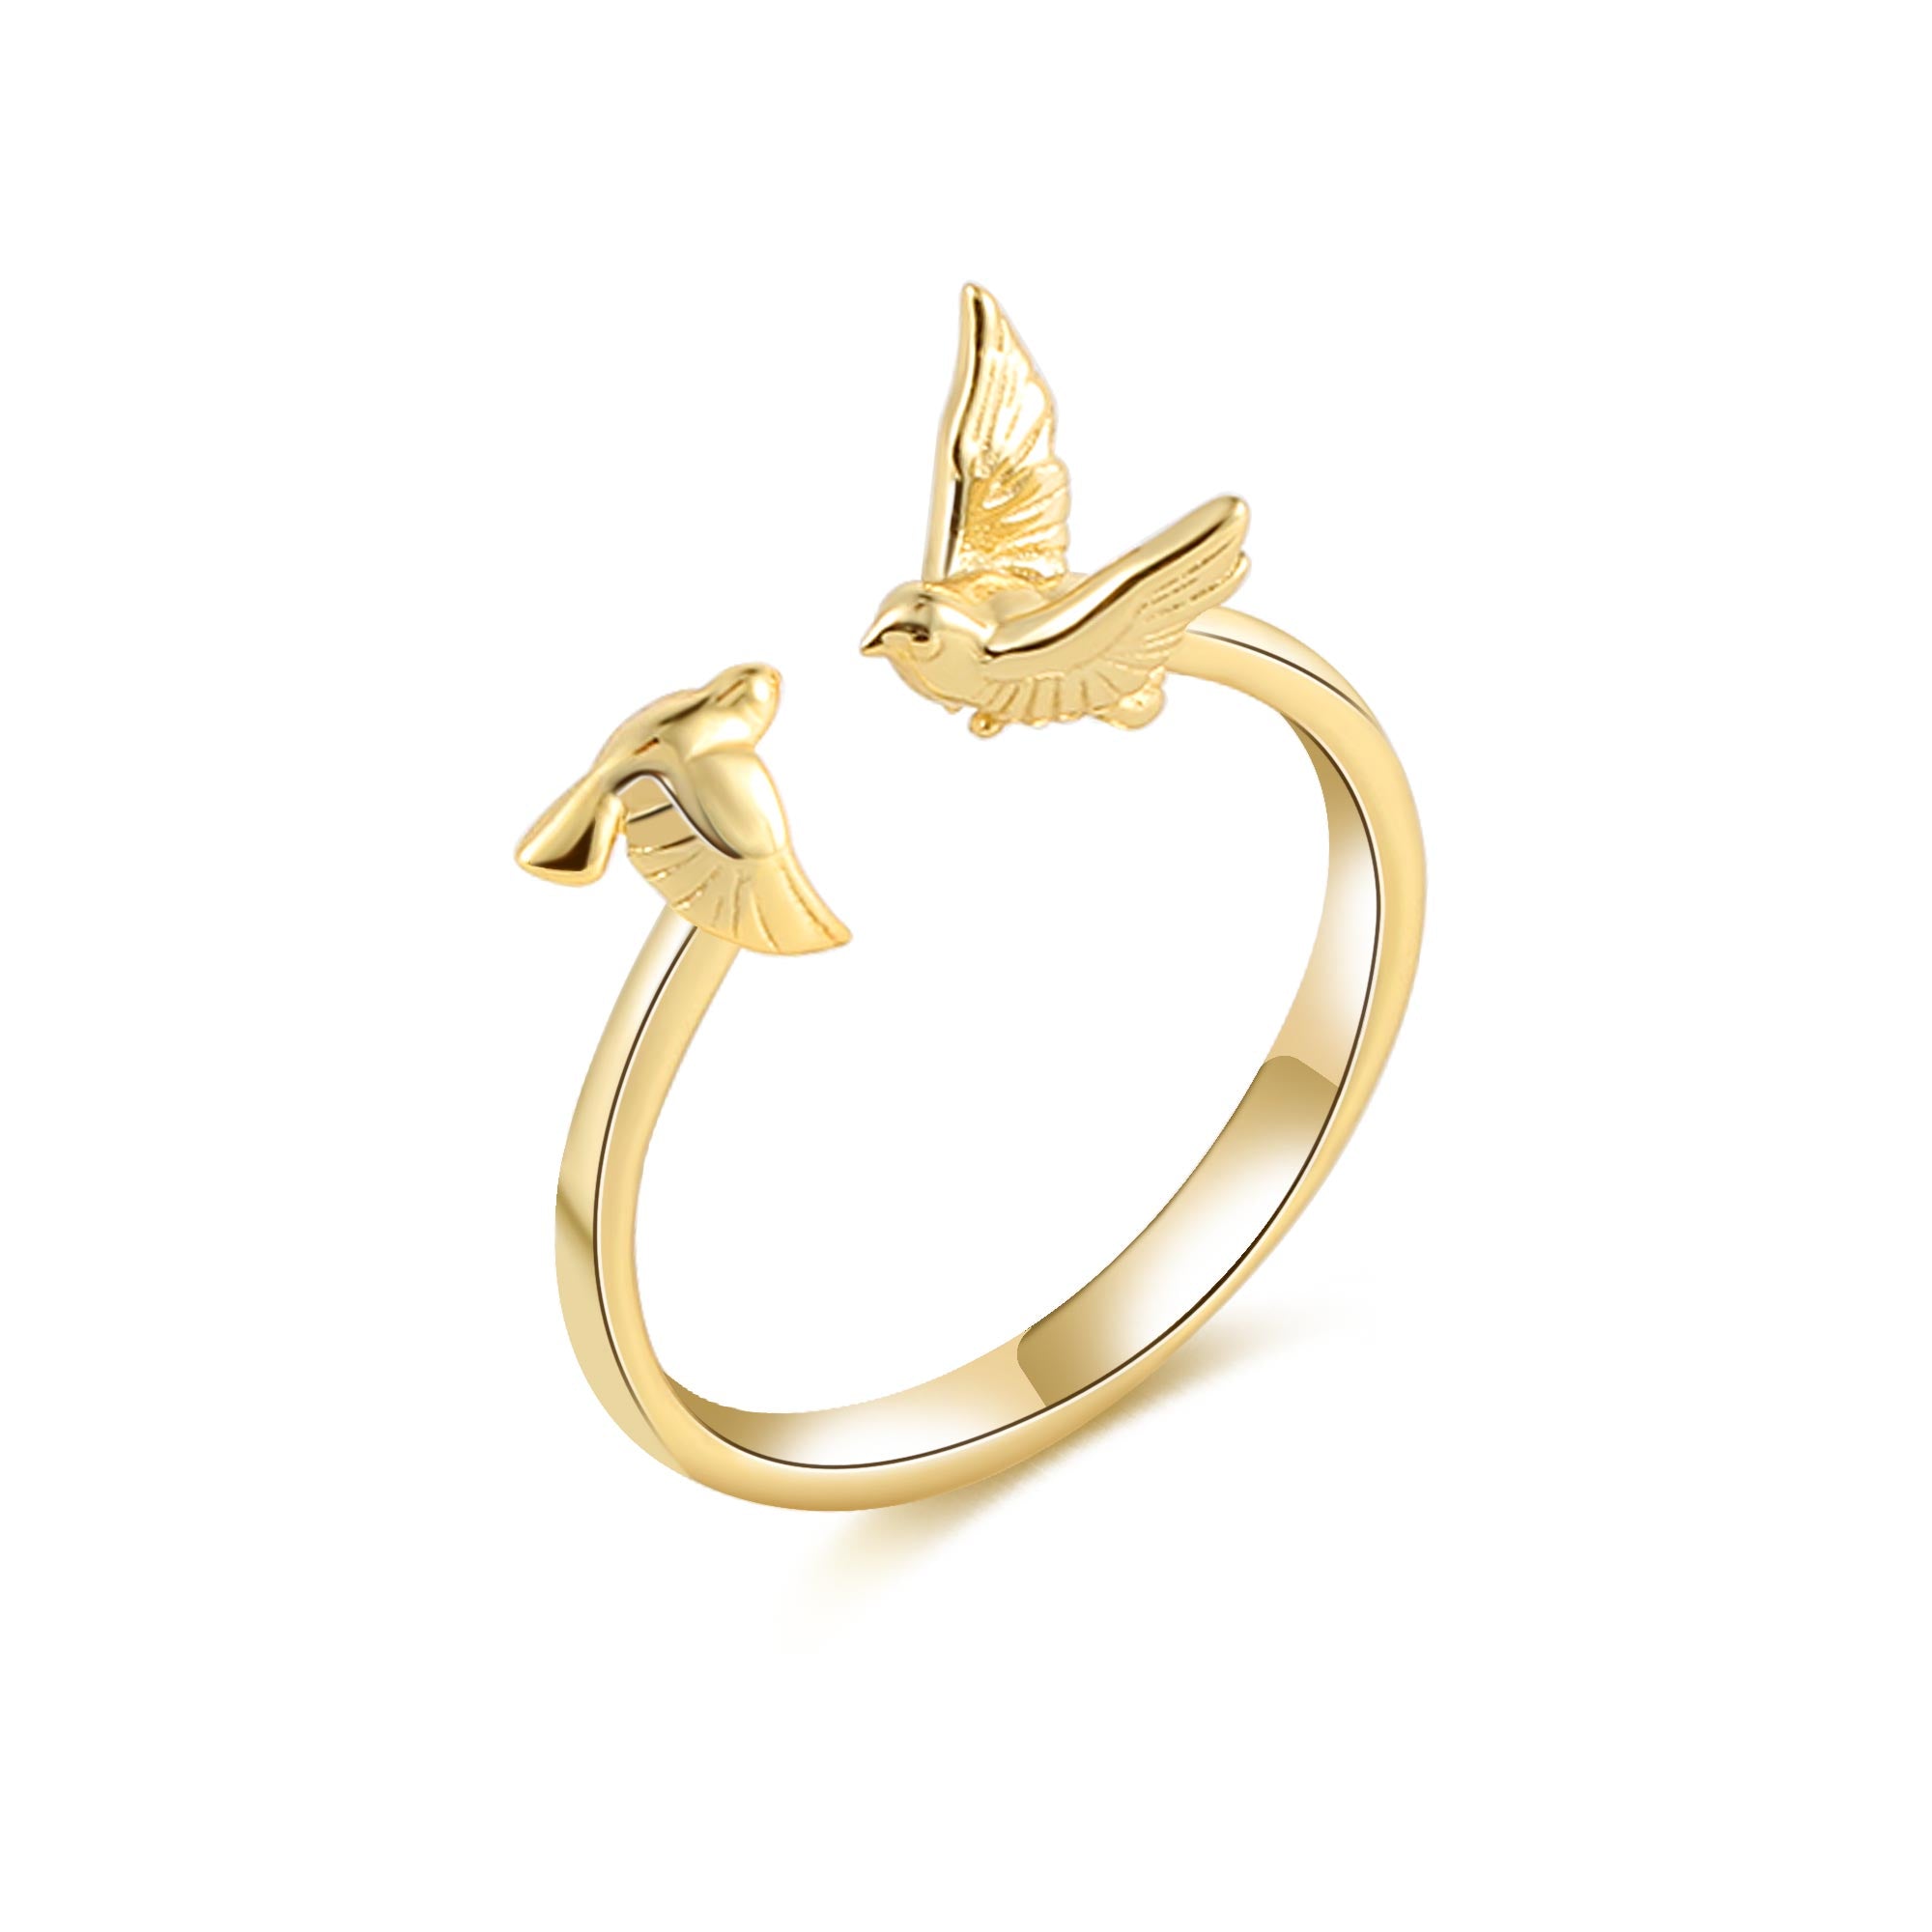
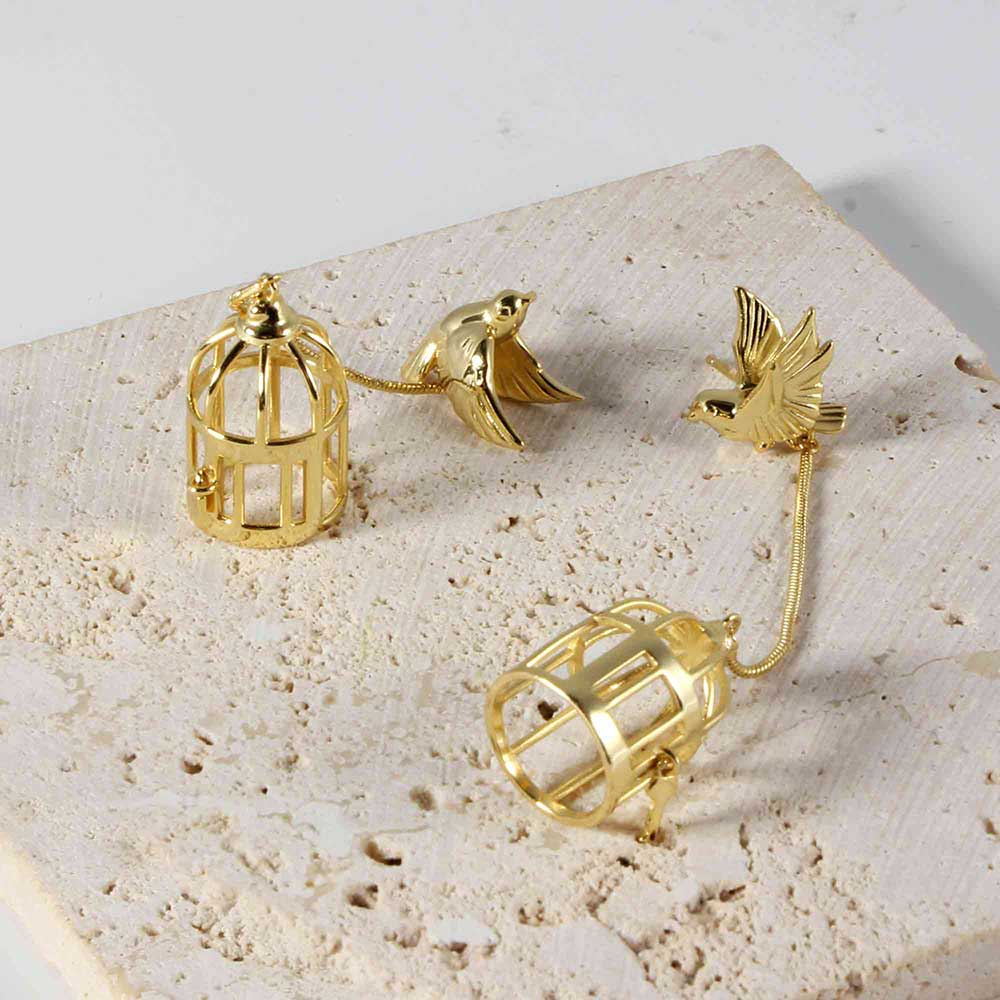
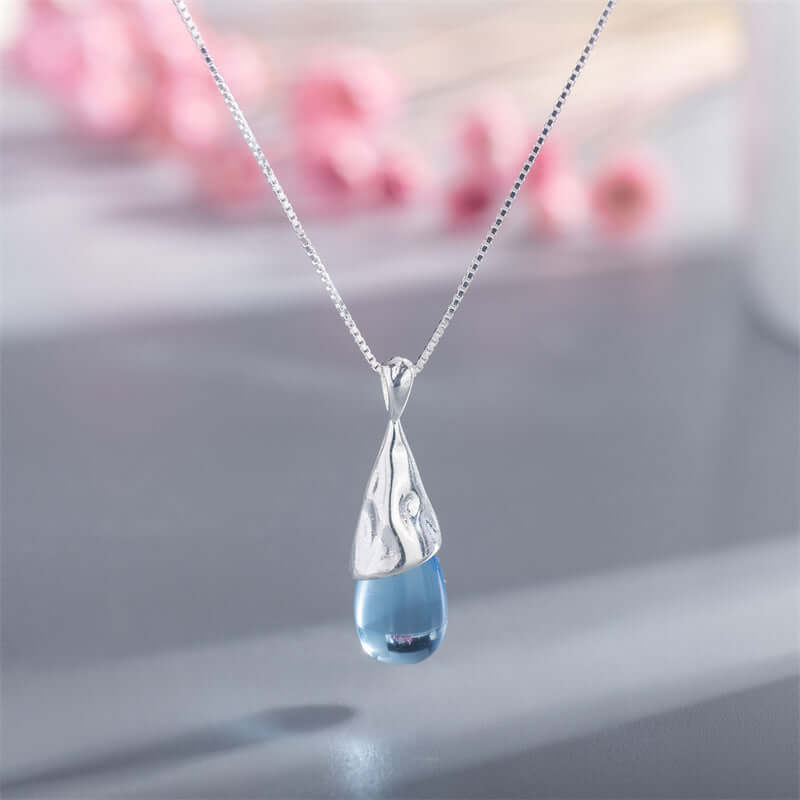
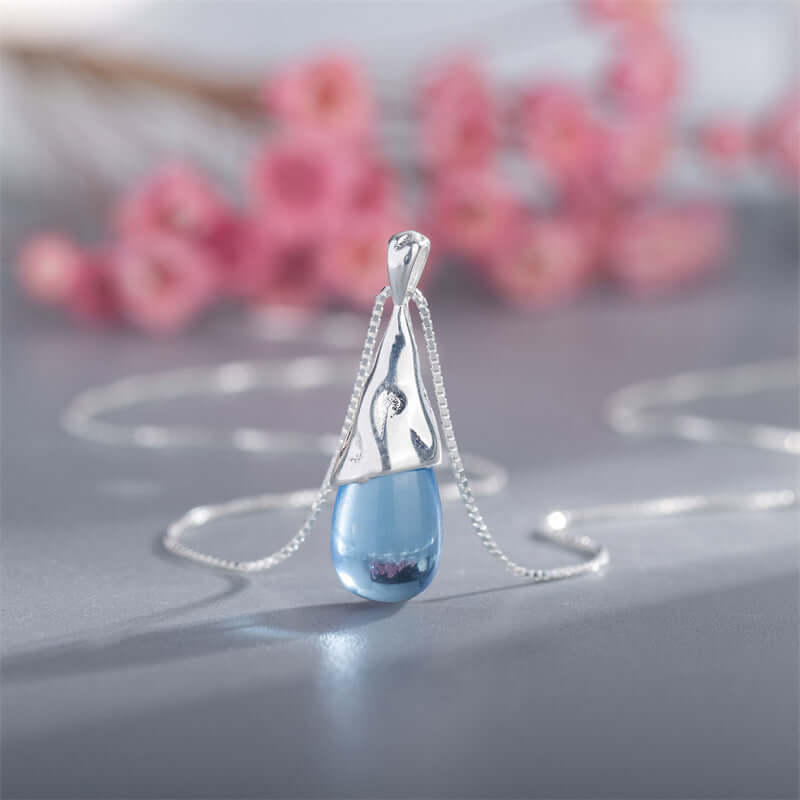
The Art of Transformation: How to Convert Clip-On Earrings to Pierced
In the ever-evolving world of fashion, adaptability is key. One of the most common dilemmas jewelry lovers face is the desire to convert clip-on earrings to pierced. Whether it's a vintage heirloom or a modern design, the process isn't as daunting as it seems. This guide will walk you through everything you need to know about transforming your favorite clip-ons into stunning pierced pieces.
Why Convert Clip-On Earrings to Pierced?
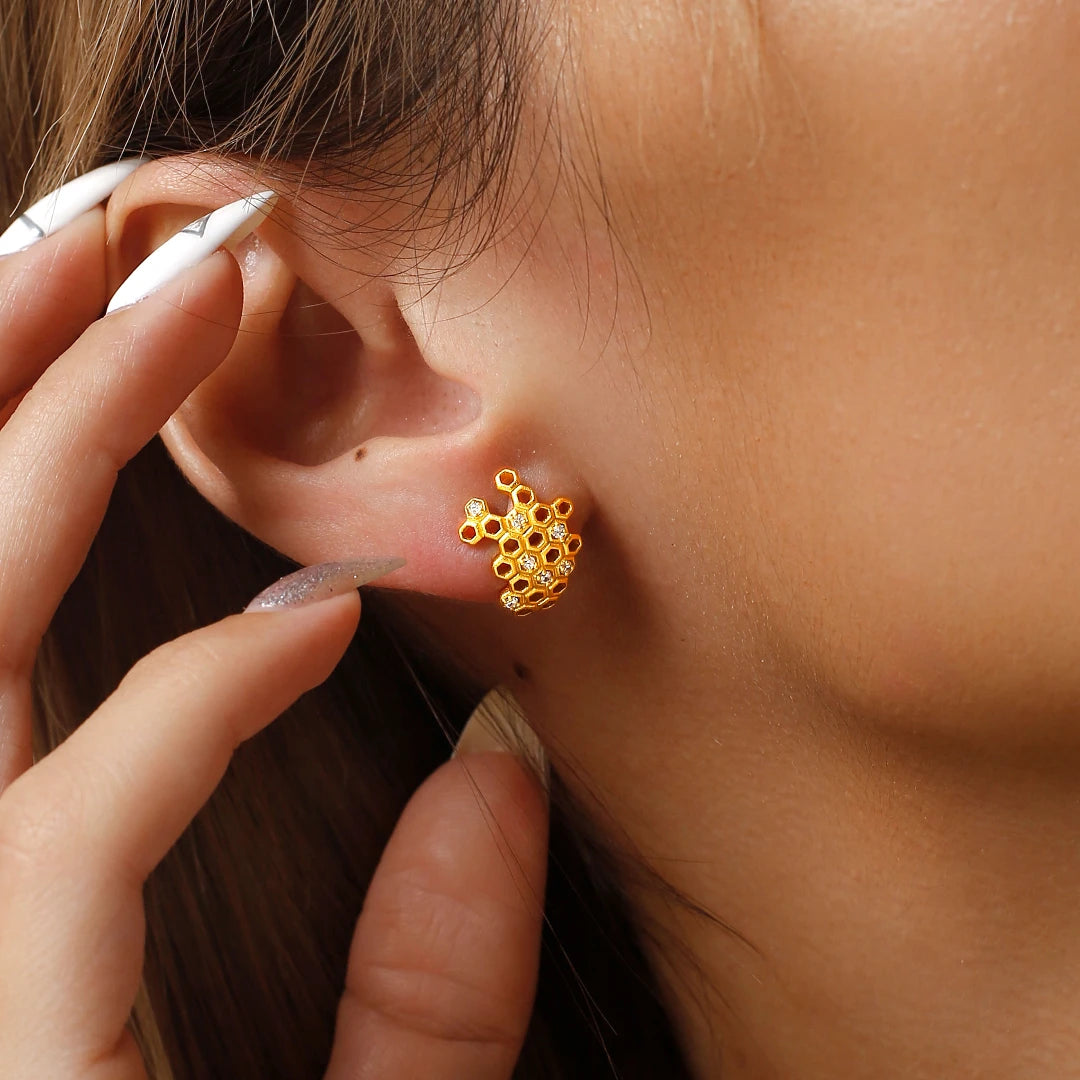
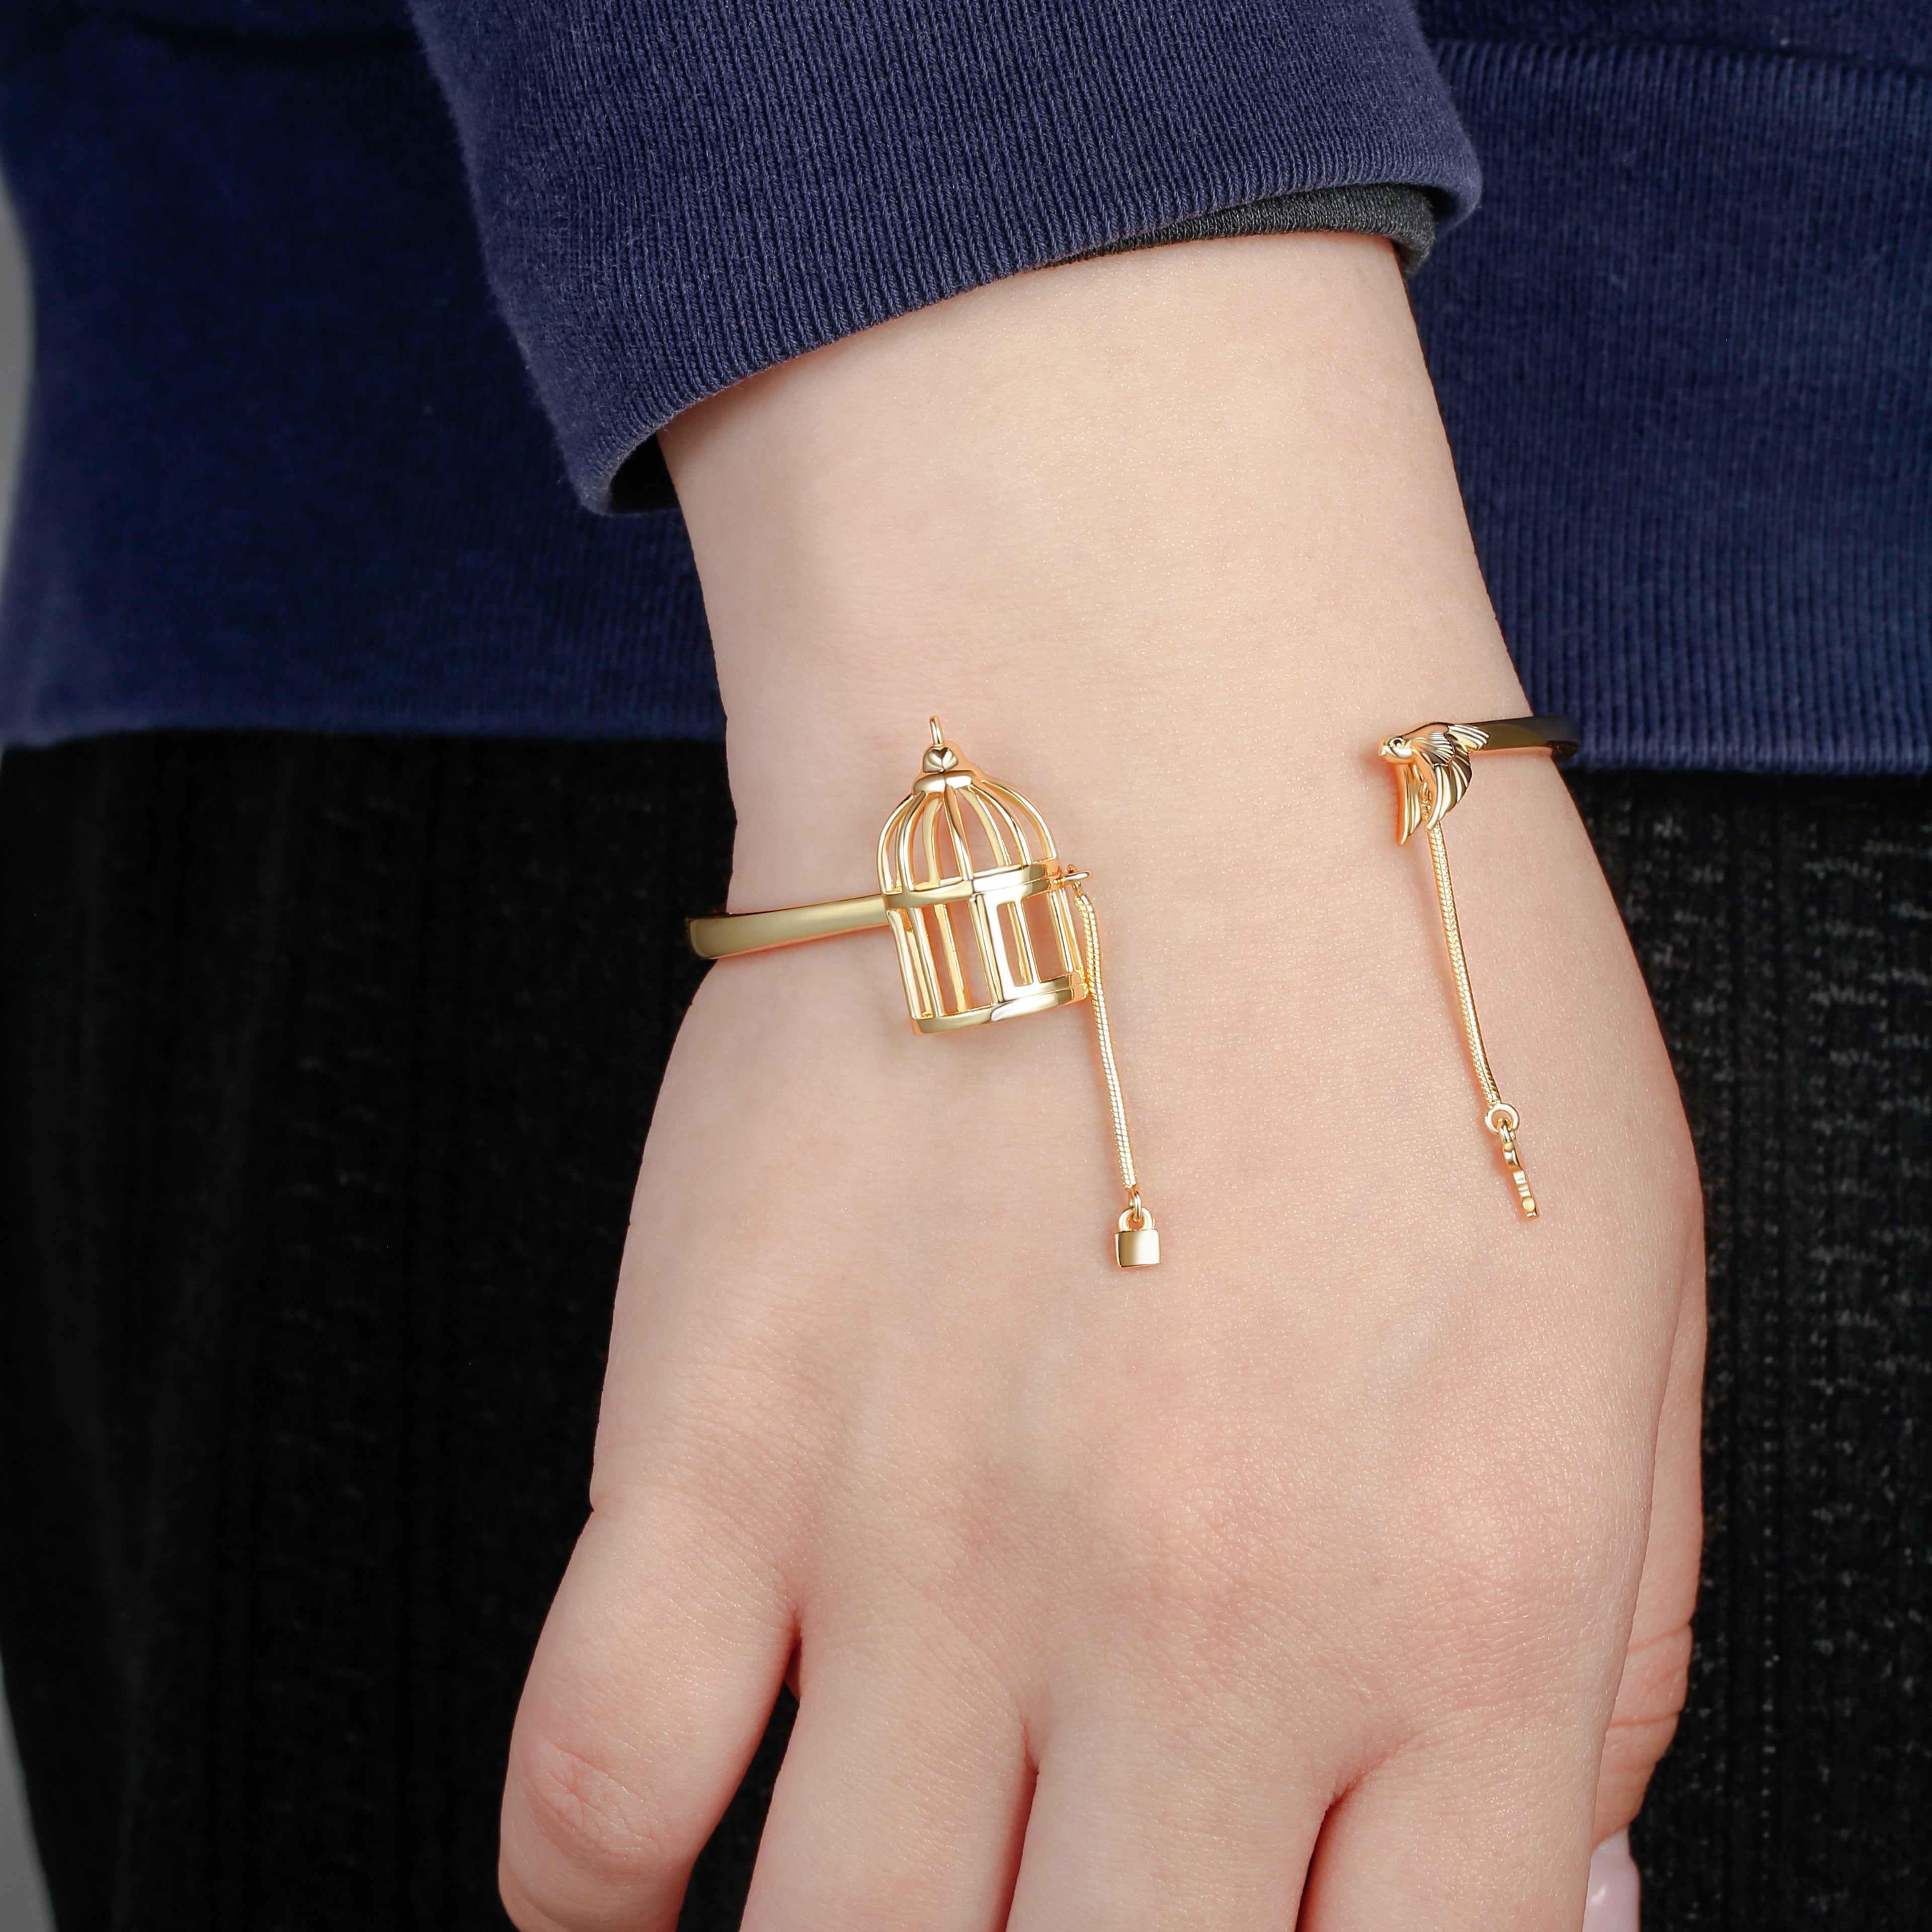
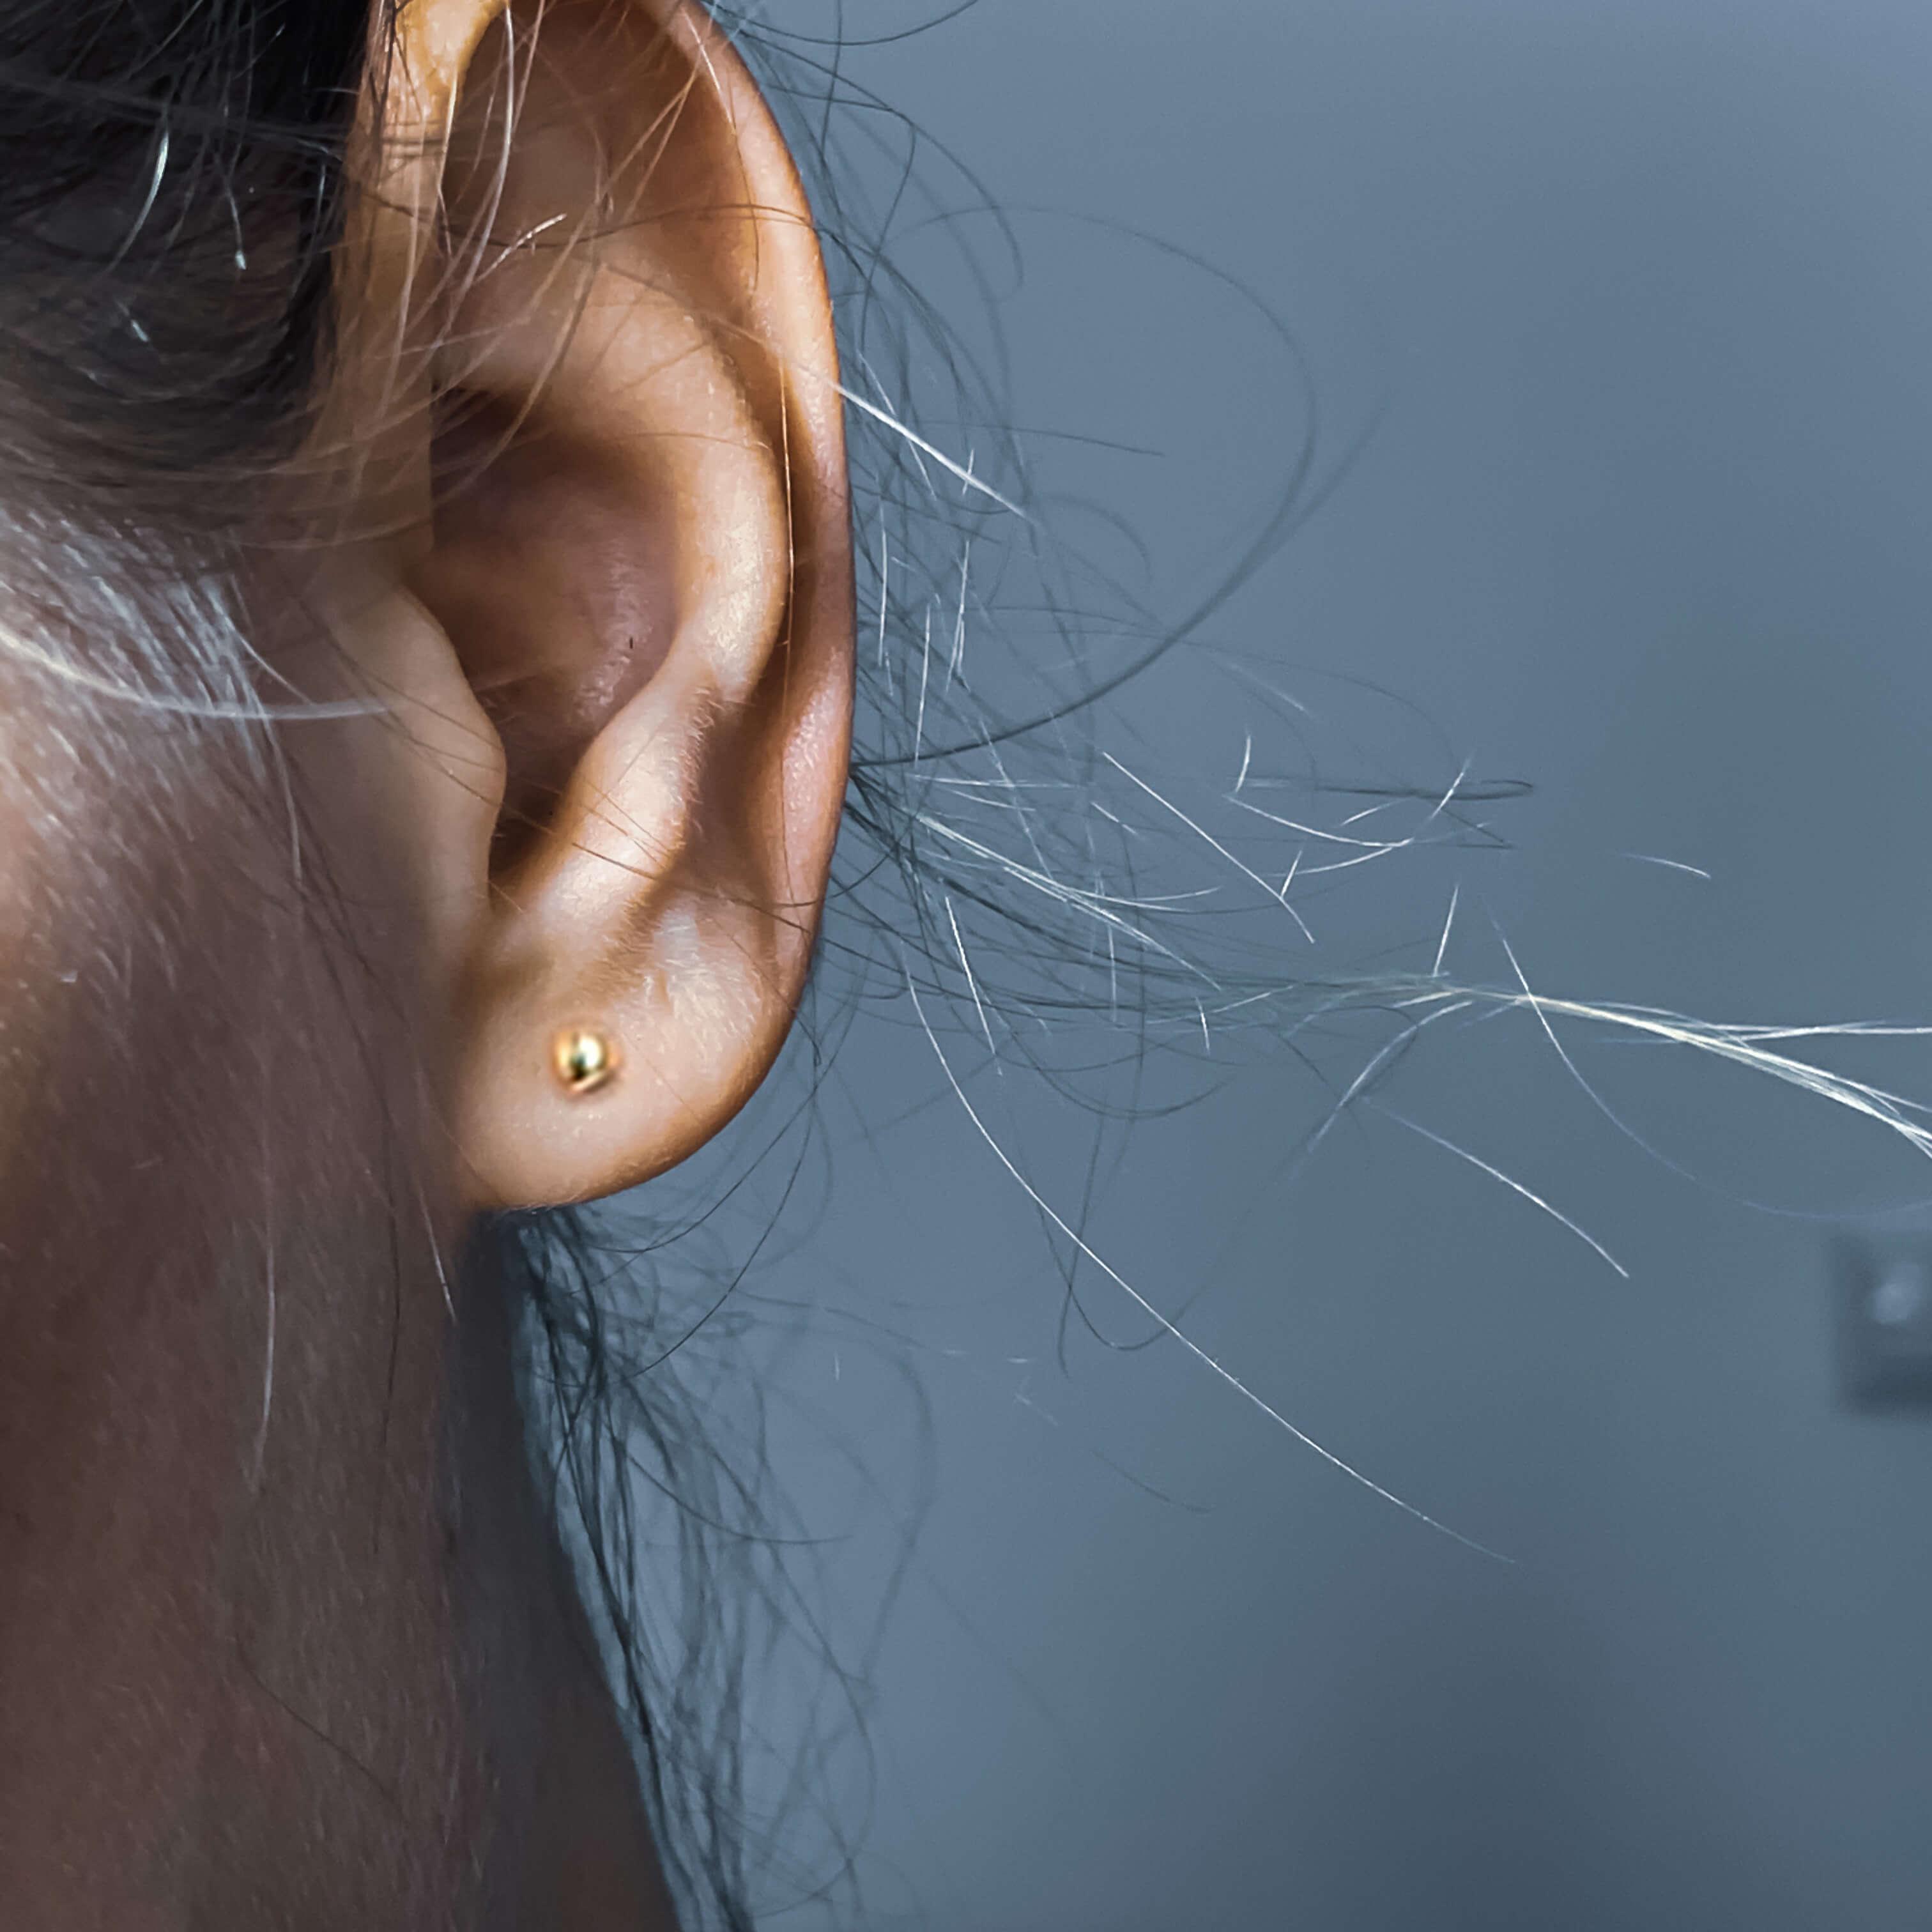
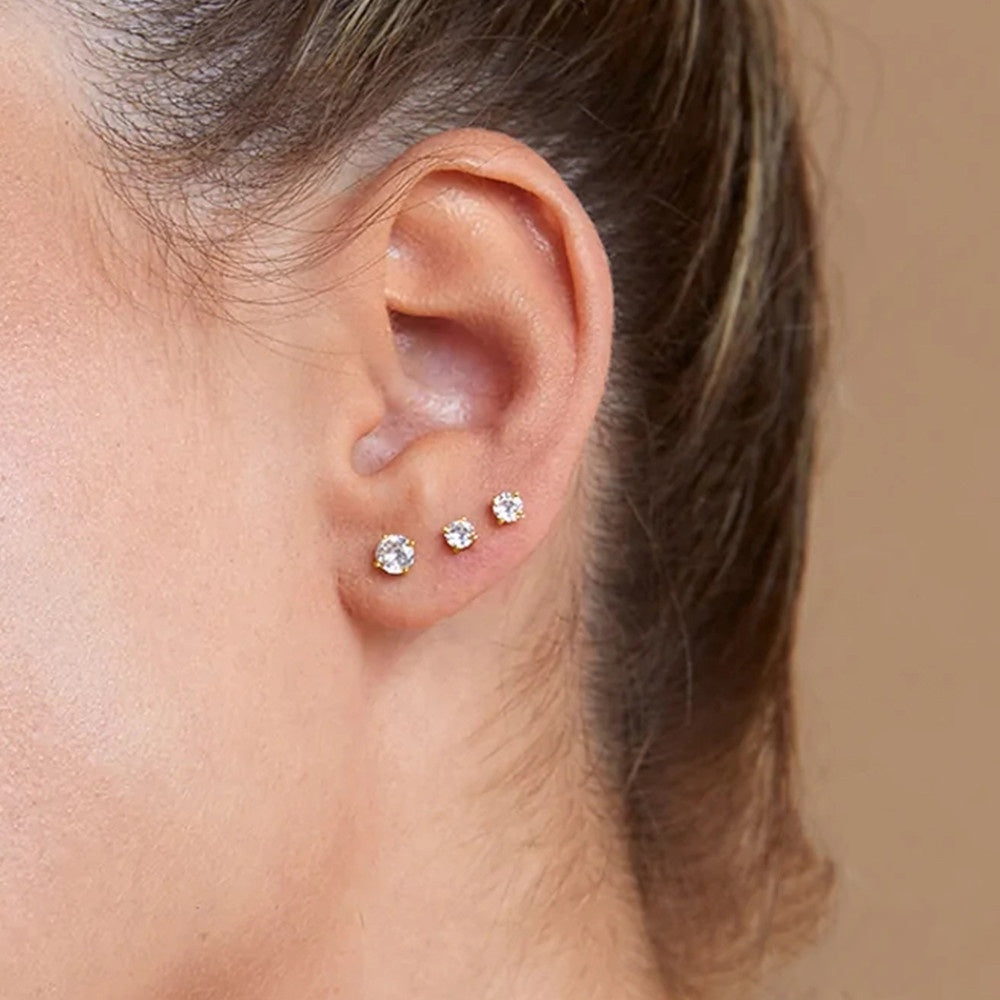
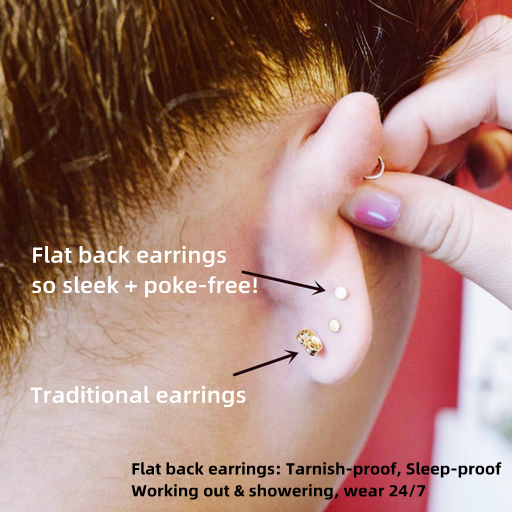
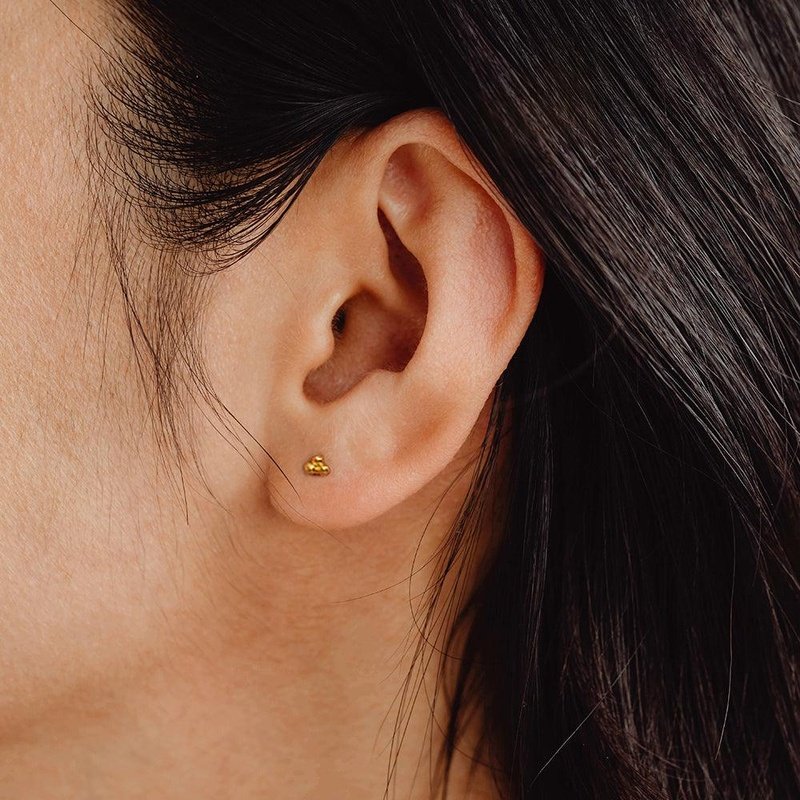
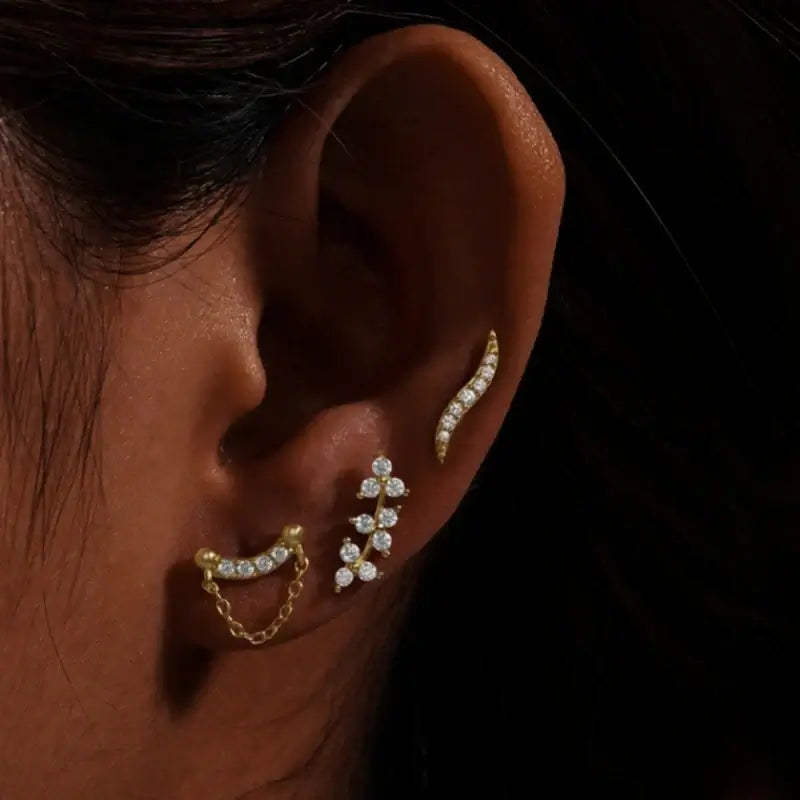
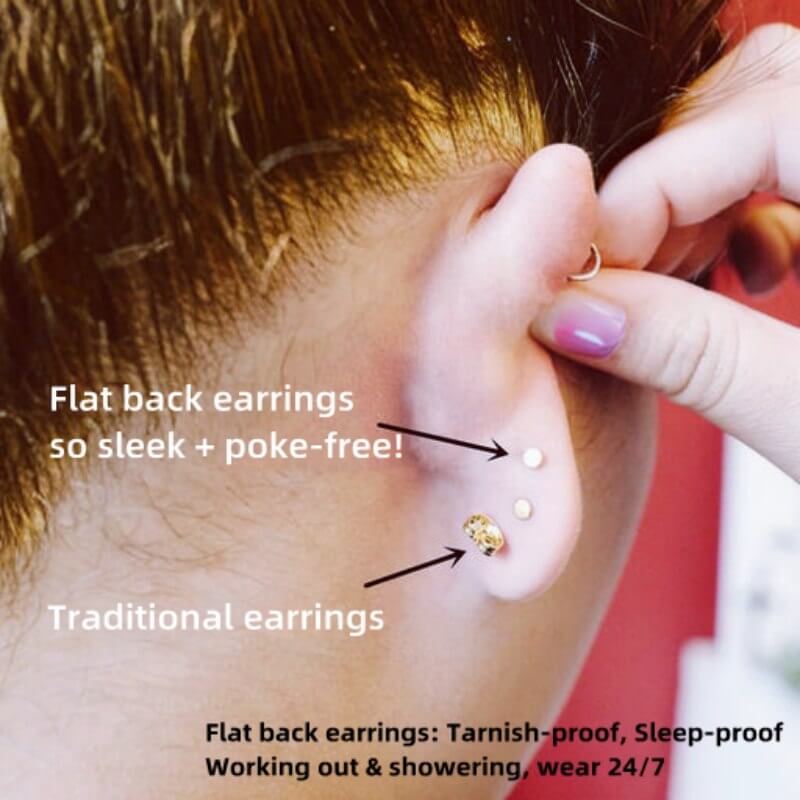
Clip-on earrings have their charm, but they often come with discomfort—pinching, slipping, or even causing soreness after prolonged wear. By learning how to convert clip on earrings to pierced, you unlock a world of comfort and versatility. Pierced earrings sit more naturally, distribute weight evenly, and eliminate the pressure points that clip-ons create.
Moreover, many high-end or vintage designs are only available as clip-ons. Converting them allows you to enjoy these pieces without compromising on style or comfort. Below, we’ll explore the step-by-step process, tools needed, and expert tips to ensure a seamless transformation.
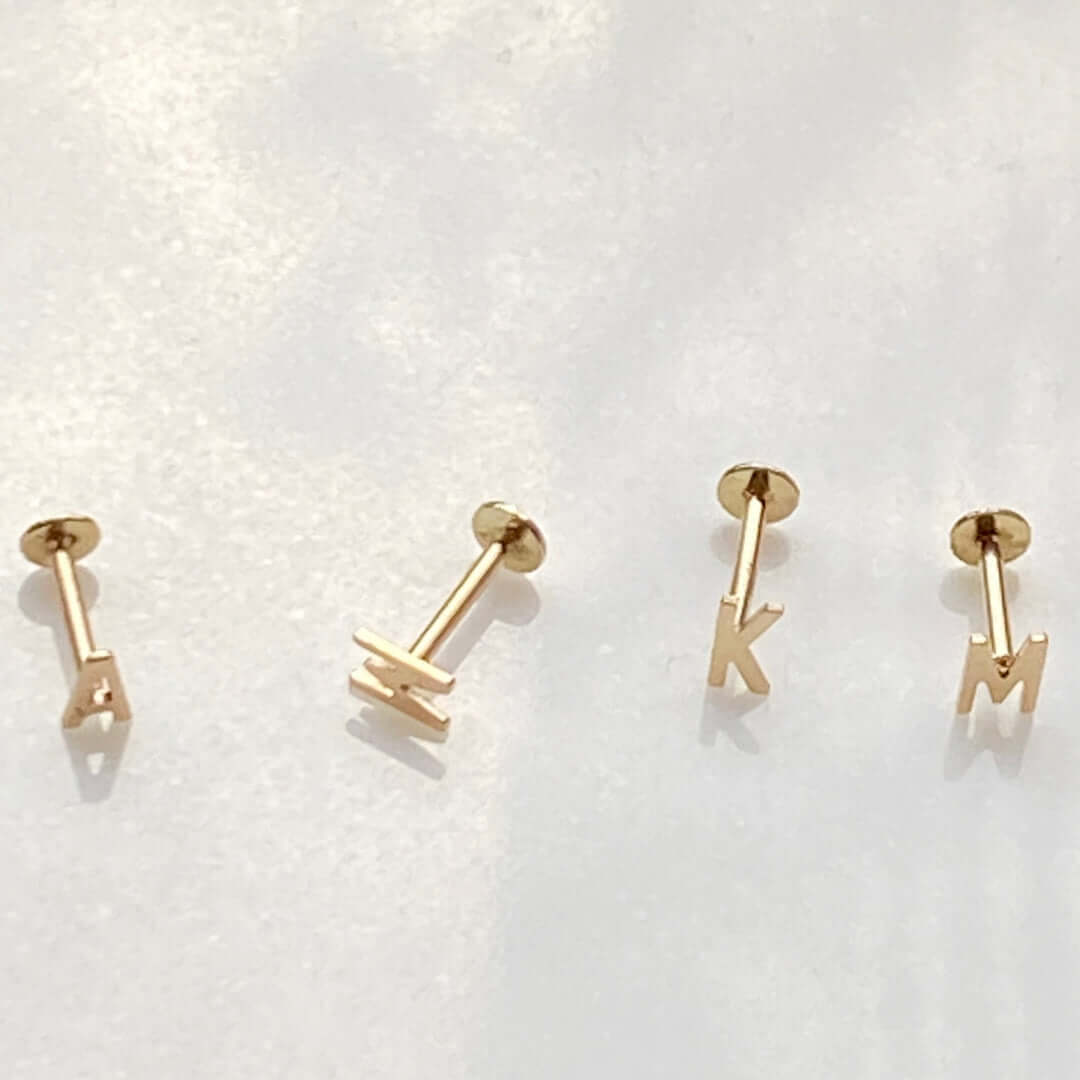
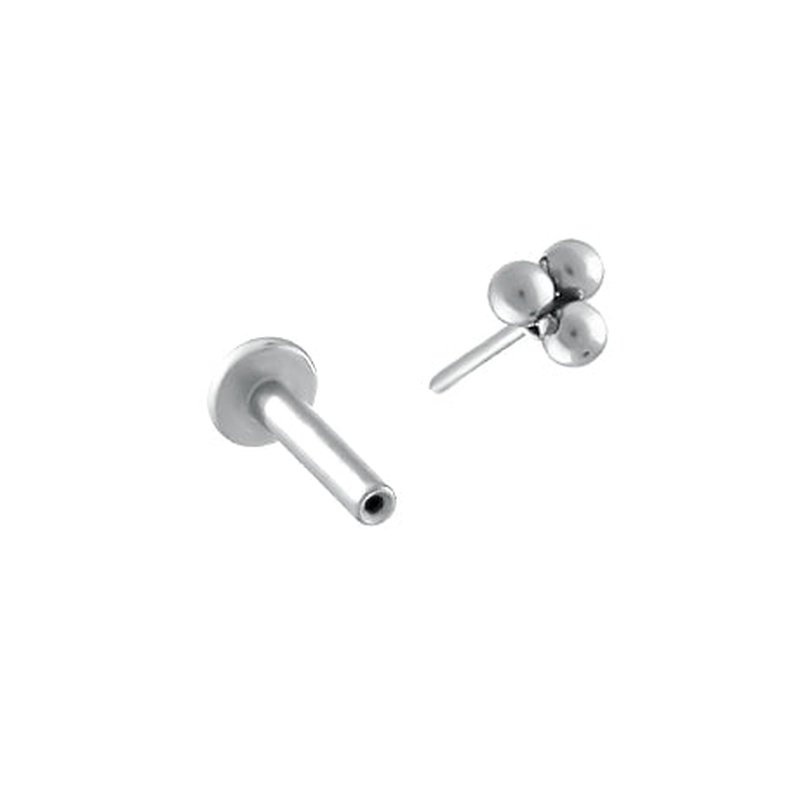
Tools You’ll Need to Convert Clip-On Earrings
Before diving into the process, gather these essential tools:
- Jewelry pliers (flat-nose and round-nose)
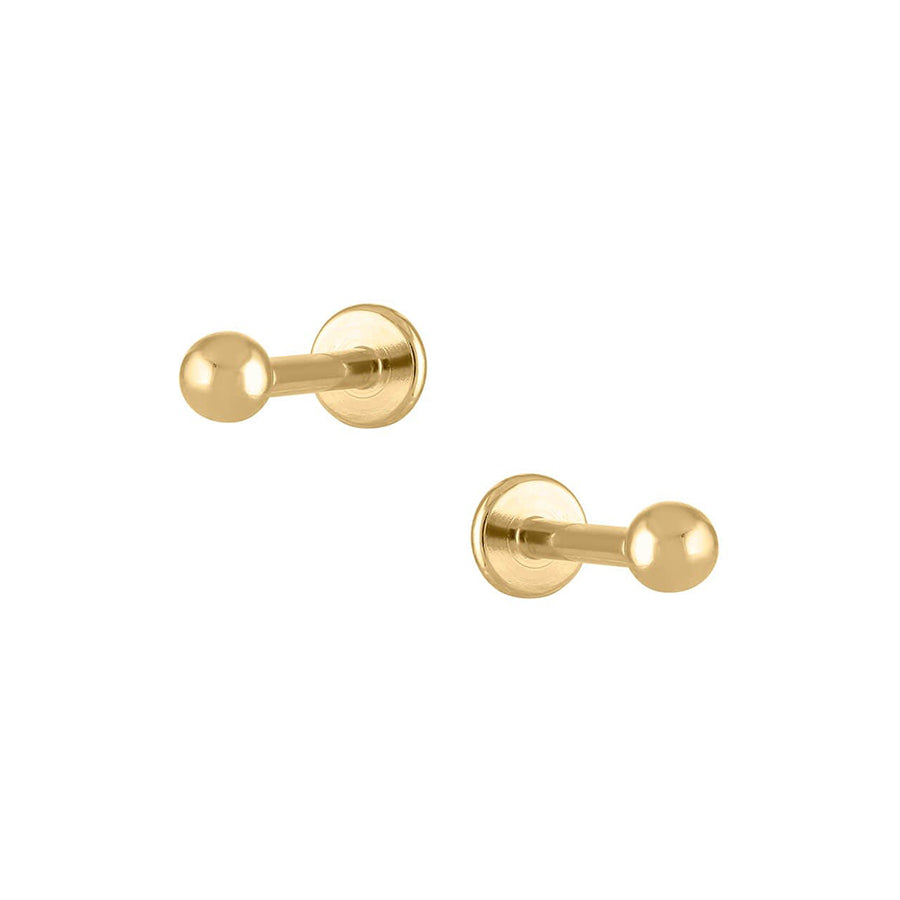
- Piercing posts or studs (surgical steel or hypoallergenic metal)
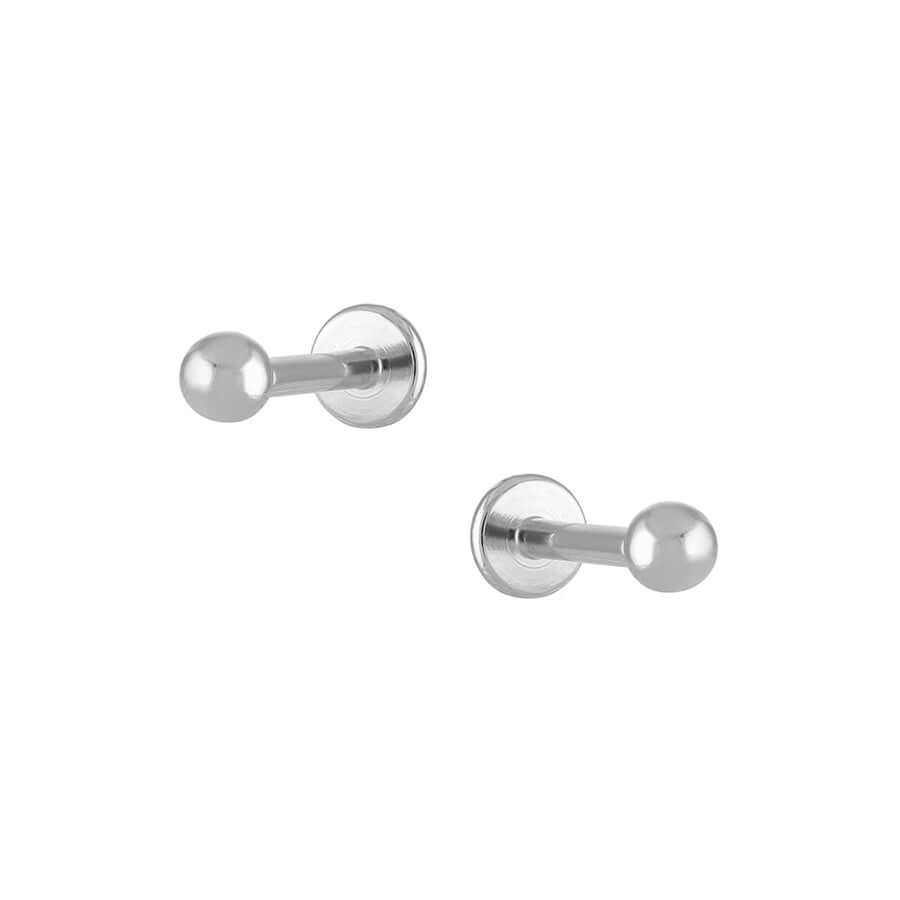
- Earring backs (butterfly or screw-on)
- Strong adhesive (epoxy or jewelry glue)
- Small file or sandpaper (for smoothing edges)
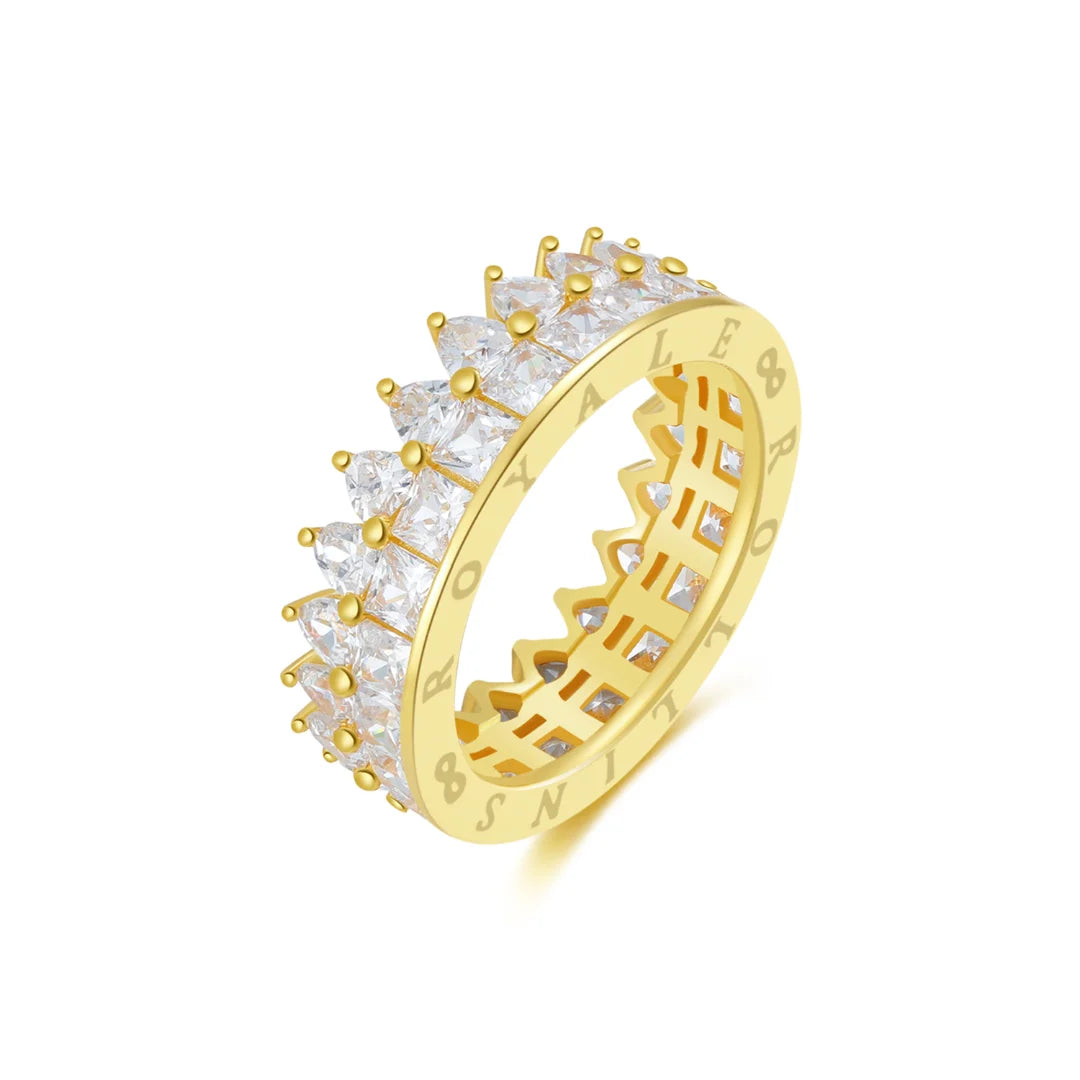
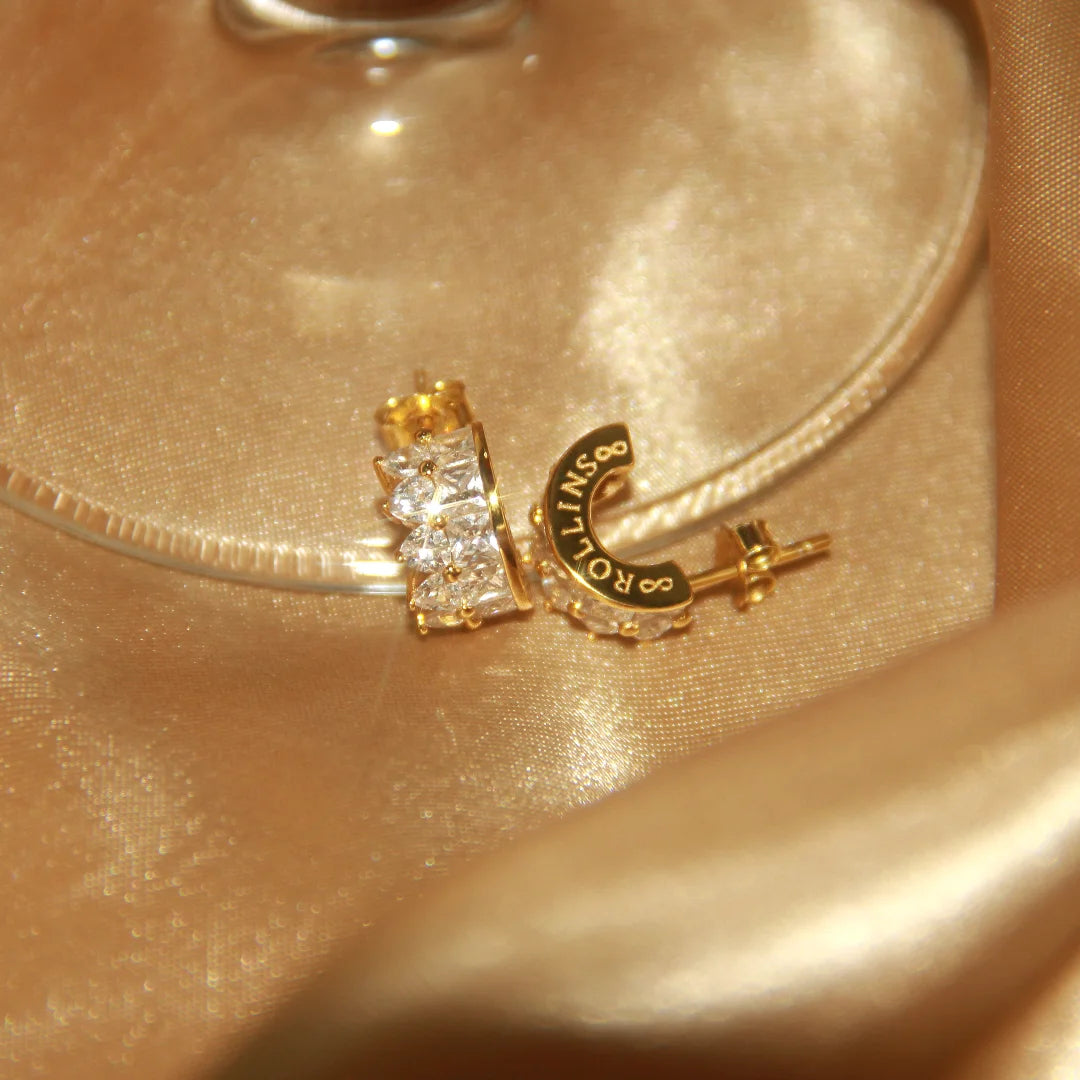
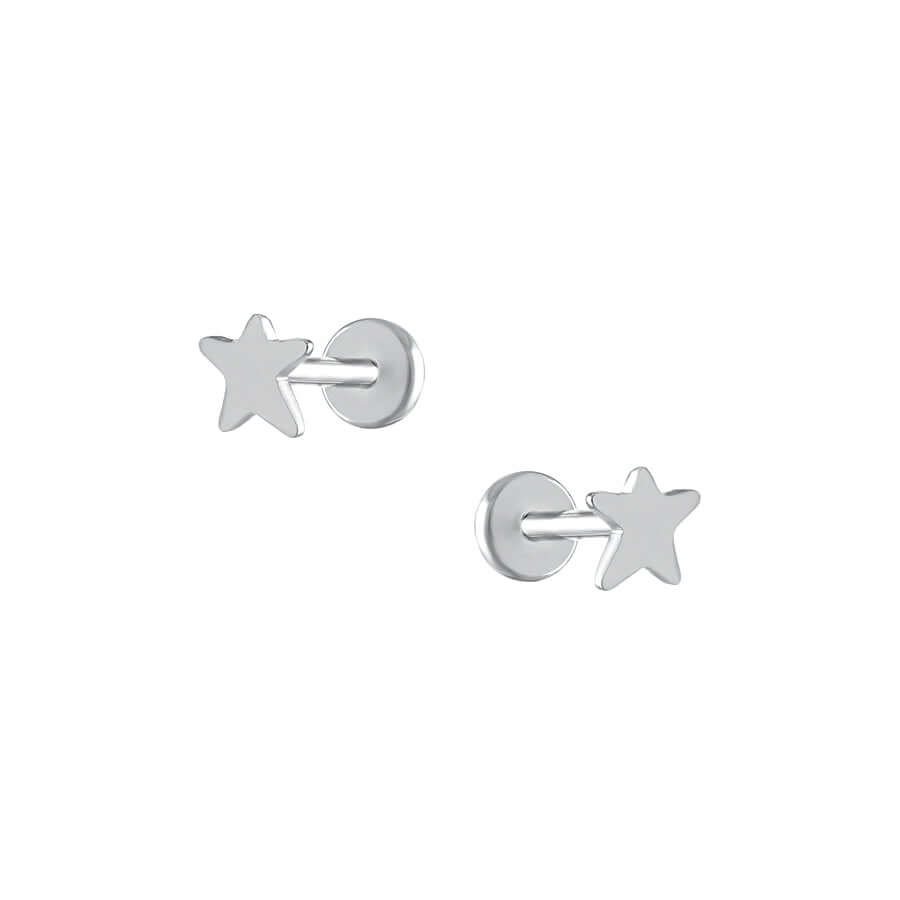
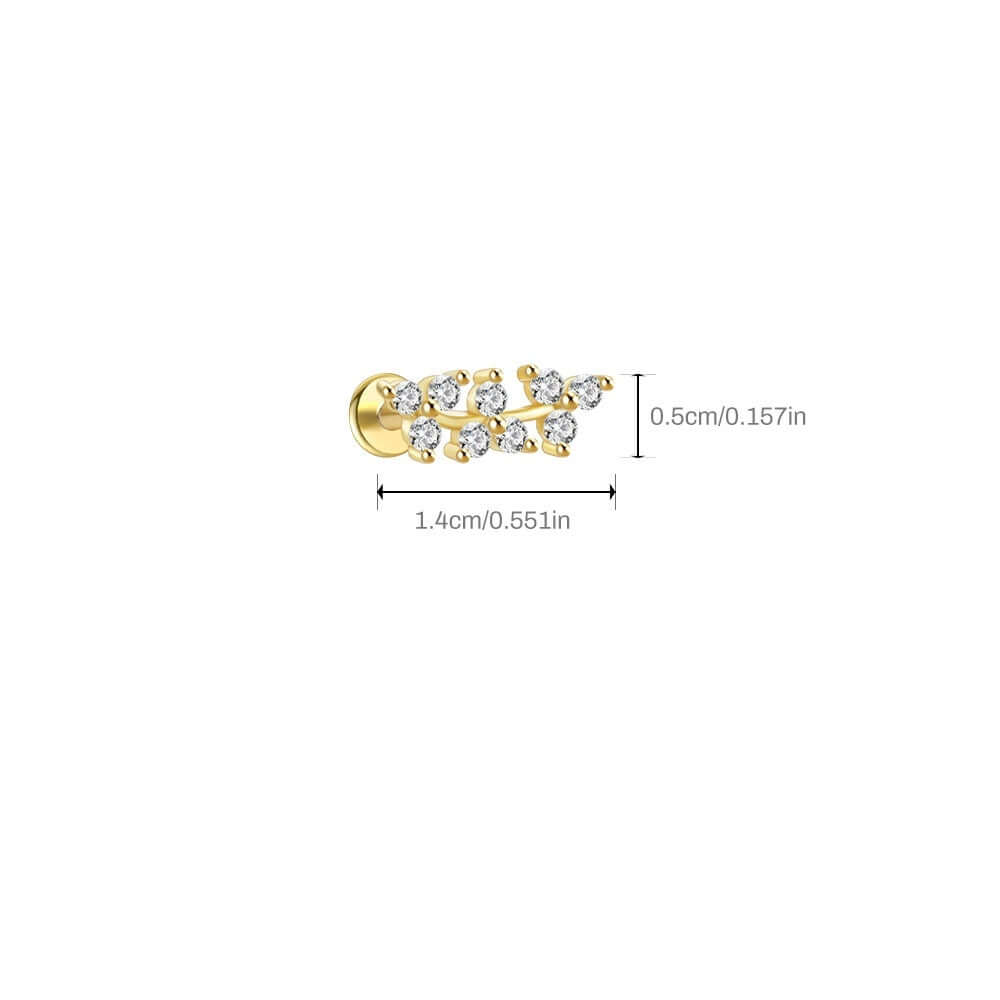
For delicate designs like the 925 Silver Shining Star Flat Back Earrings, precision is key. These tools ensure a professional finish without damaging the earring’s aesthetic.

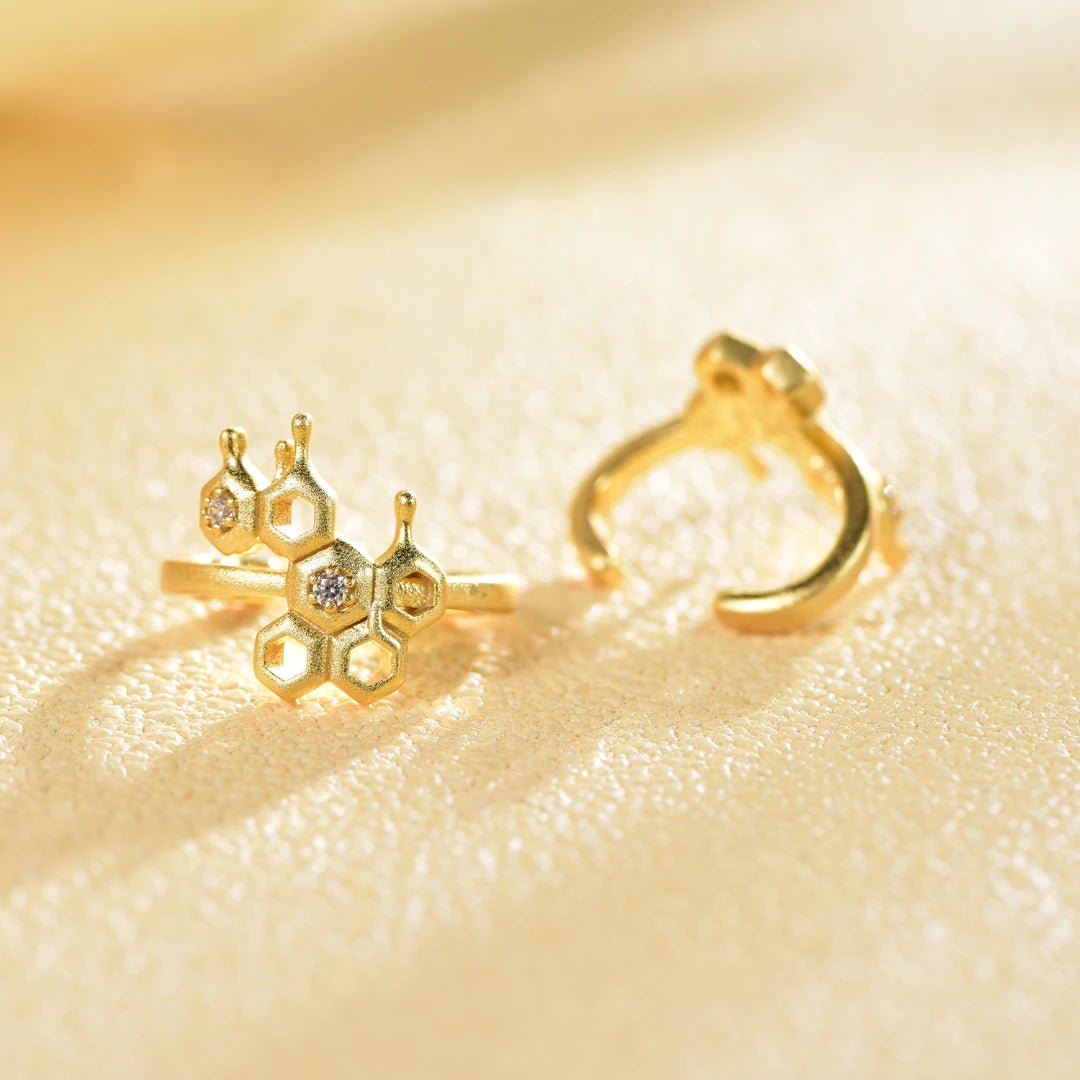
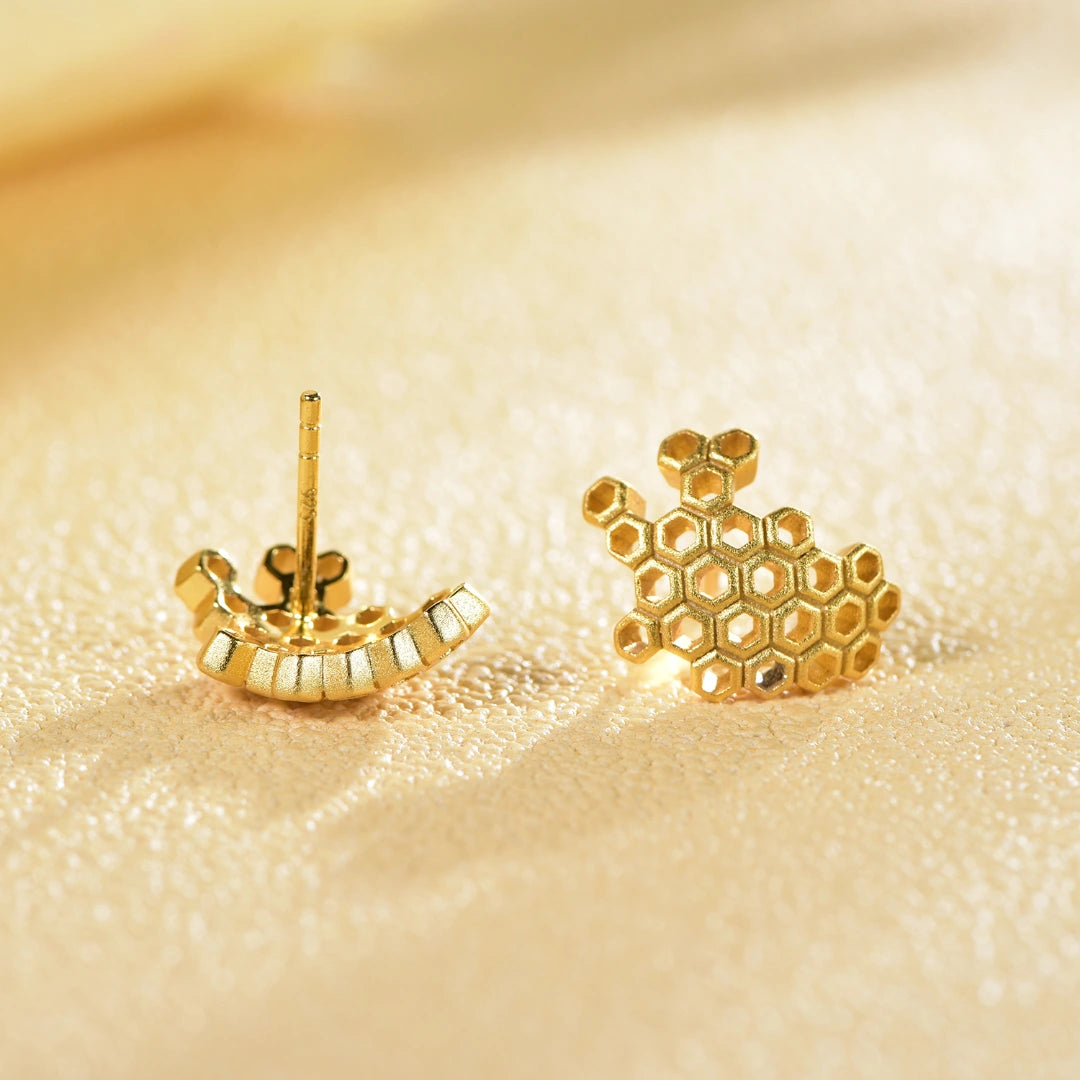
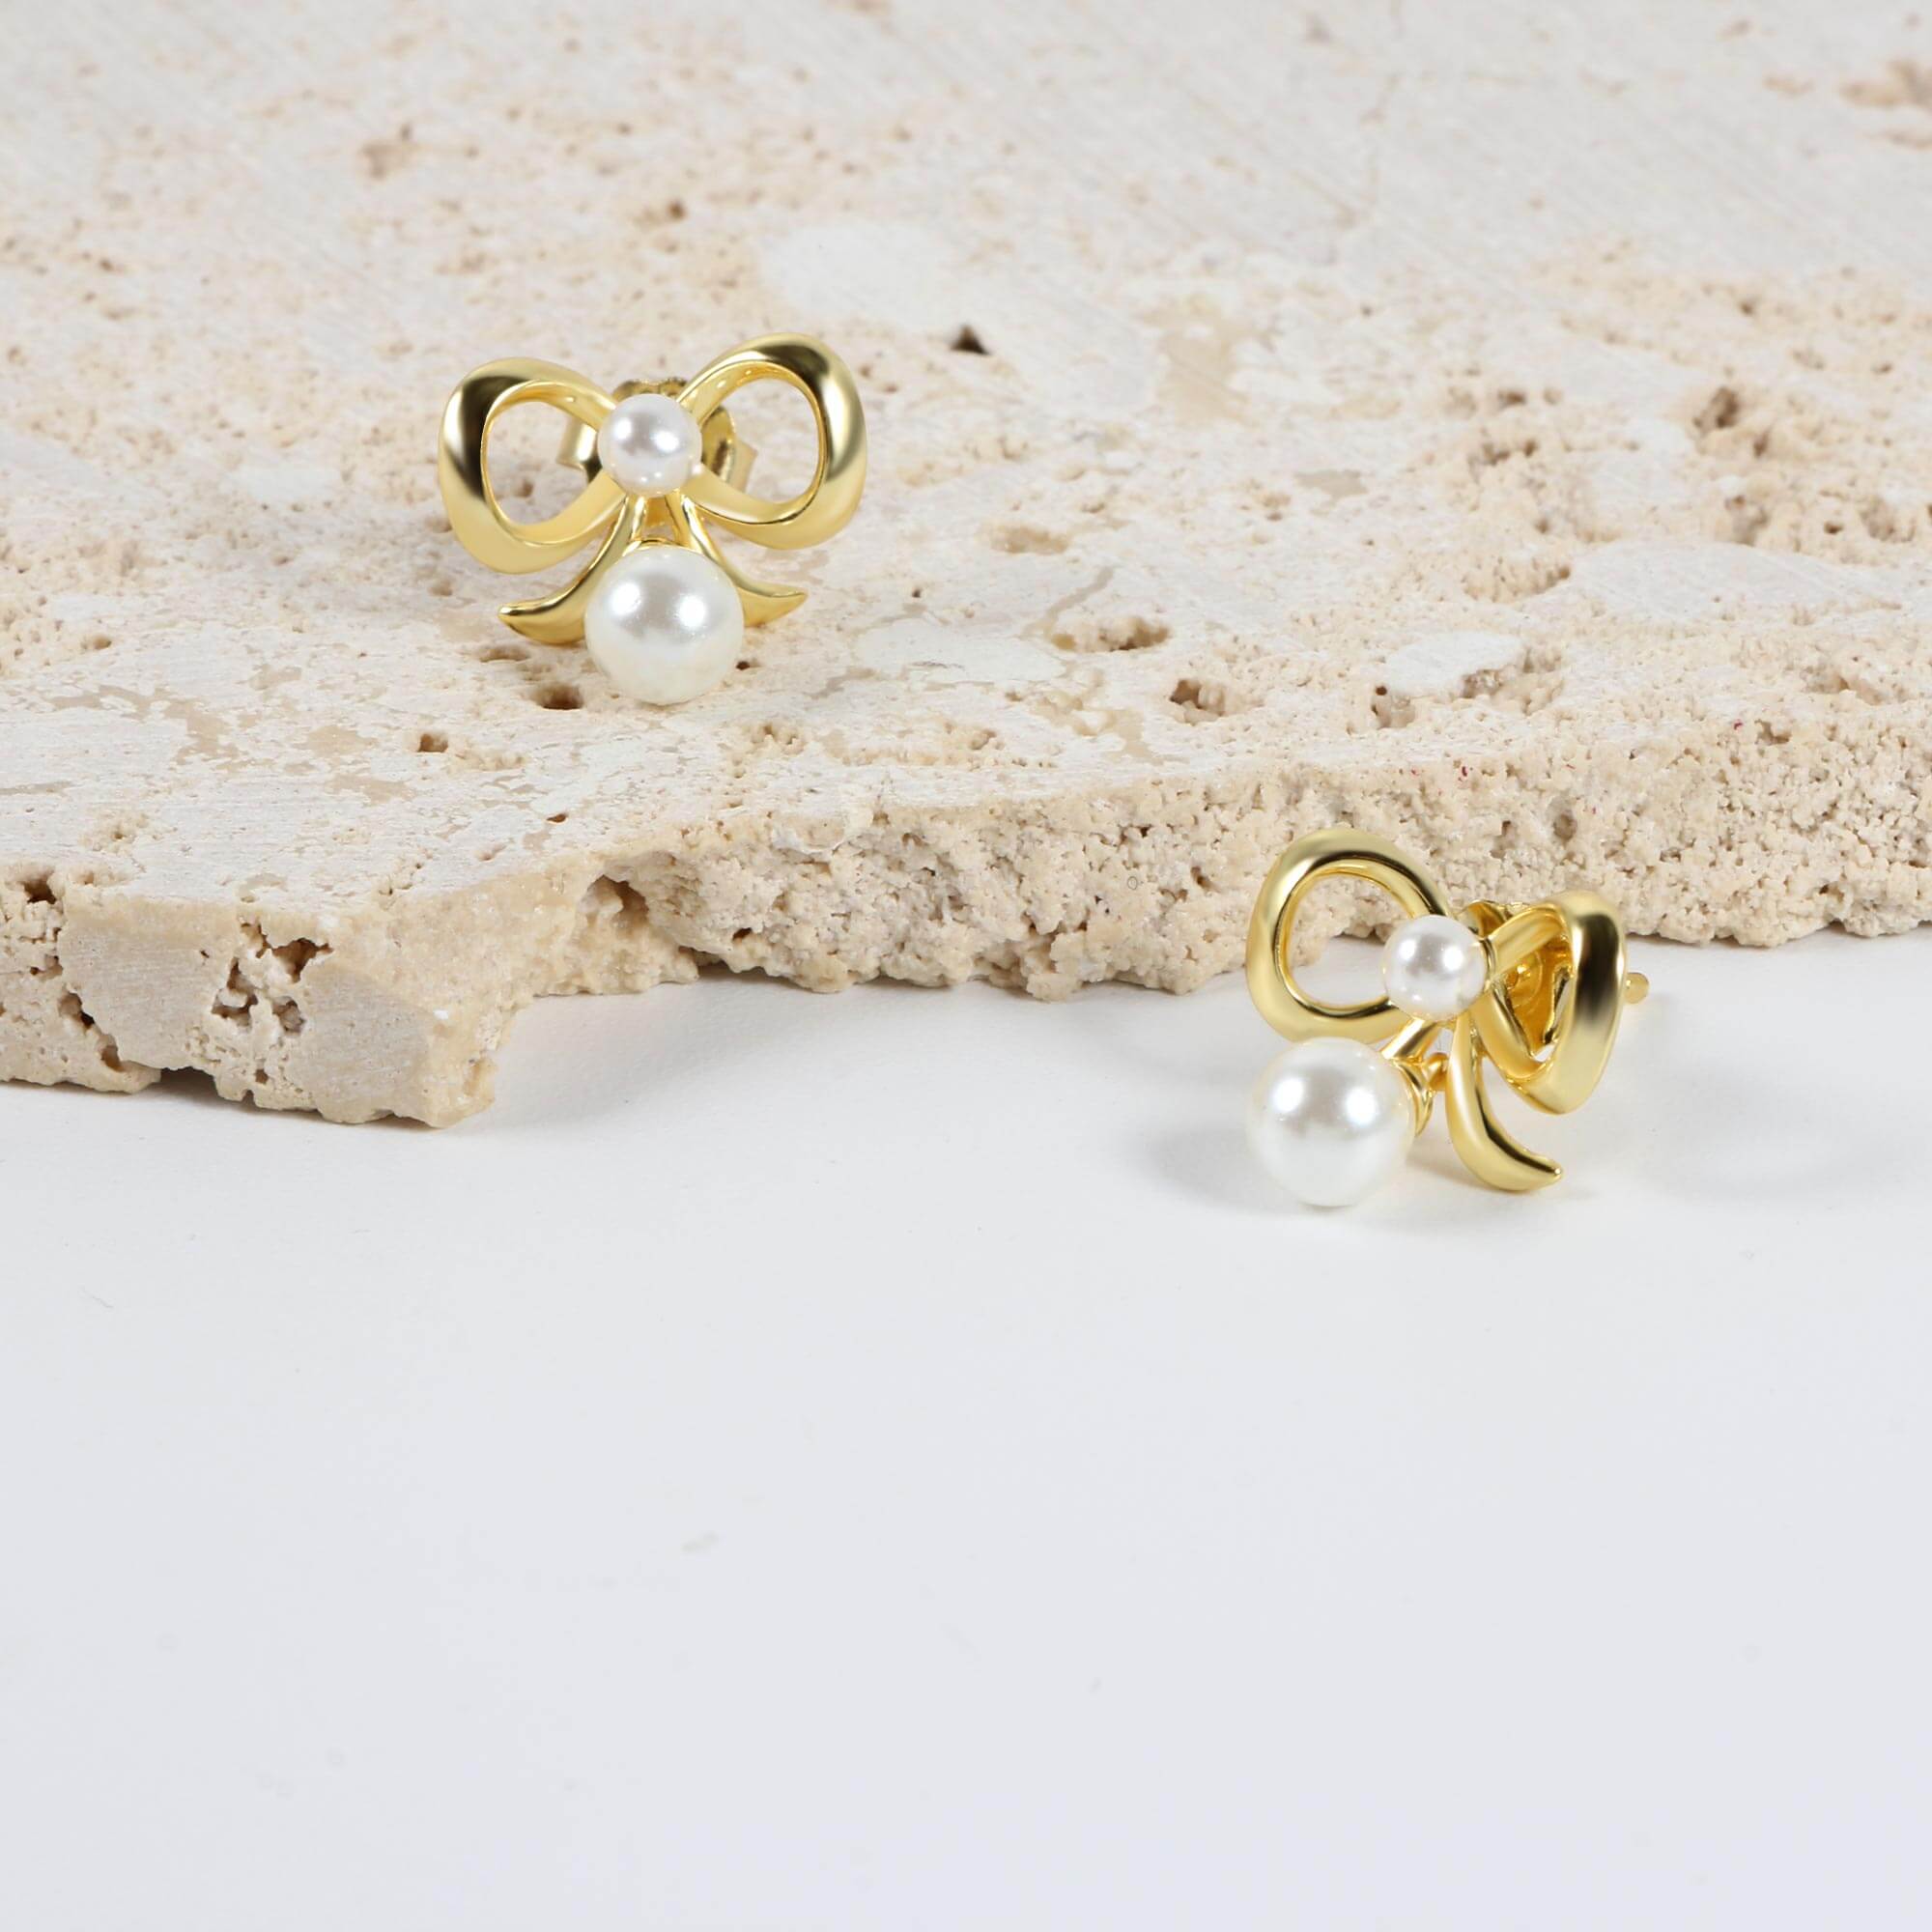
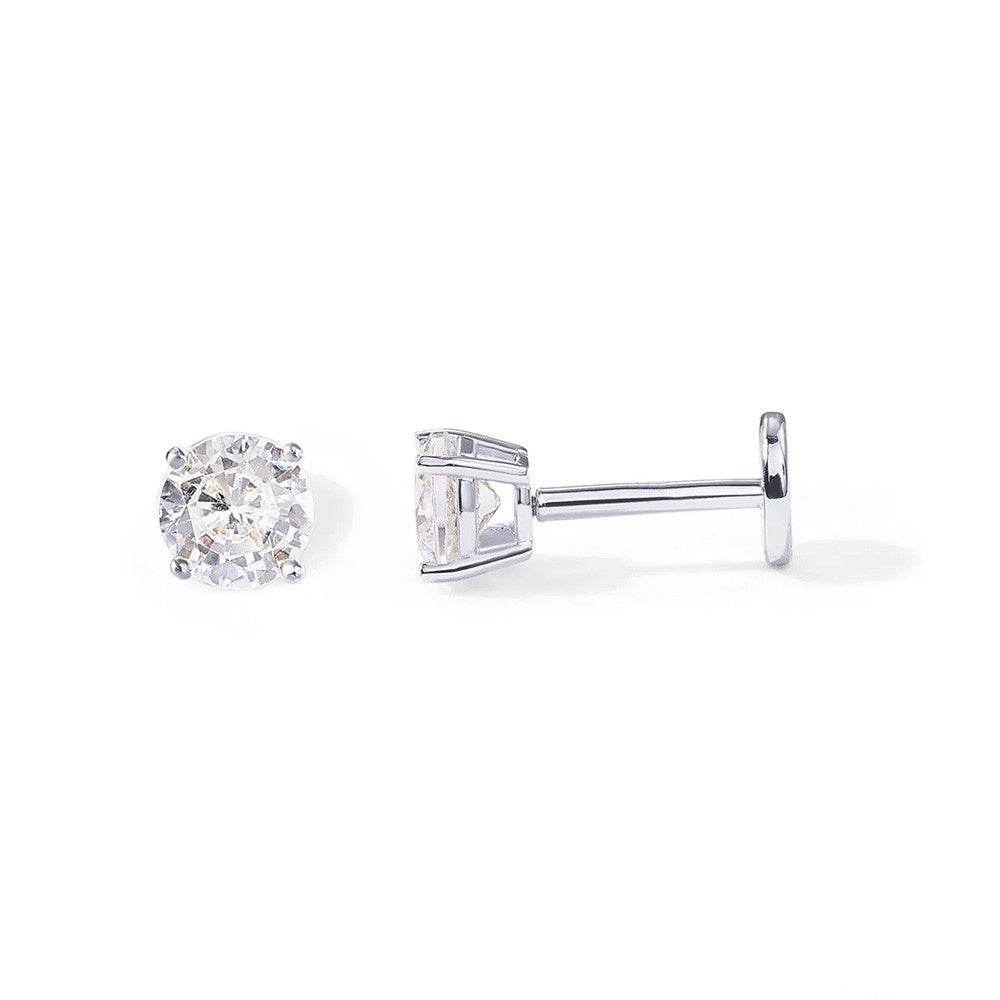
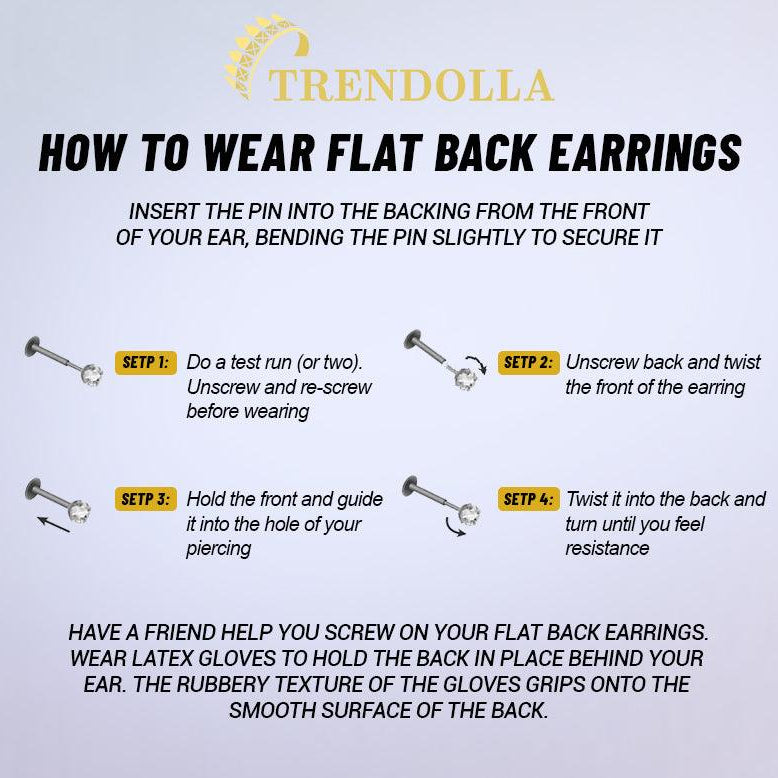
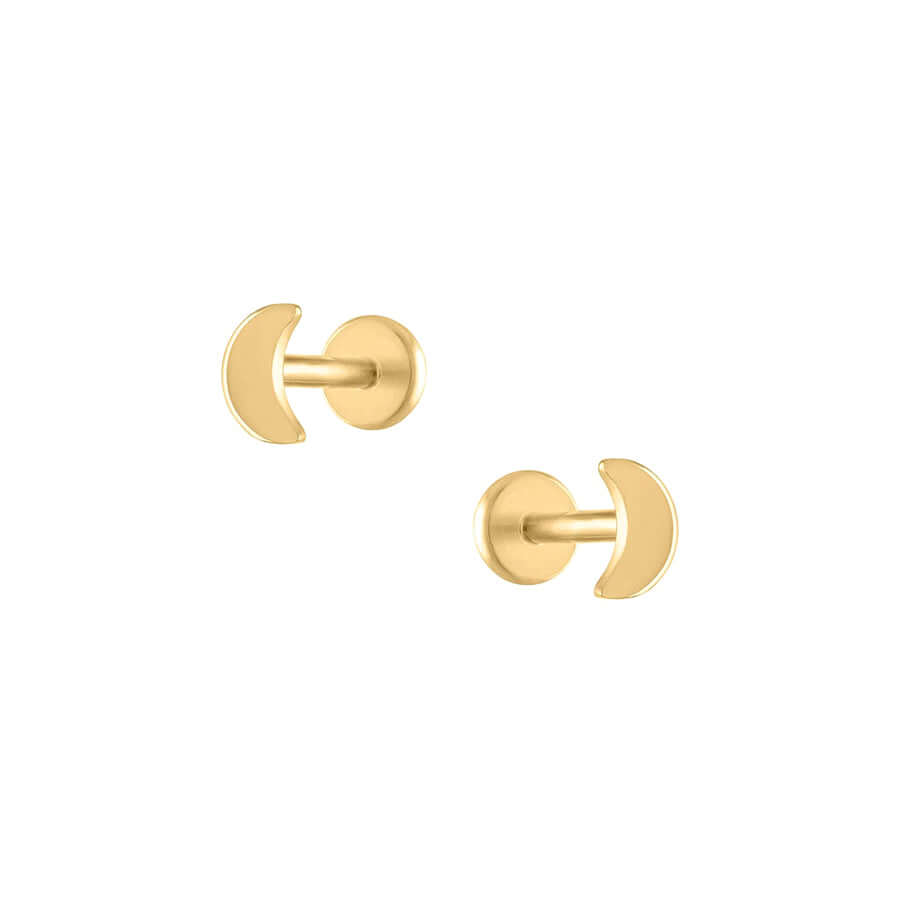
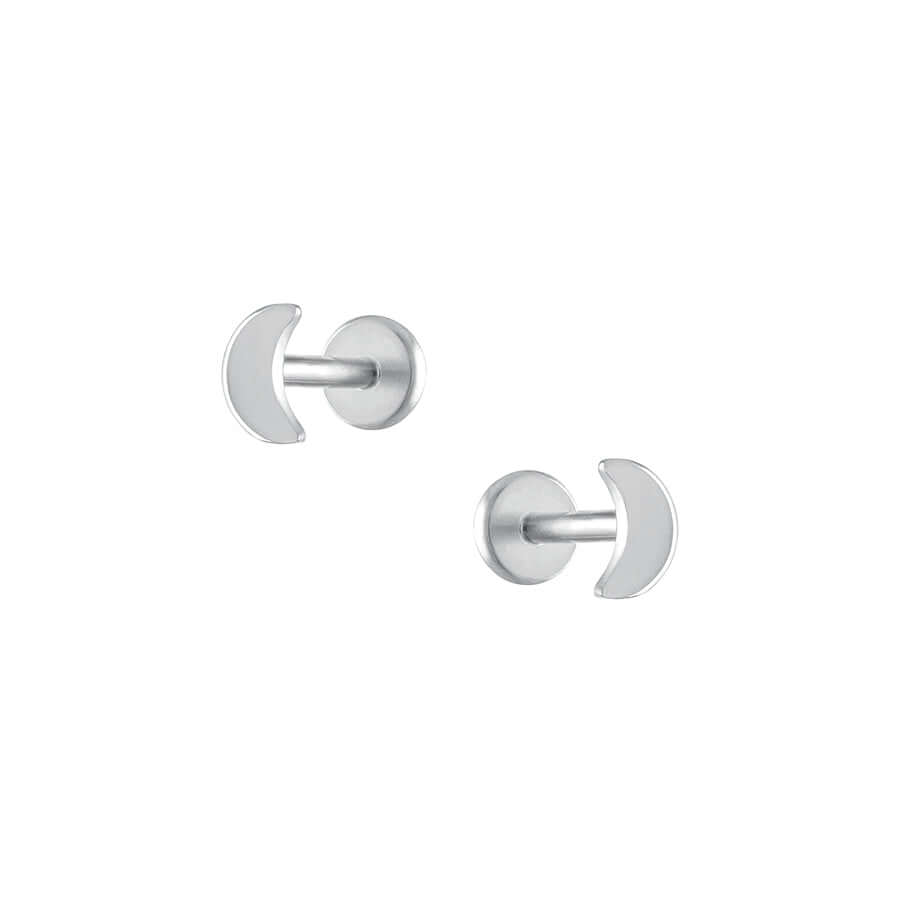
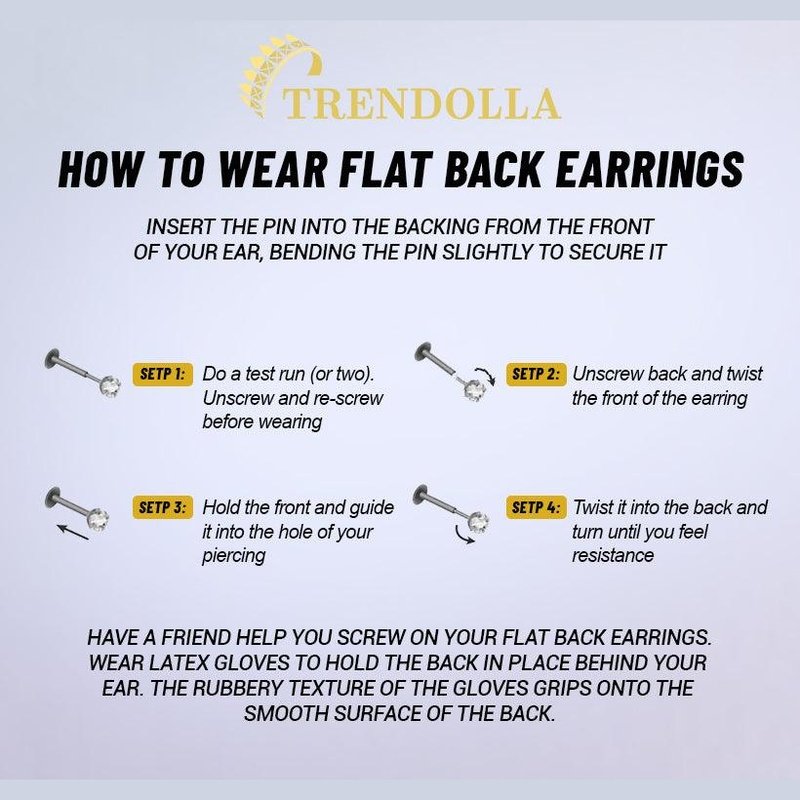
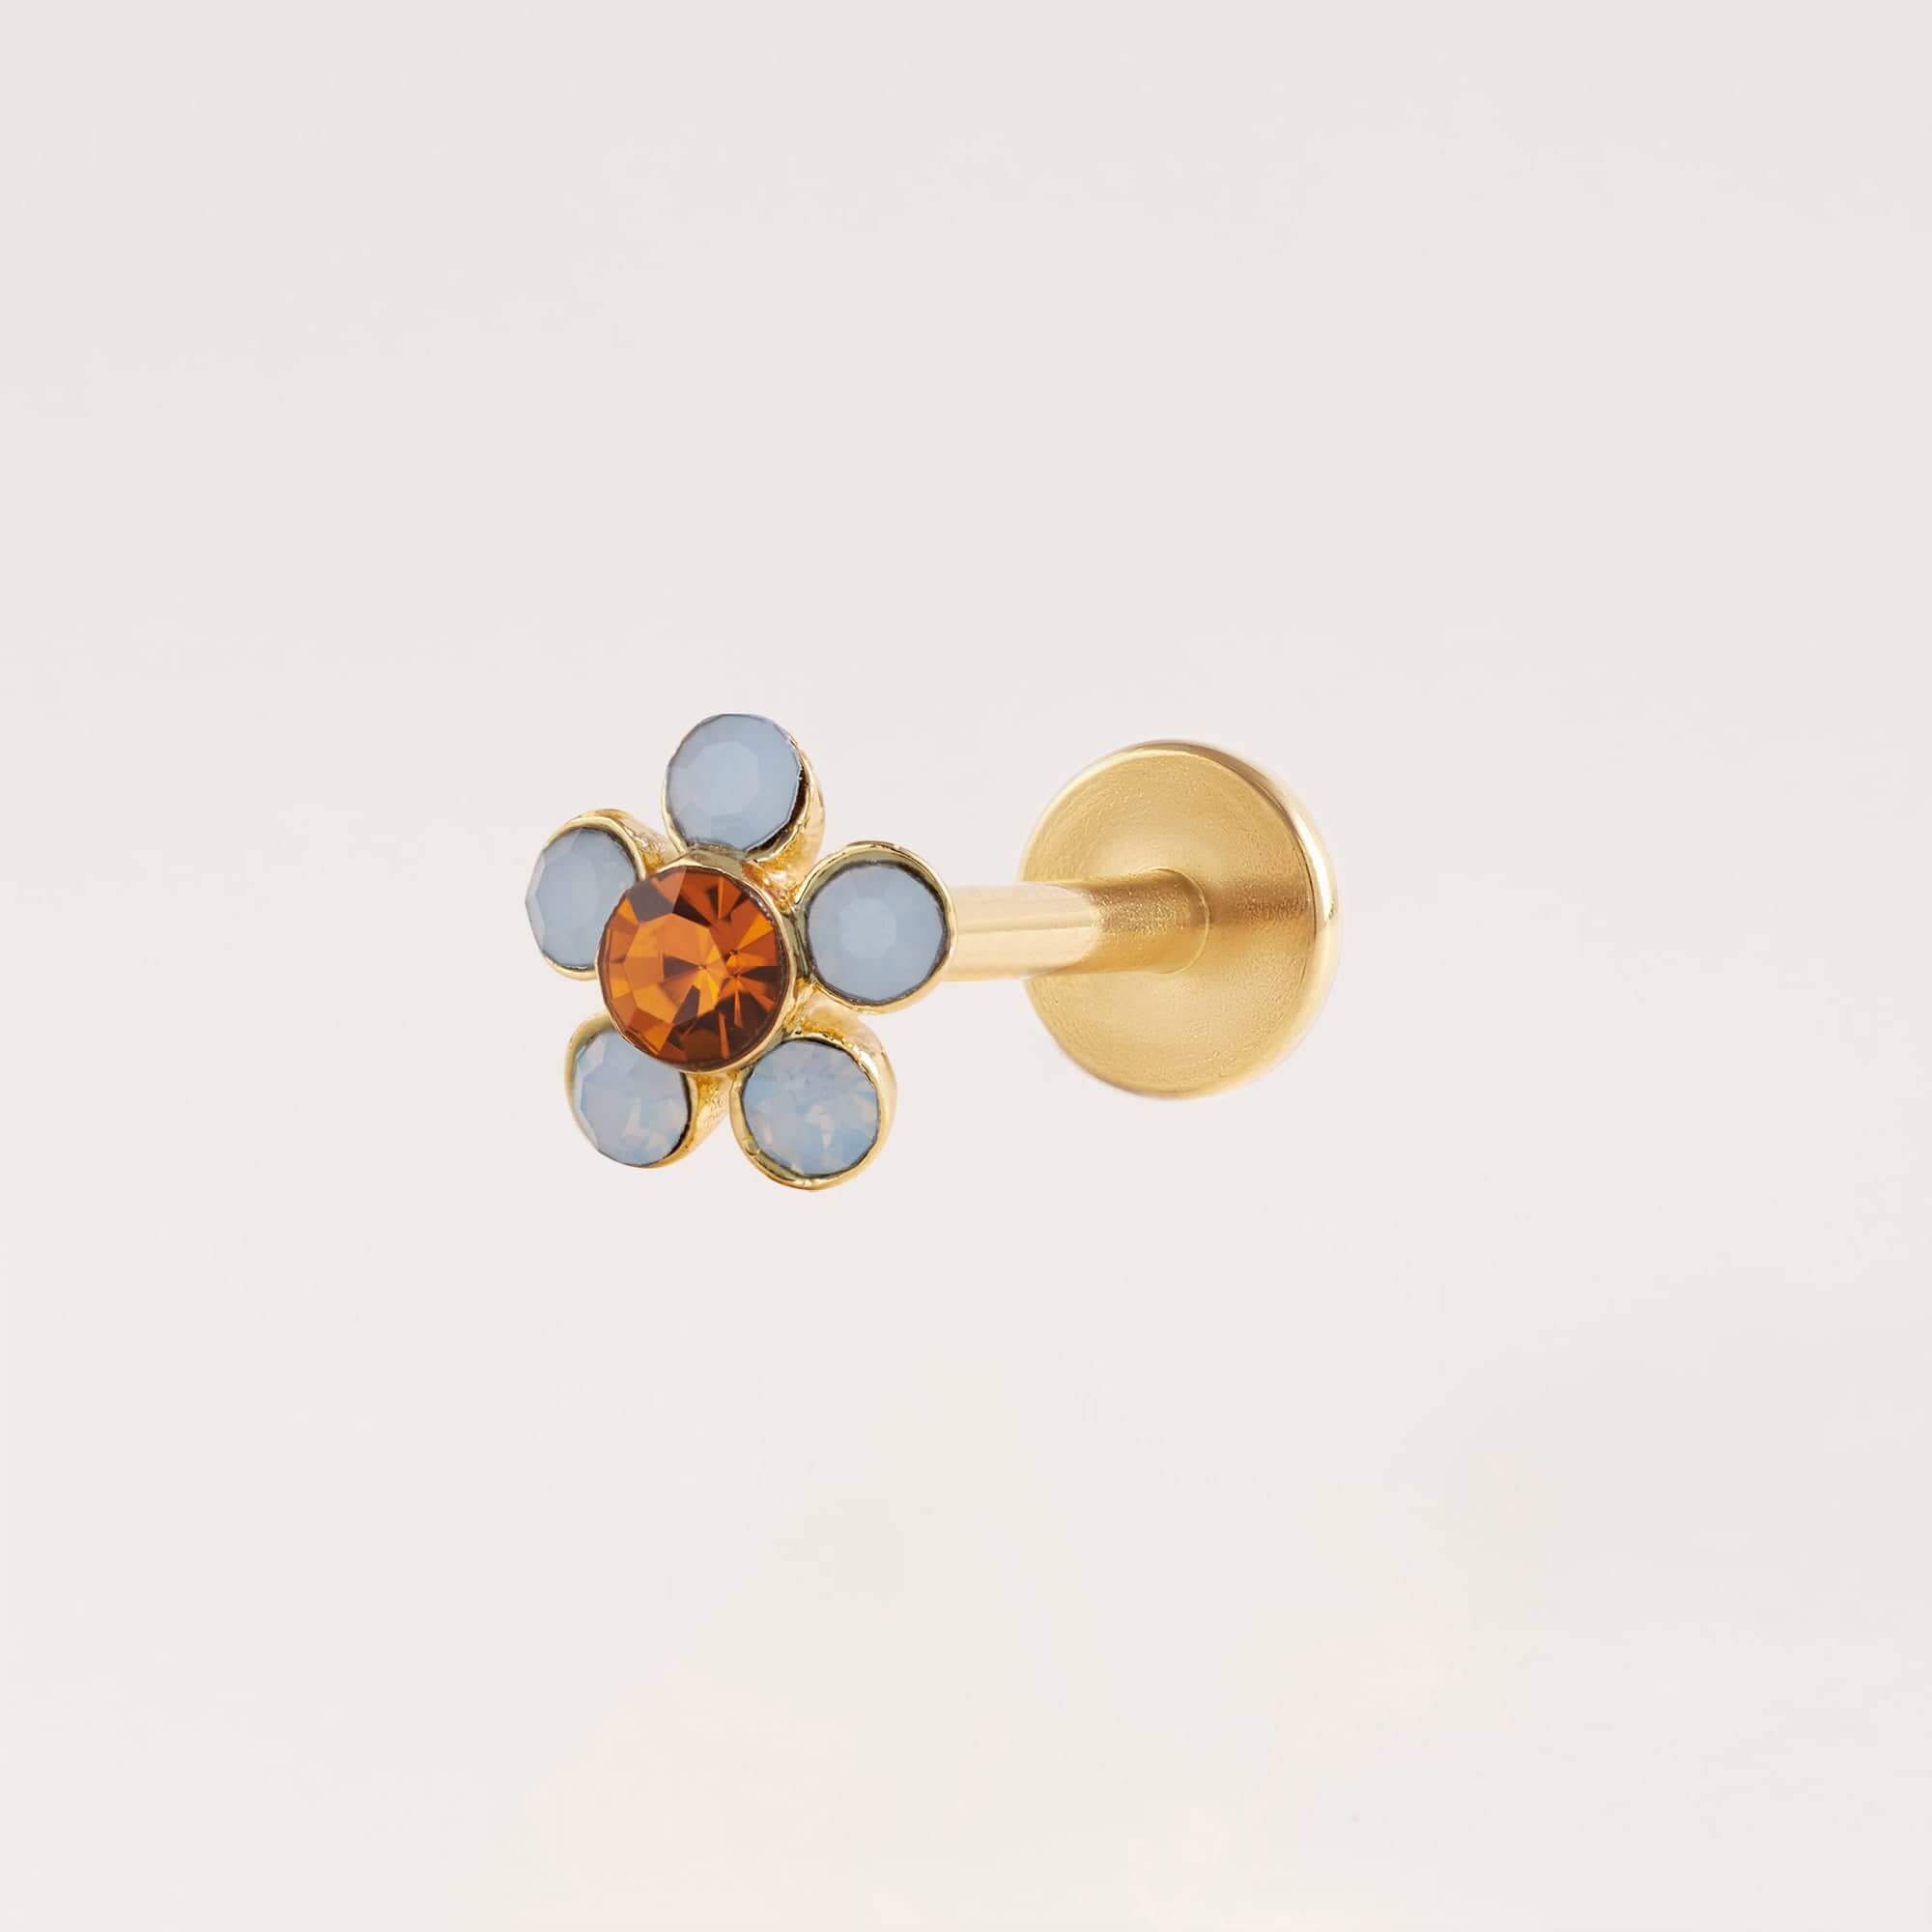
Step-by-Step Guide to Convert Clip-On Earrings
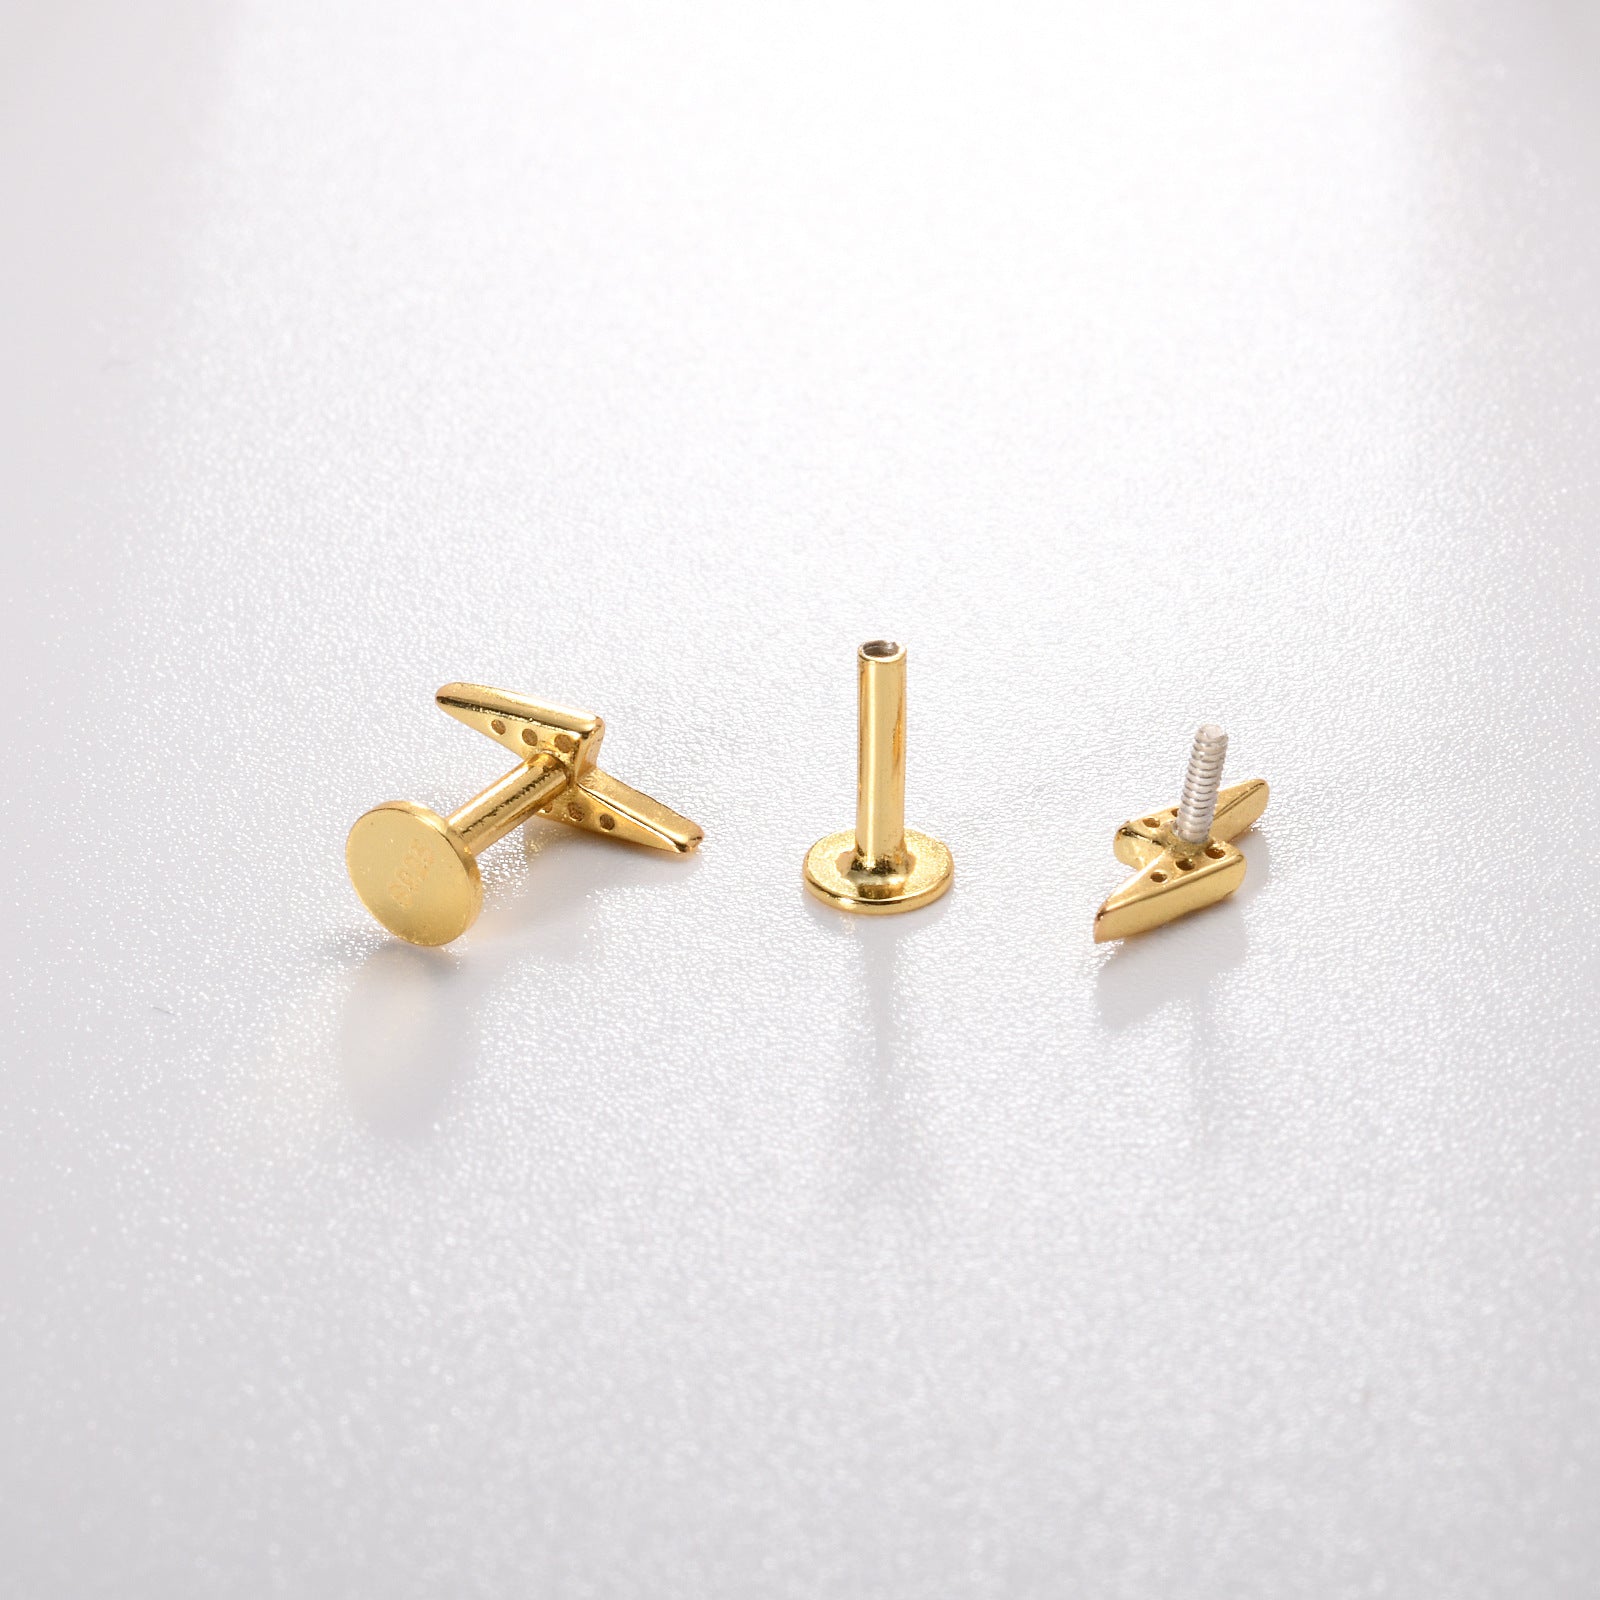
Step 1: Remove the Clip-On Mechanism
Carefully detach the clip-on backing using pliers. For hinged clips, unscrew or pry open the hinge. Avoid excessive force to prevent bending the earring’s front design.
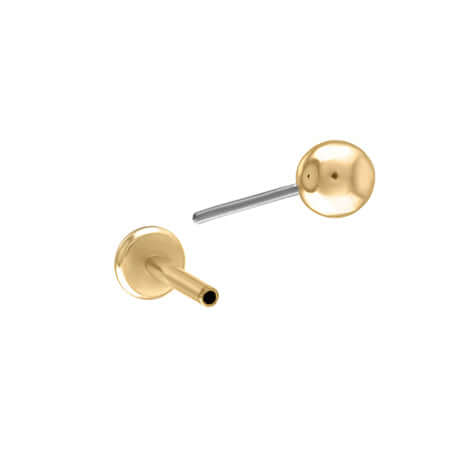
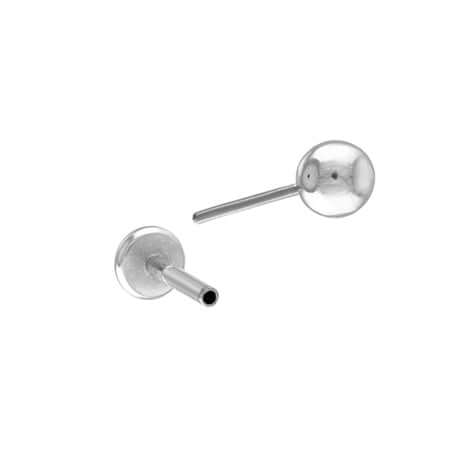
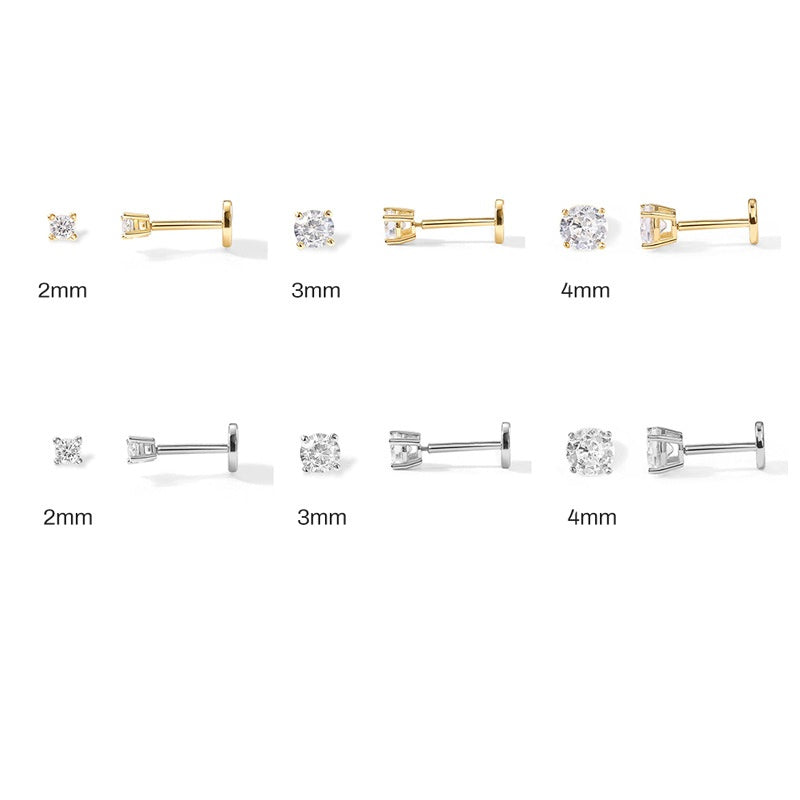
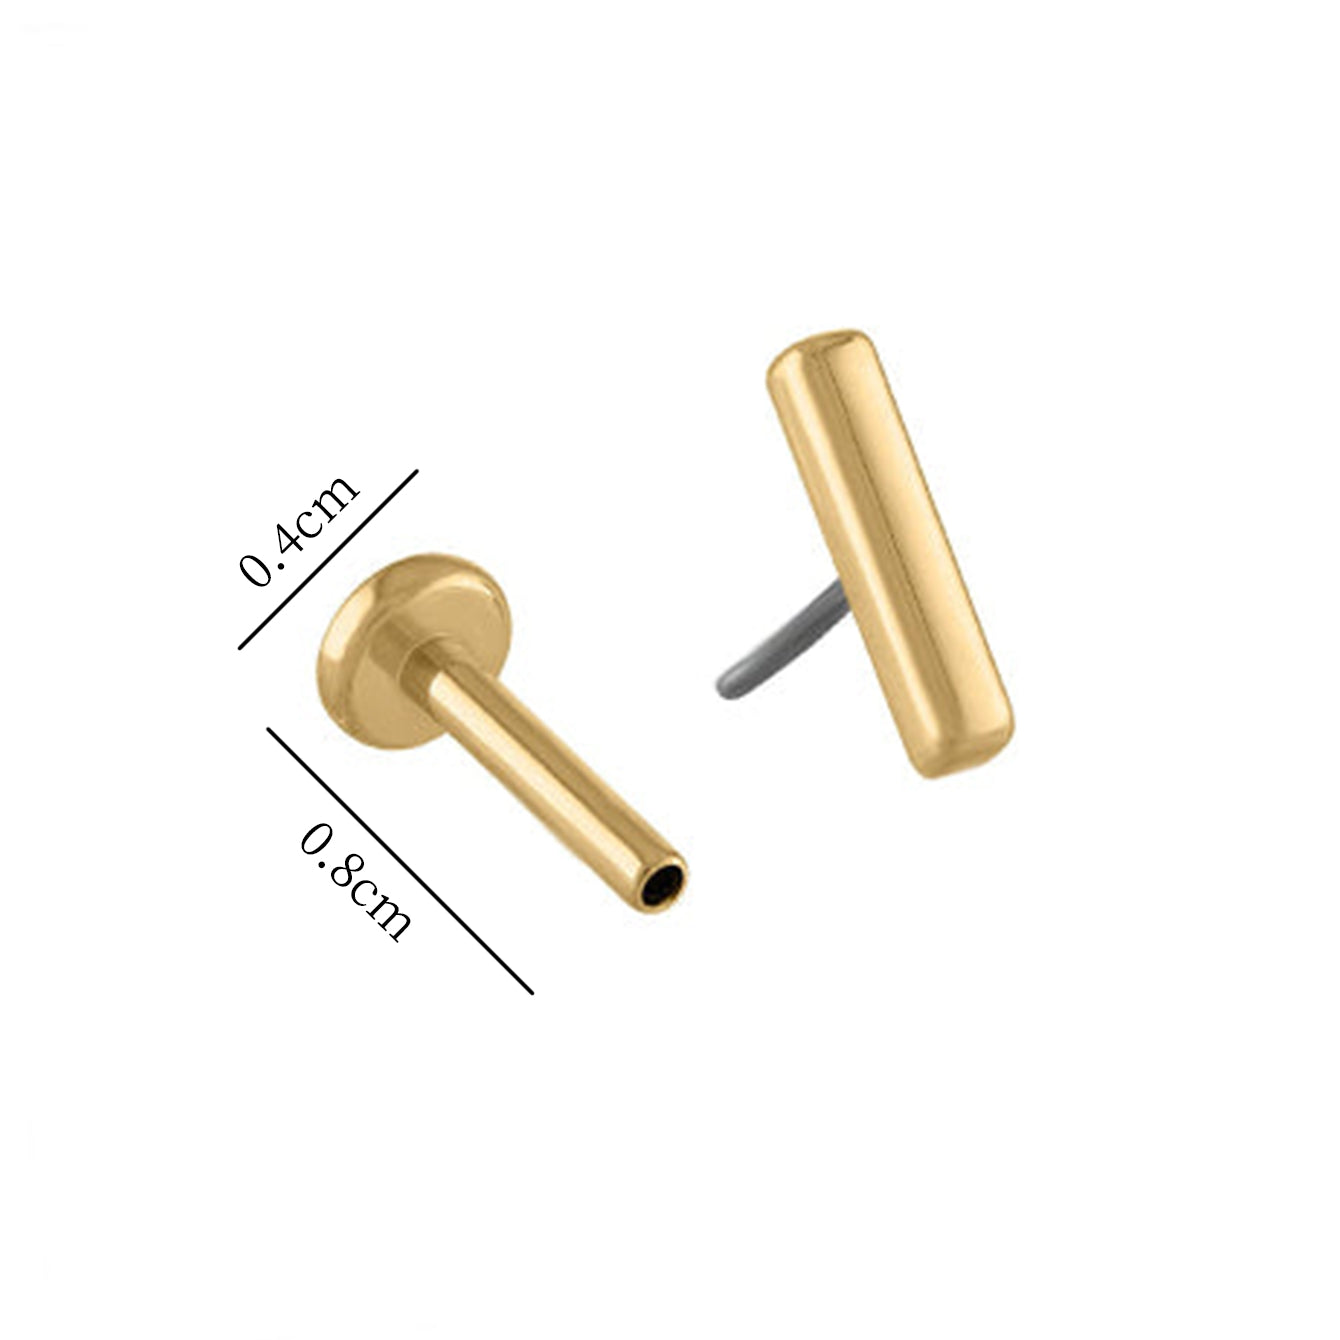
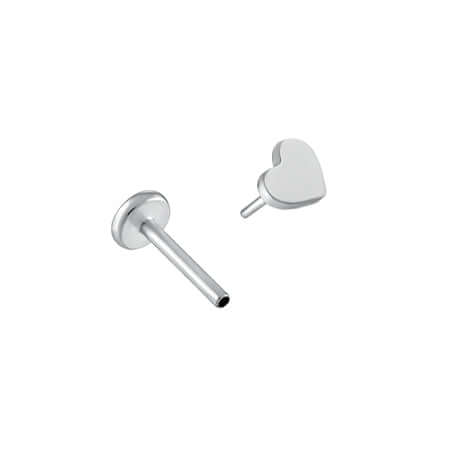
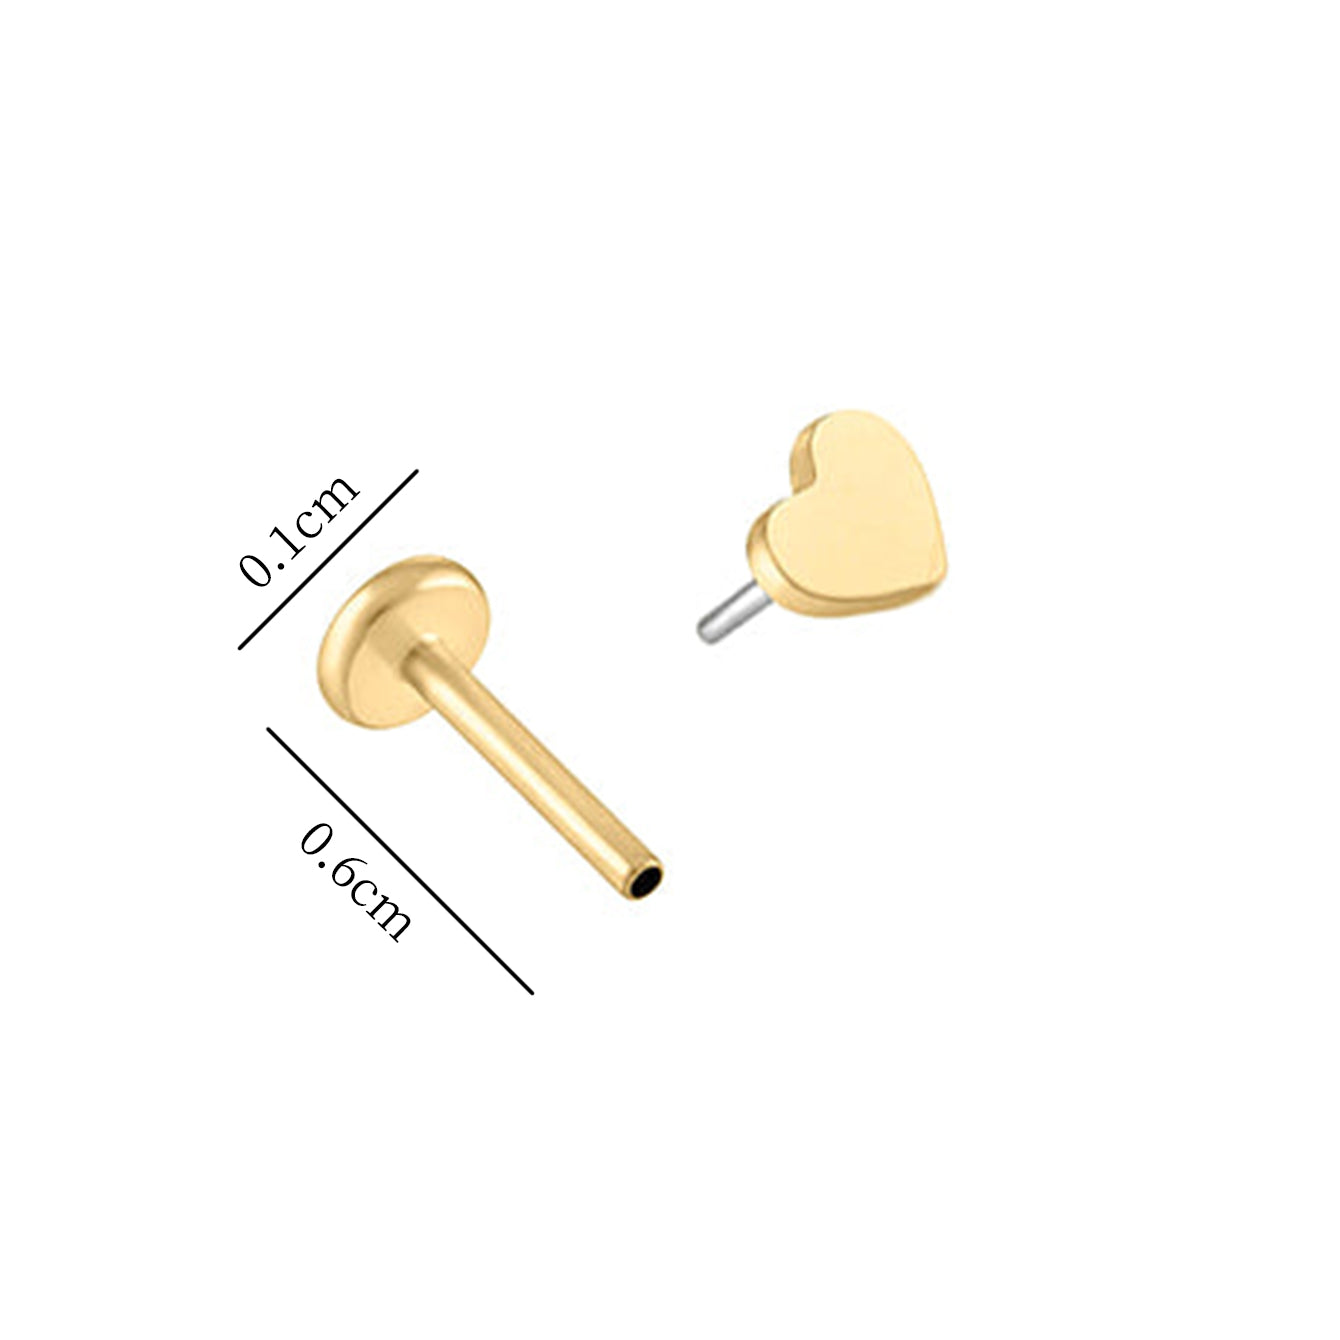
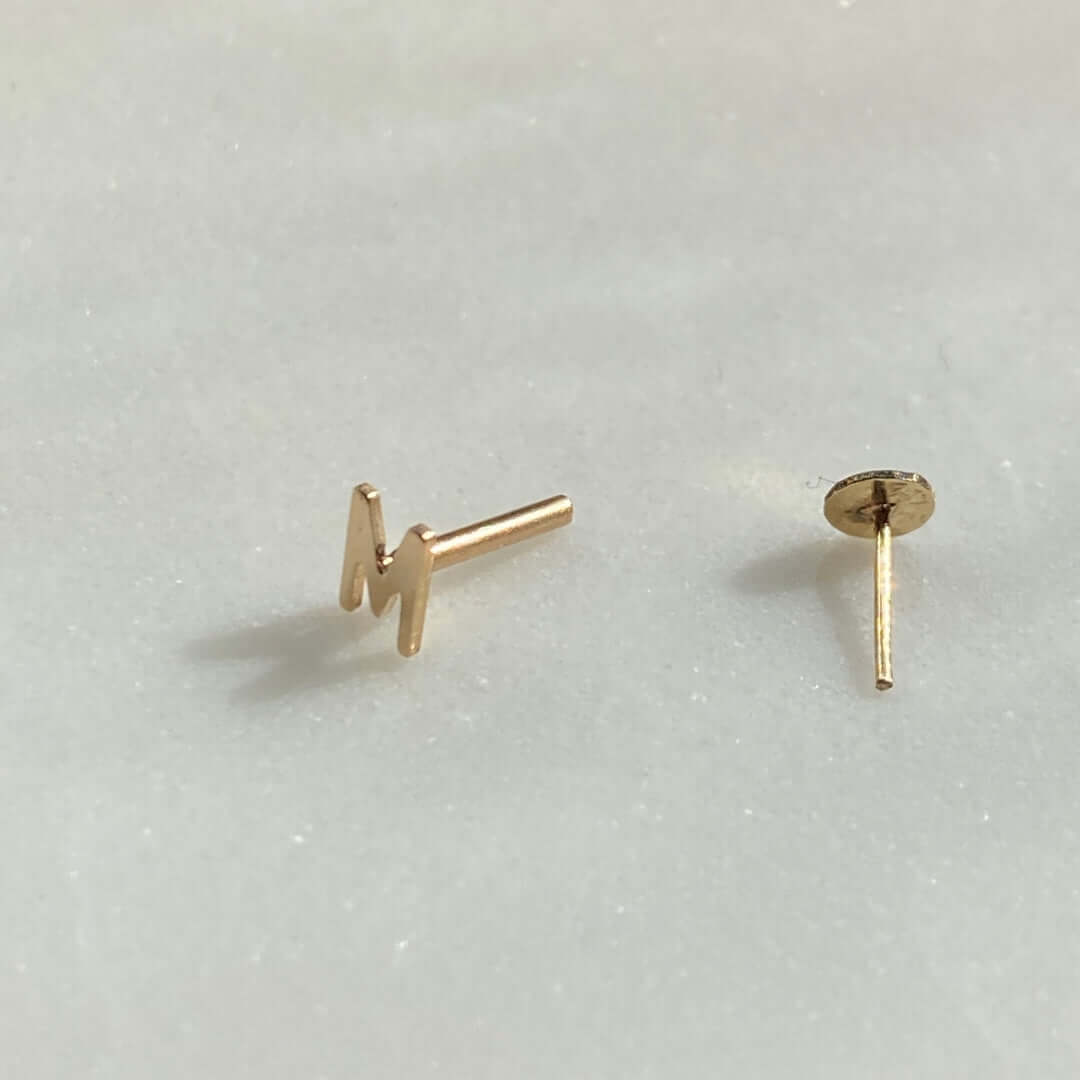
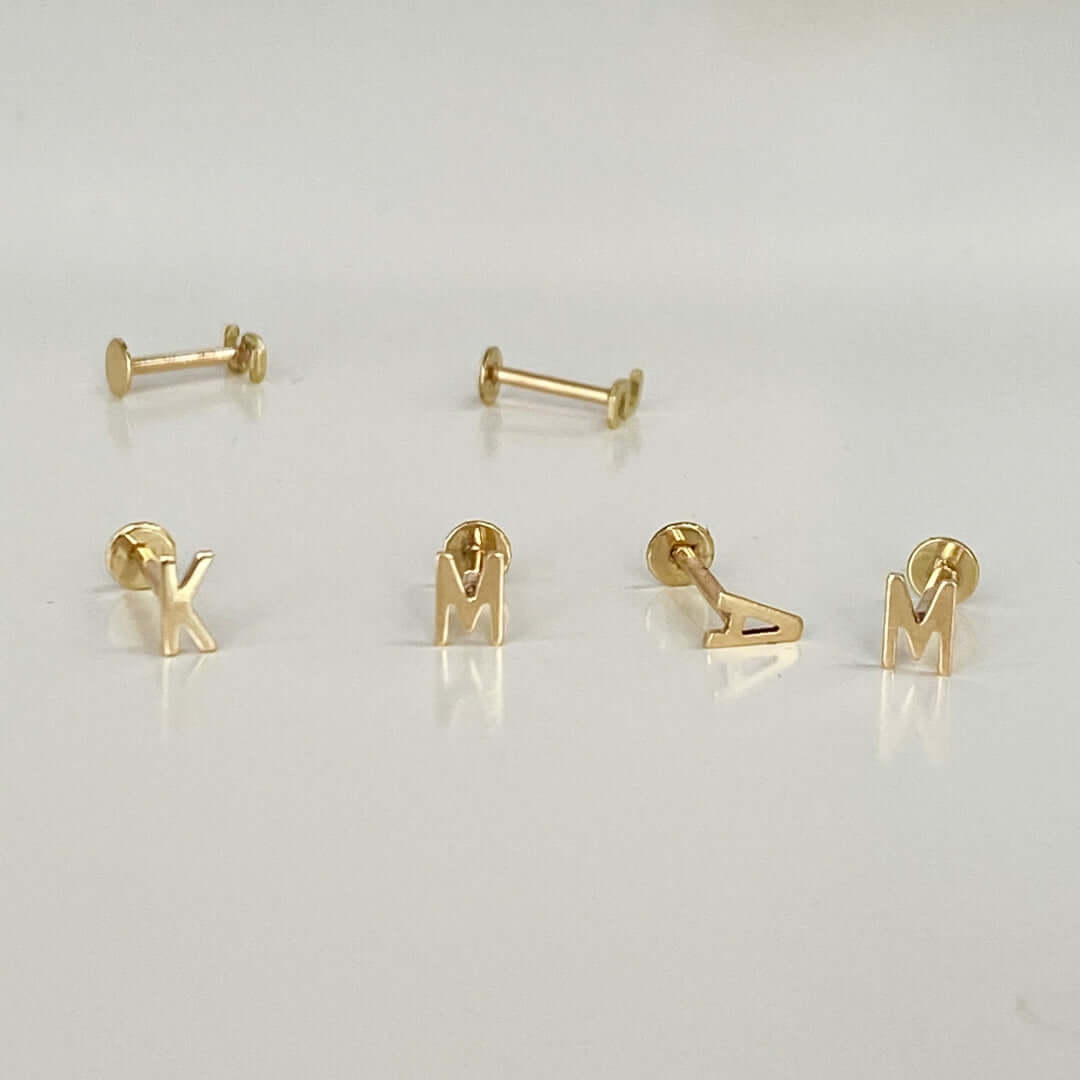
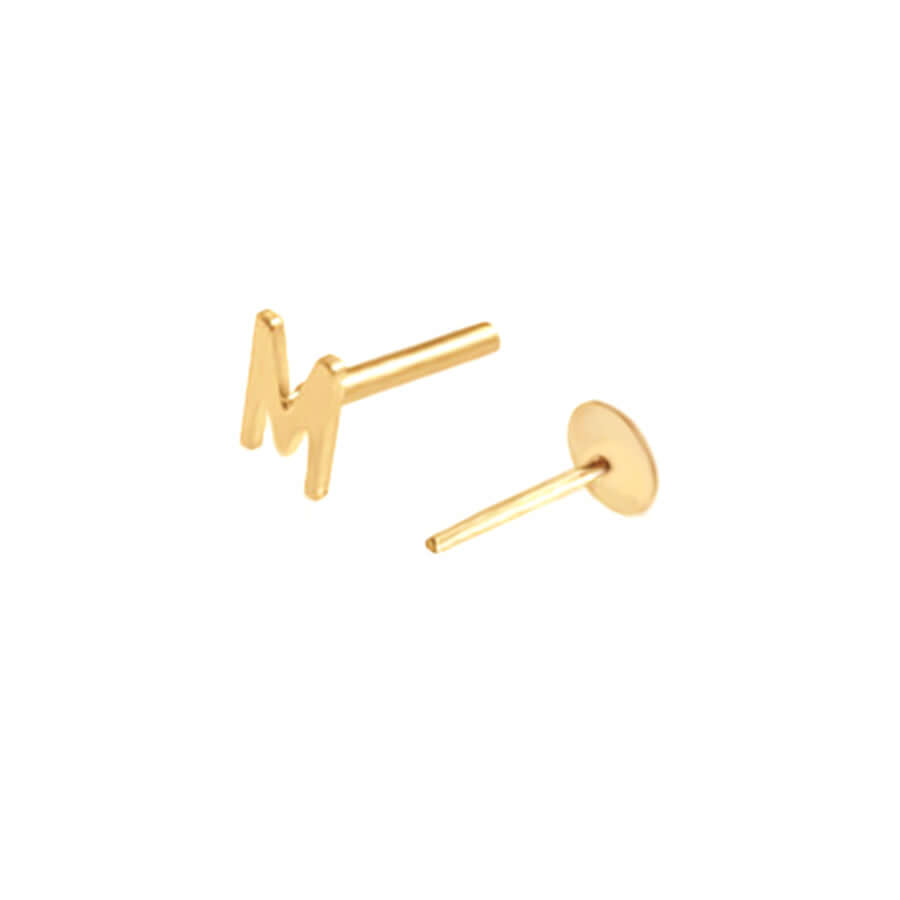
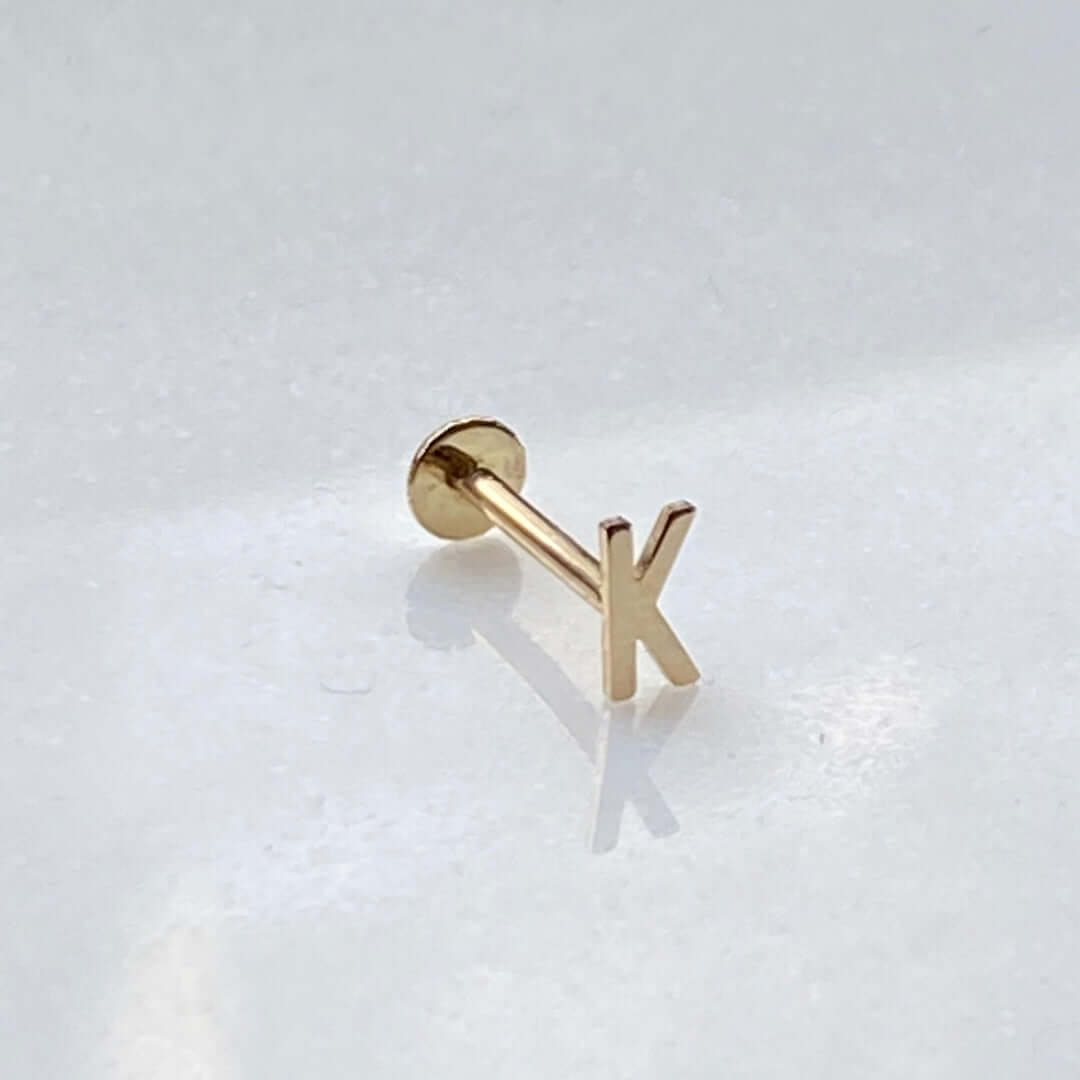
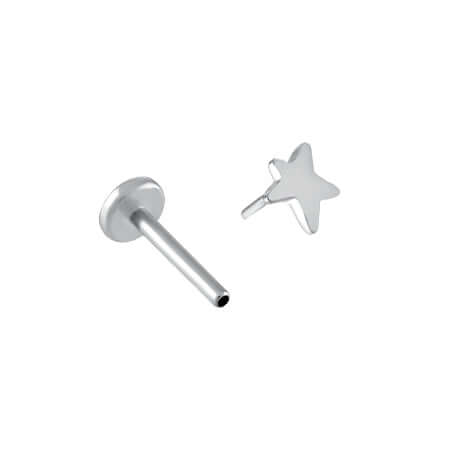
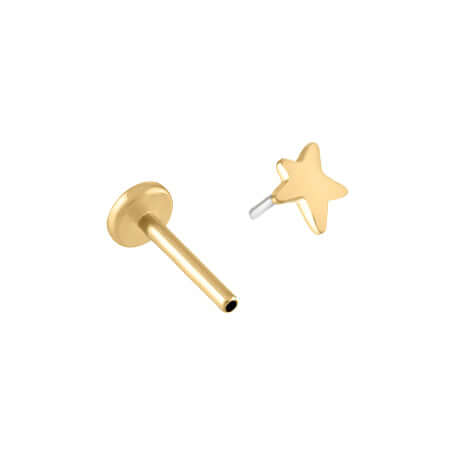
Step 2: Prepare the Piercing Post
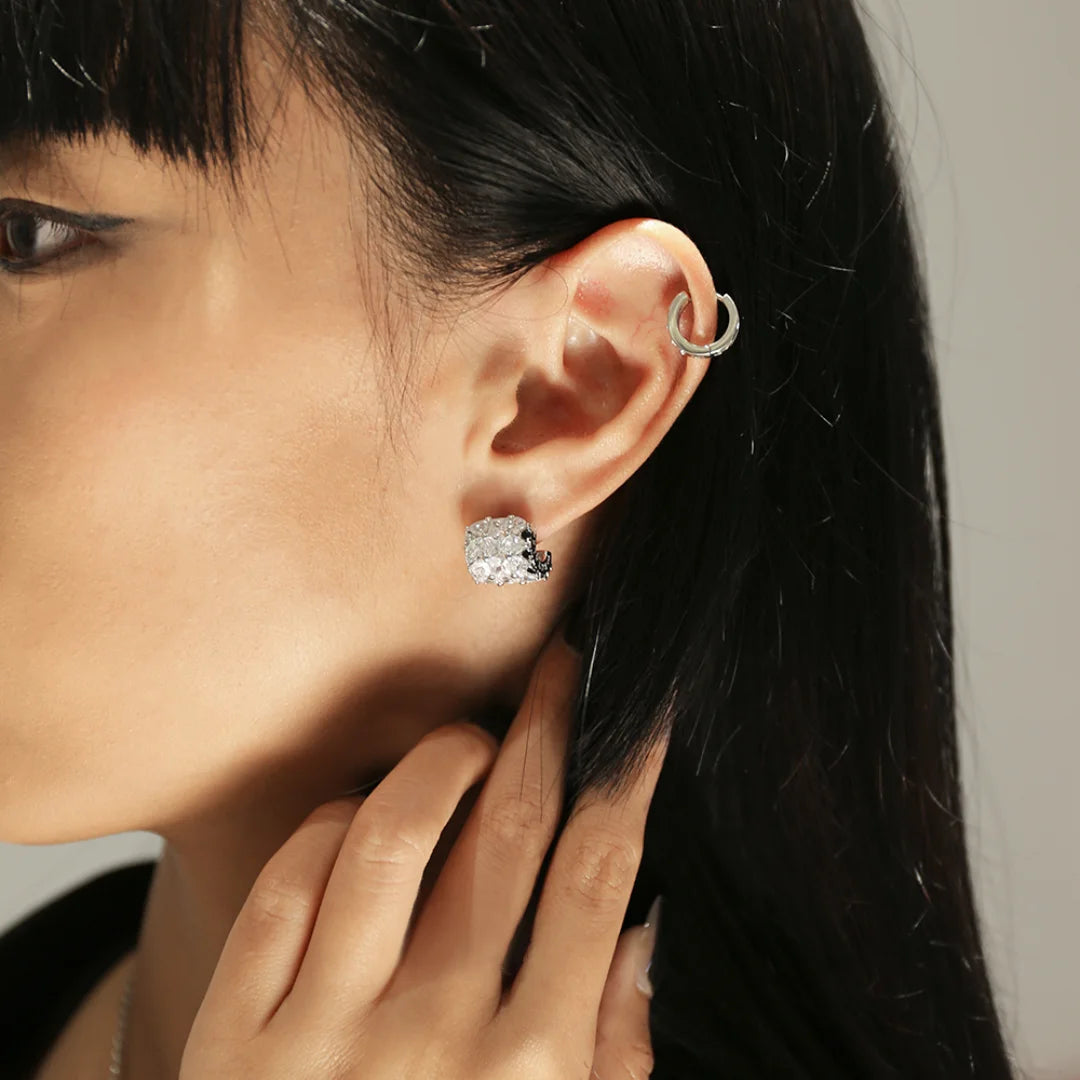
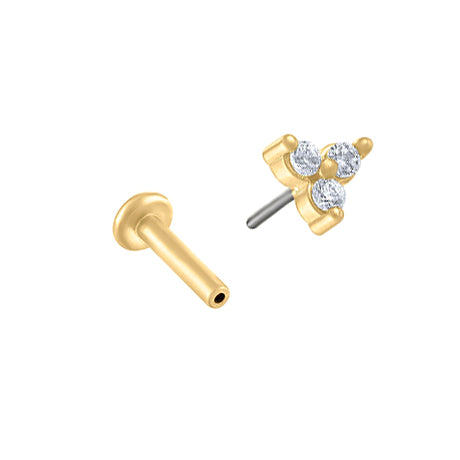
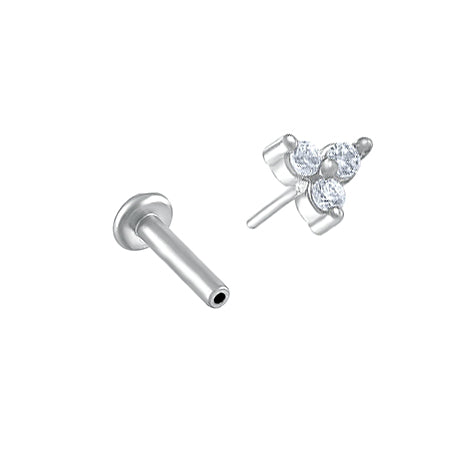
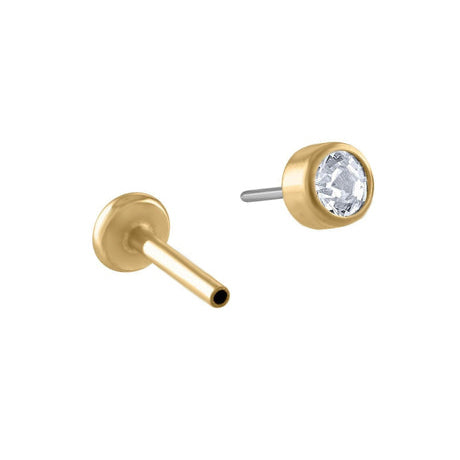
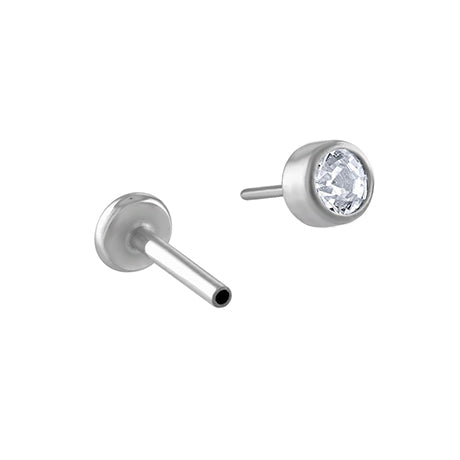
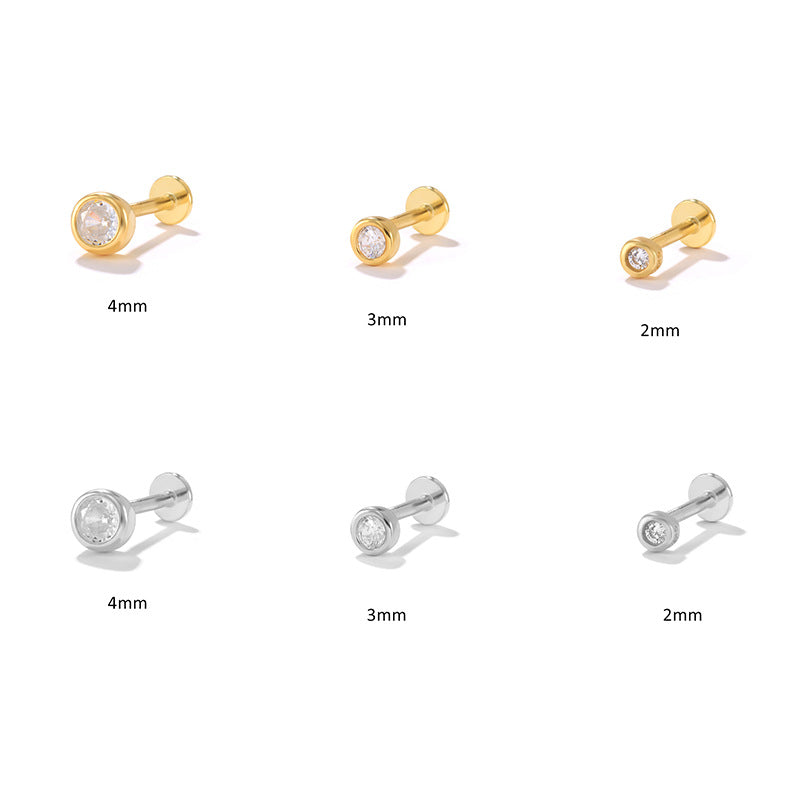
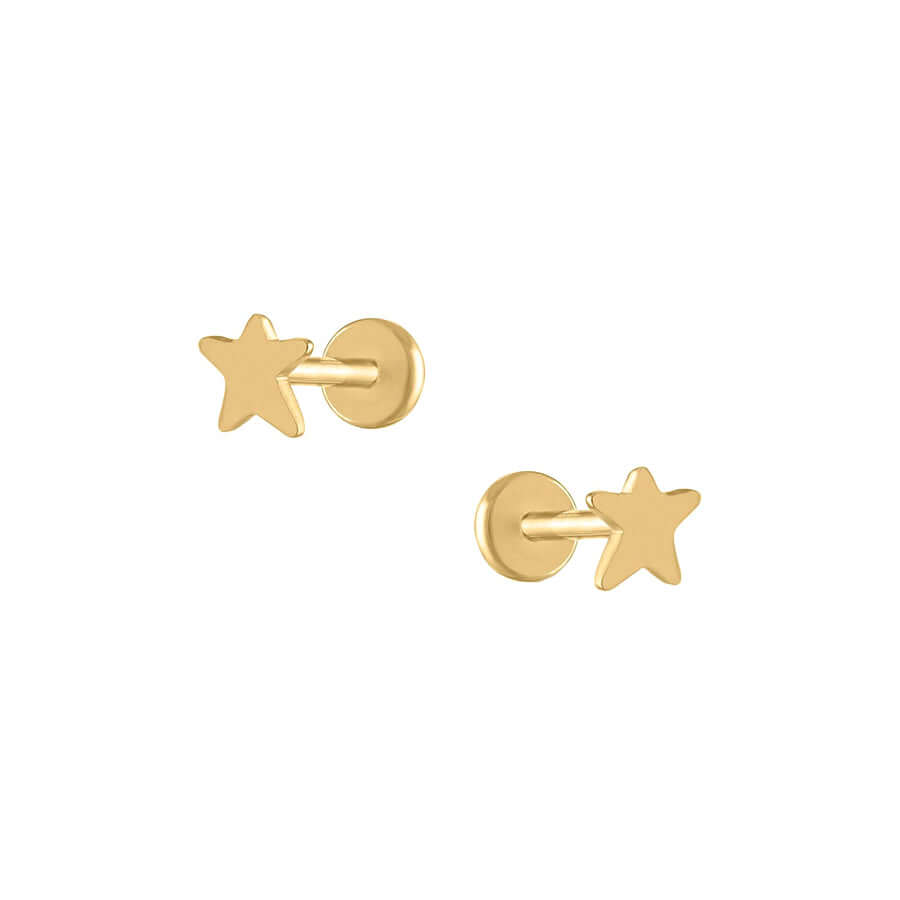
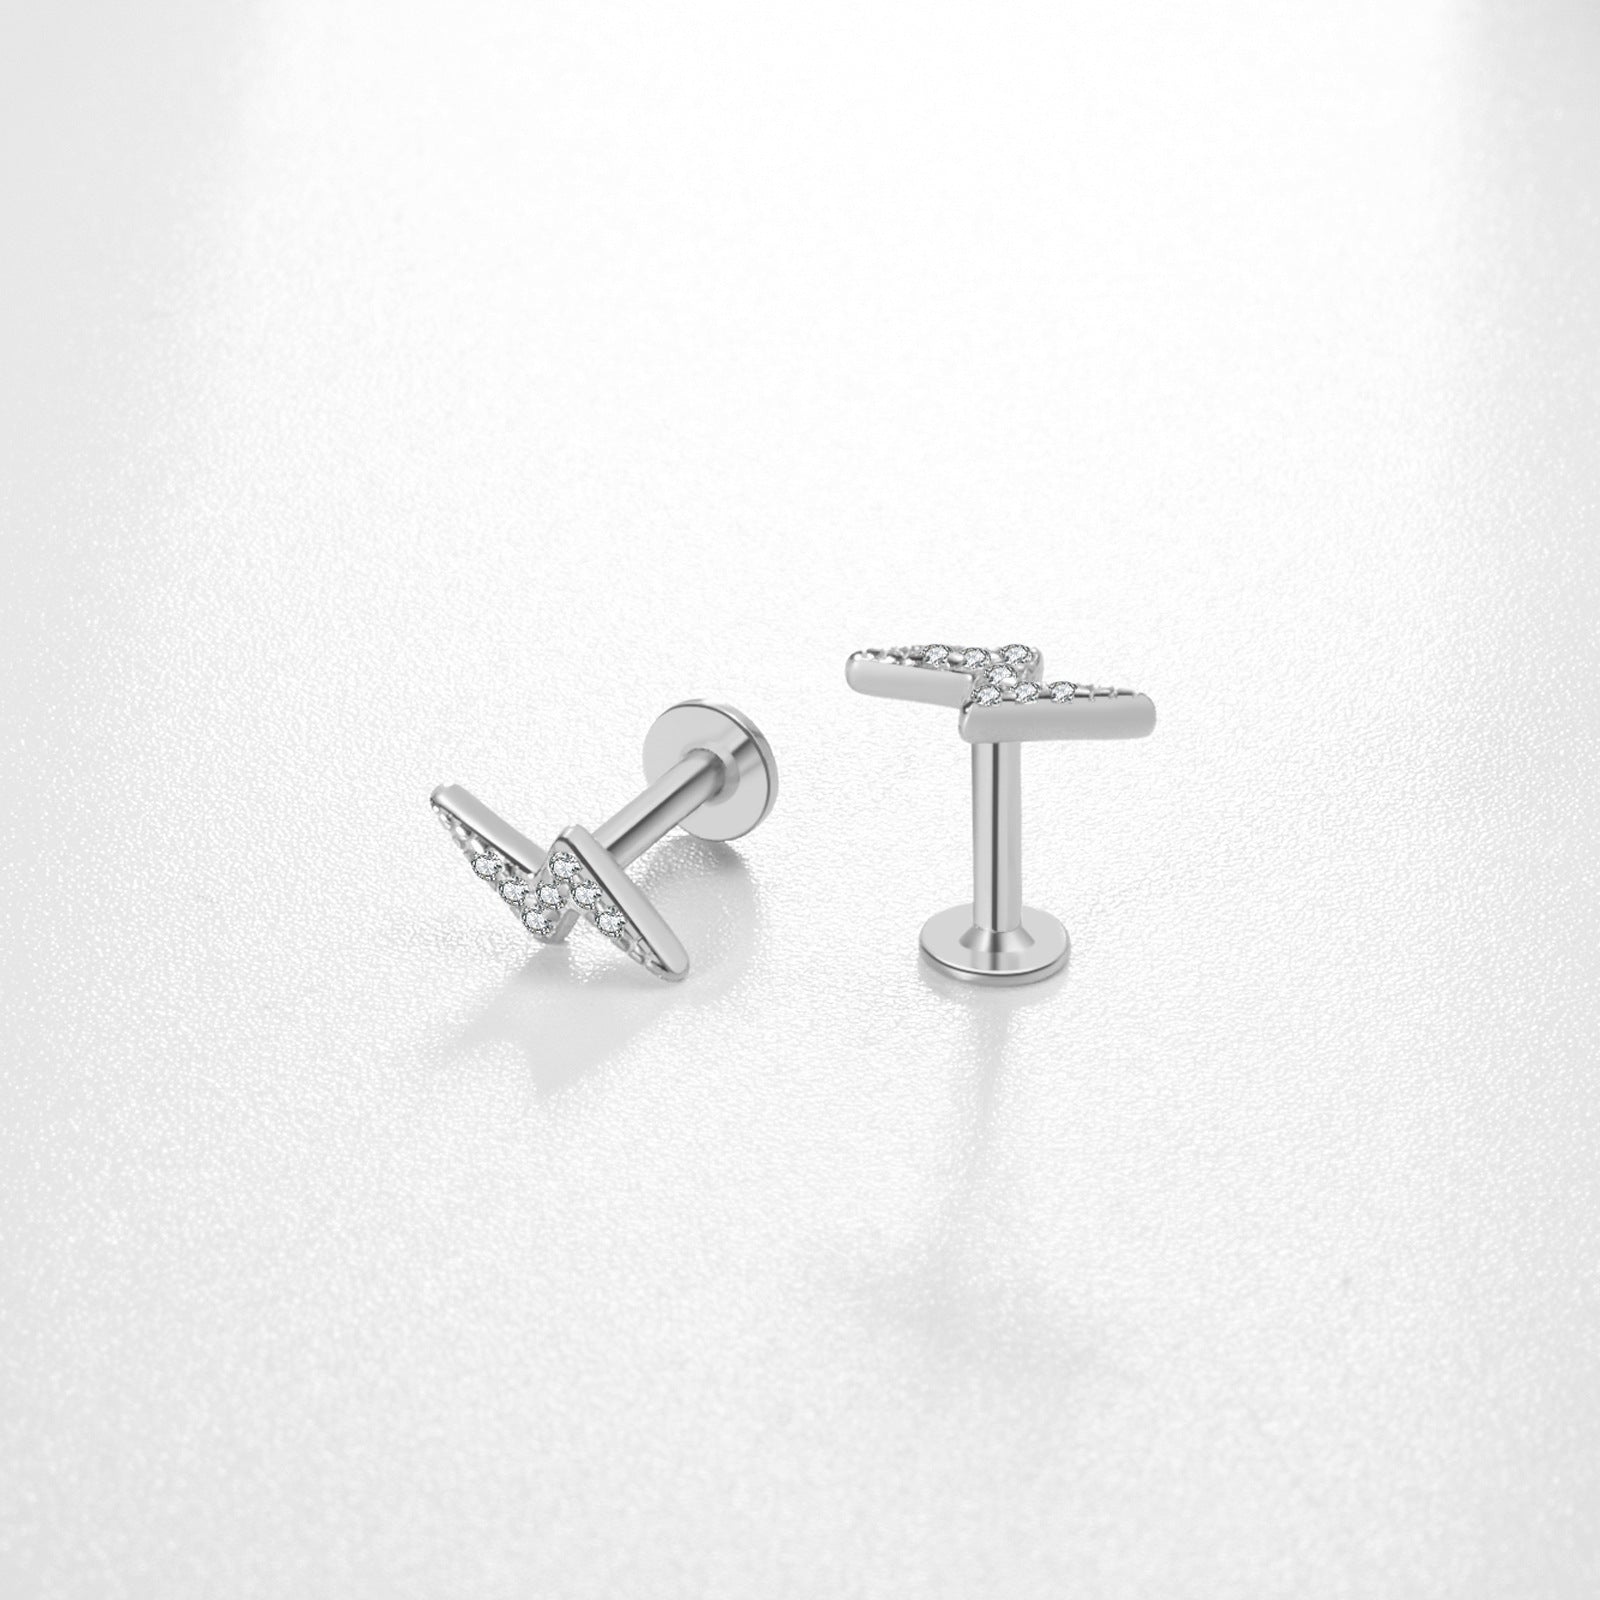
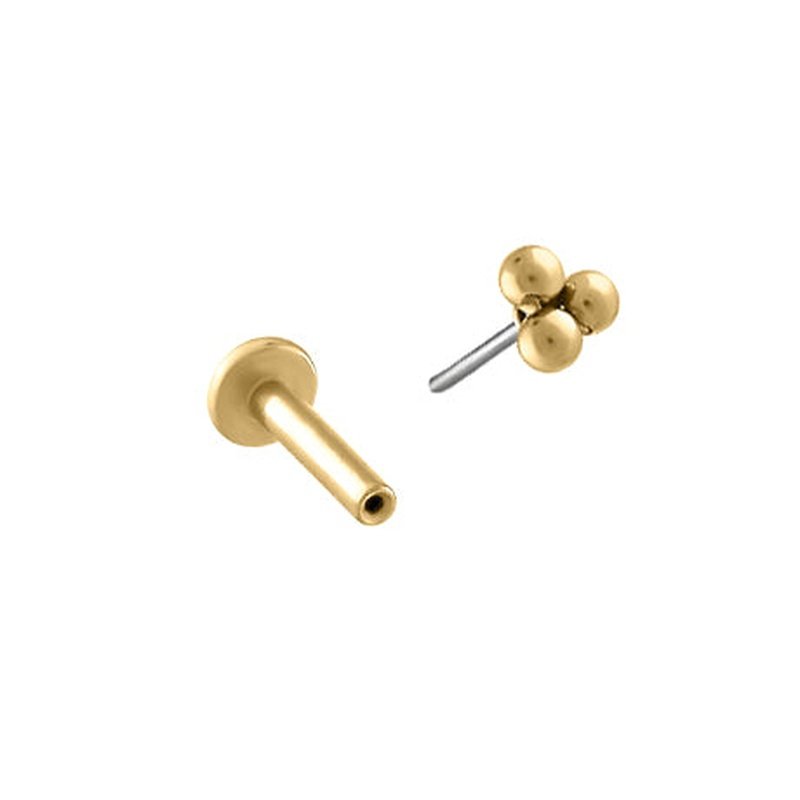
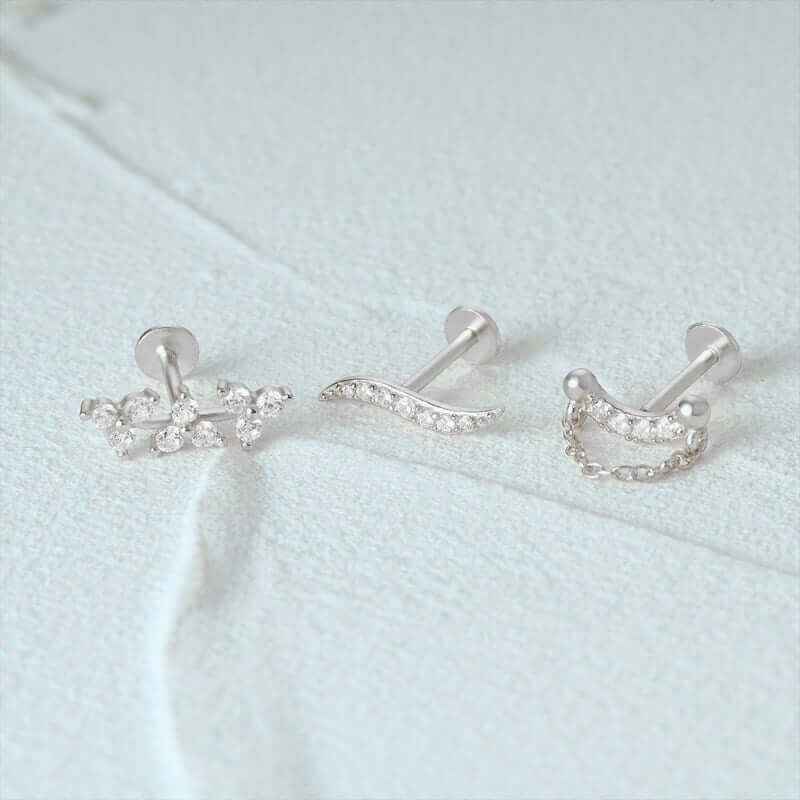
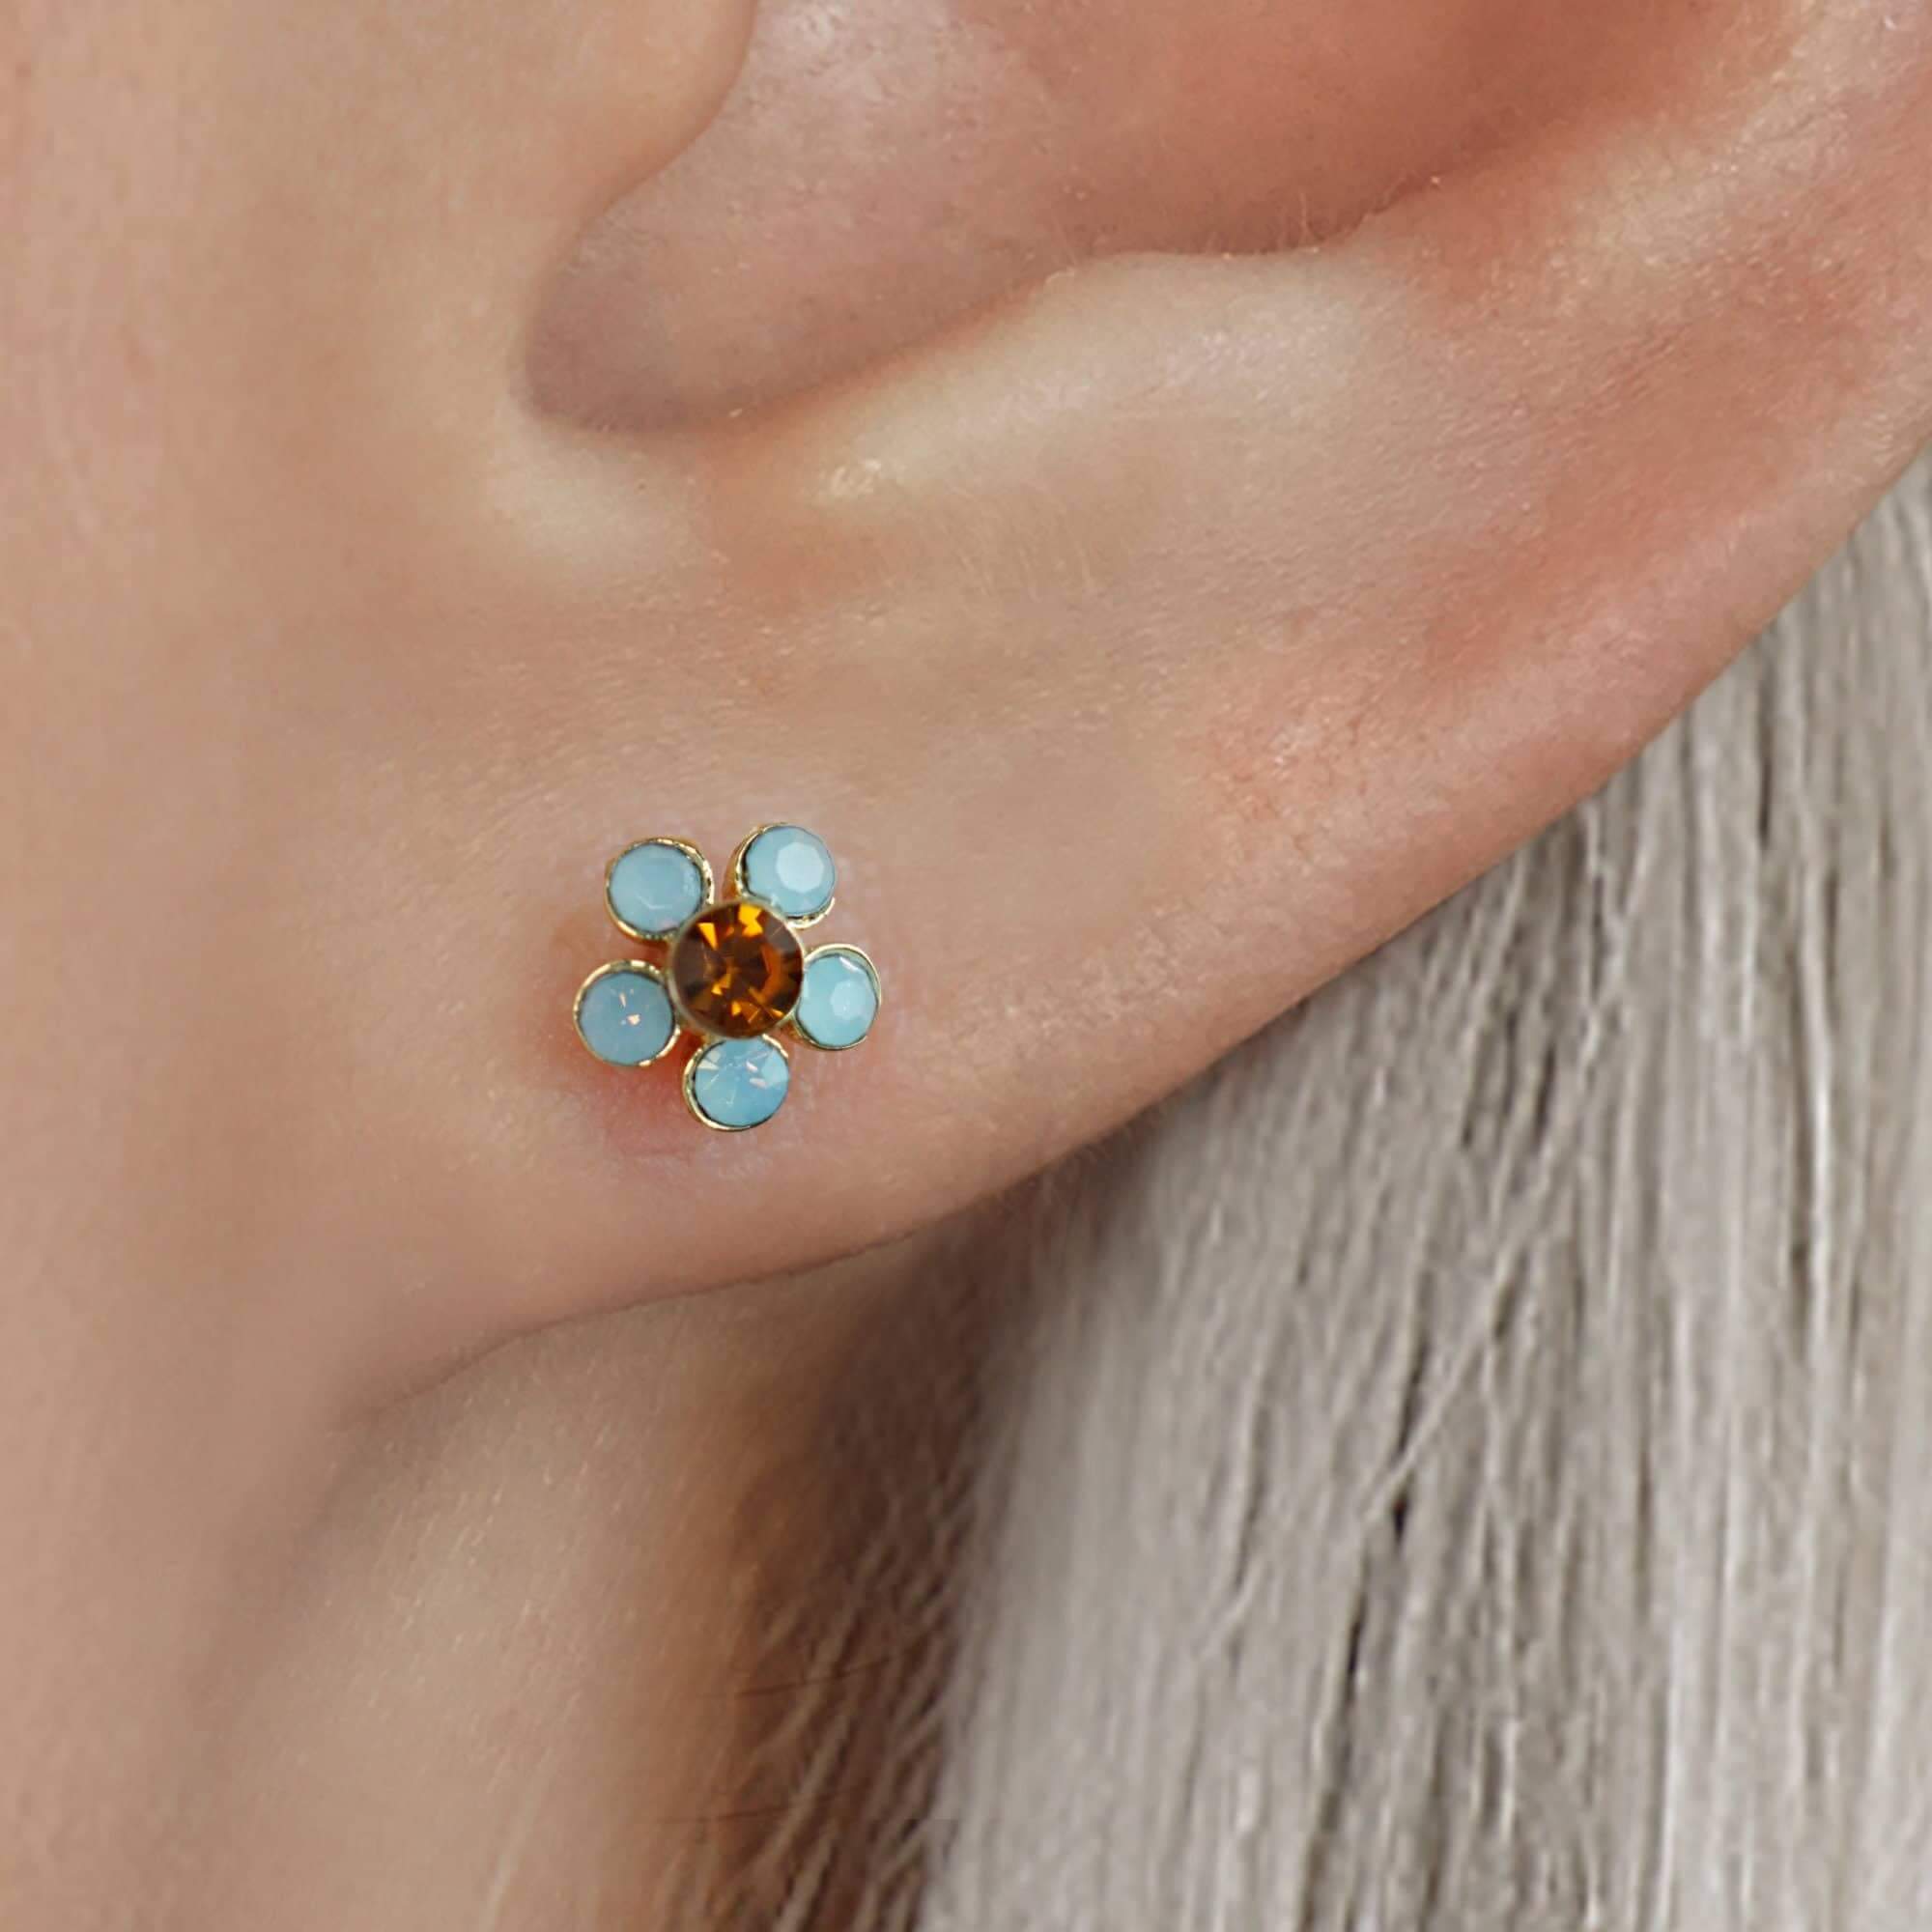
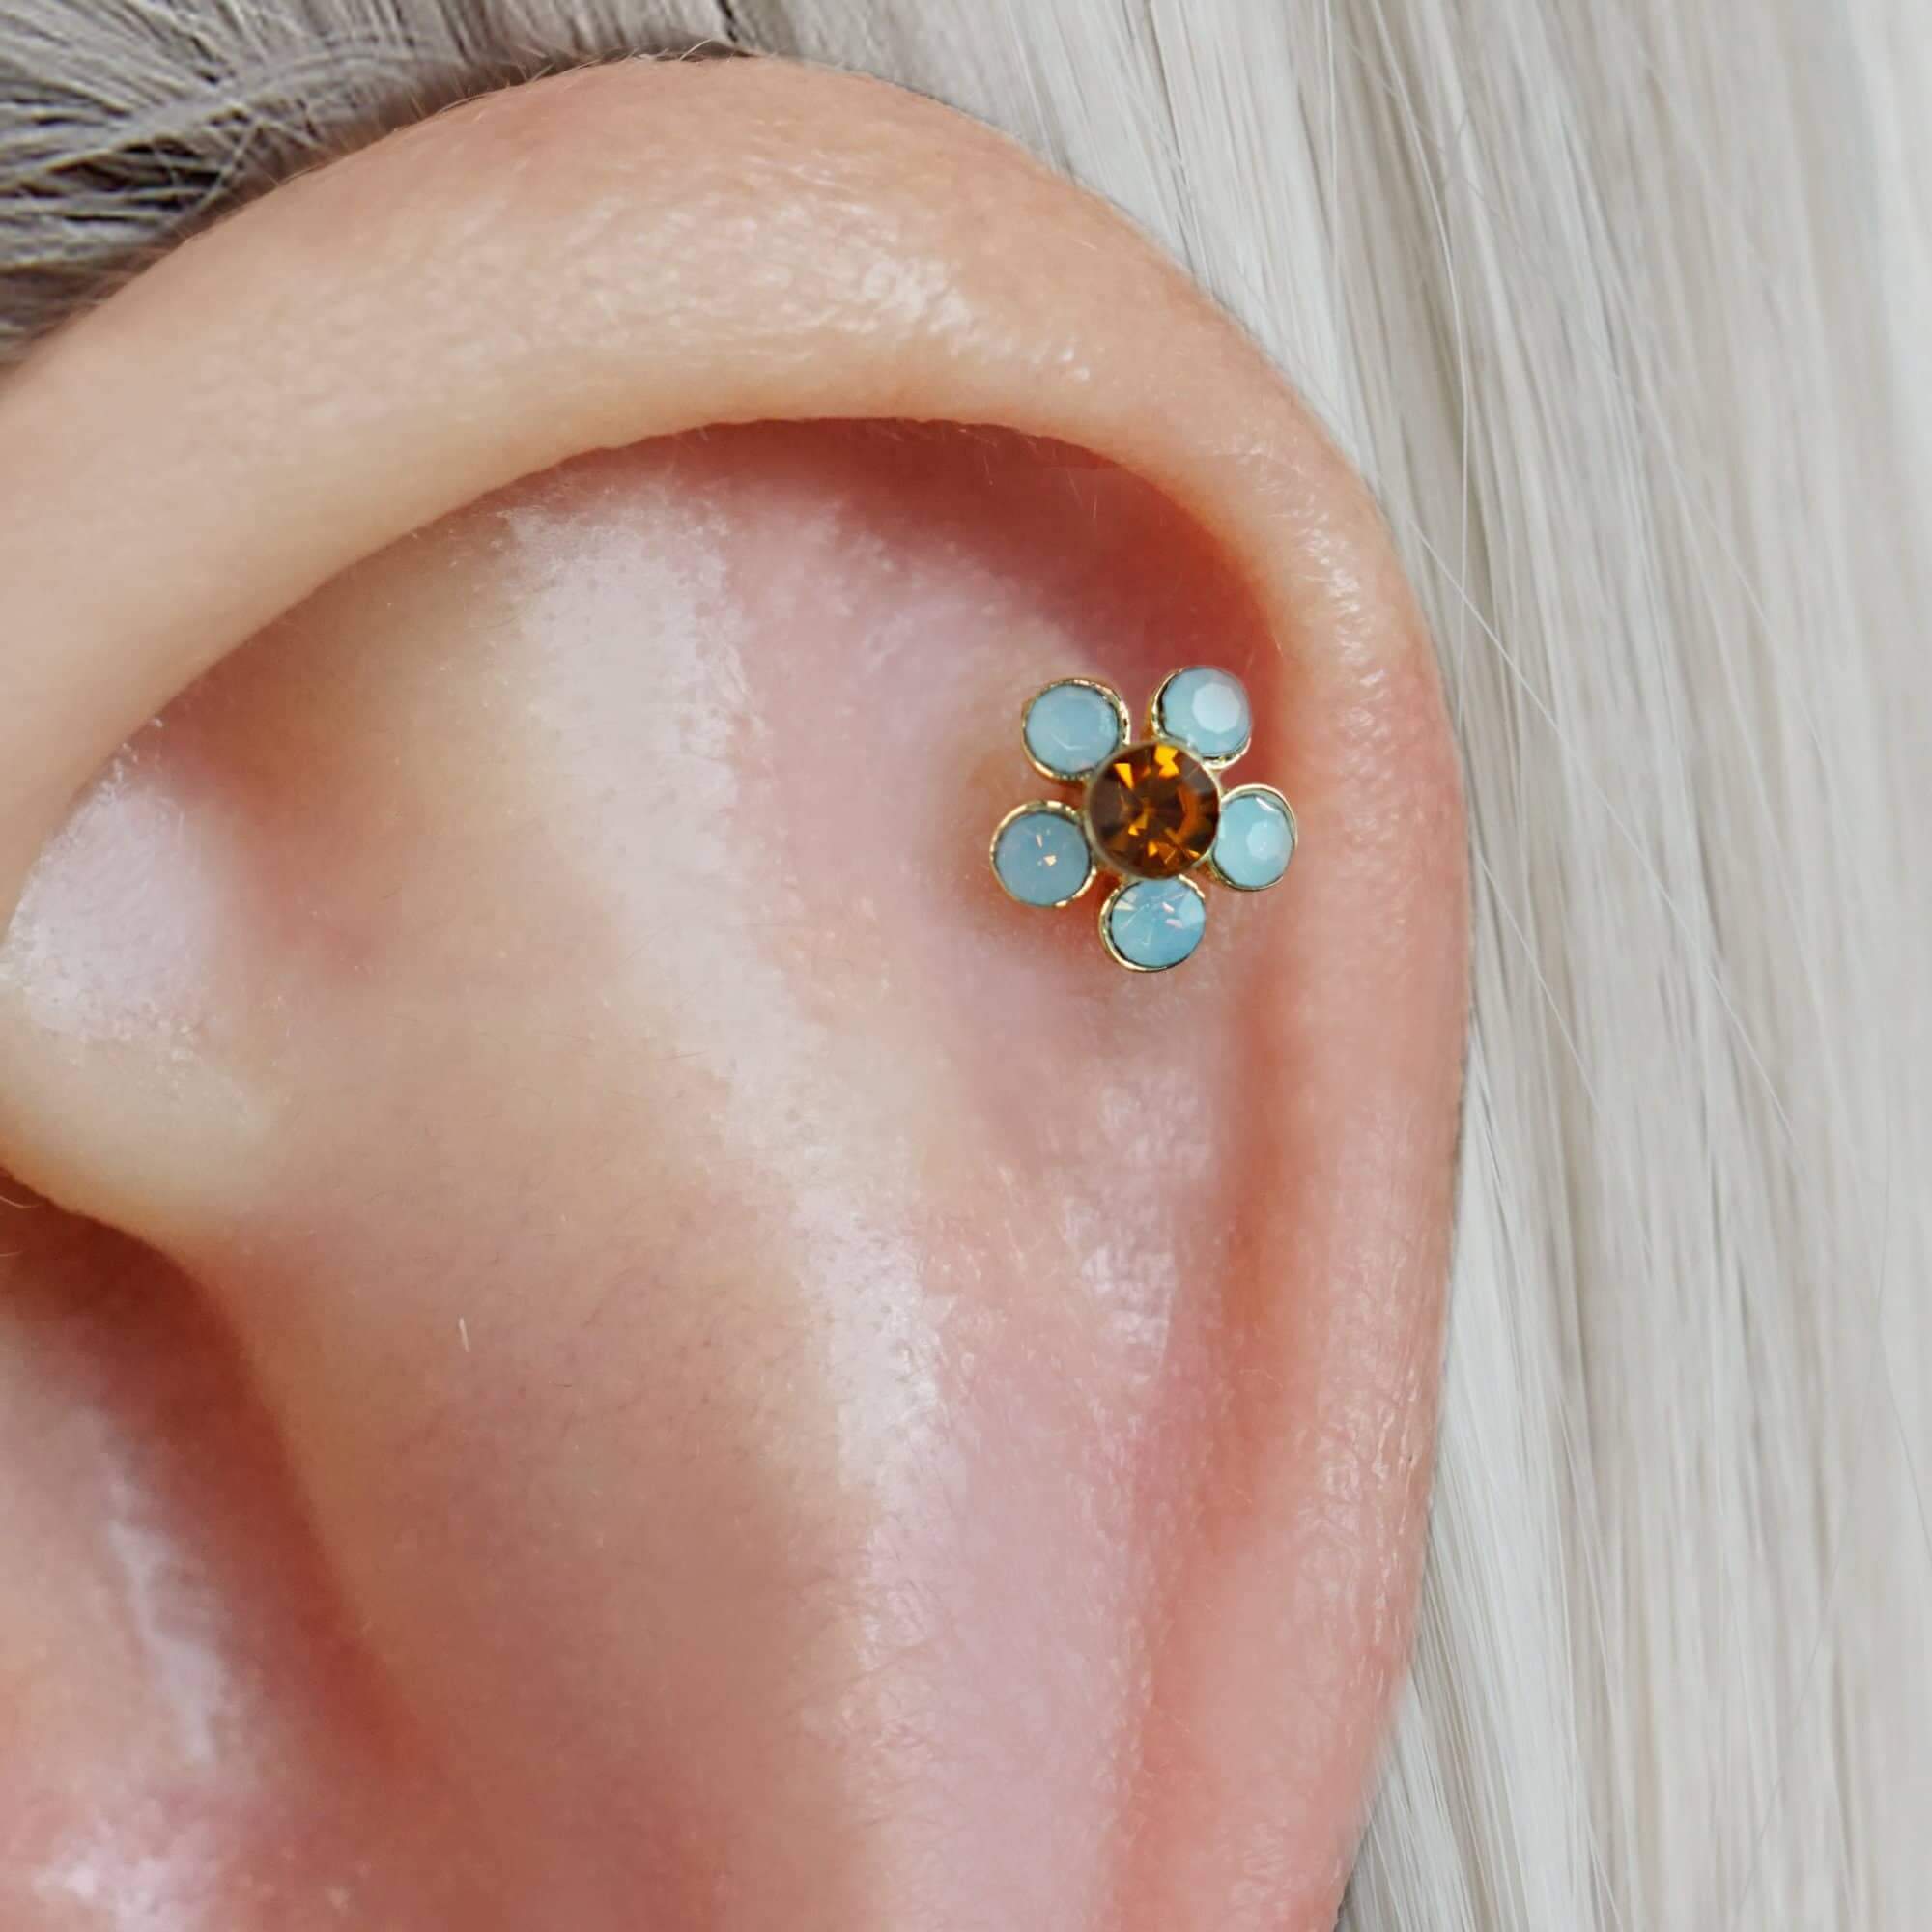
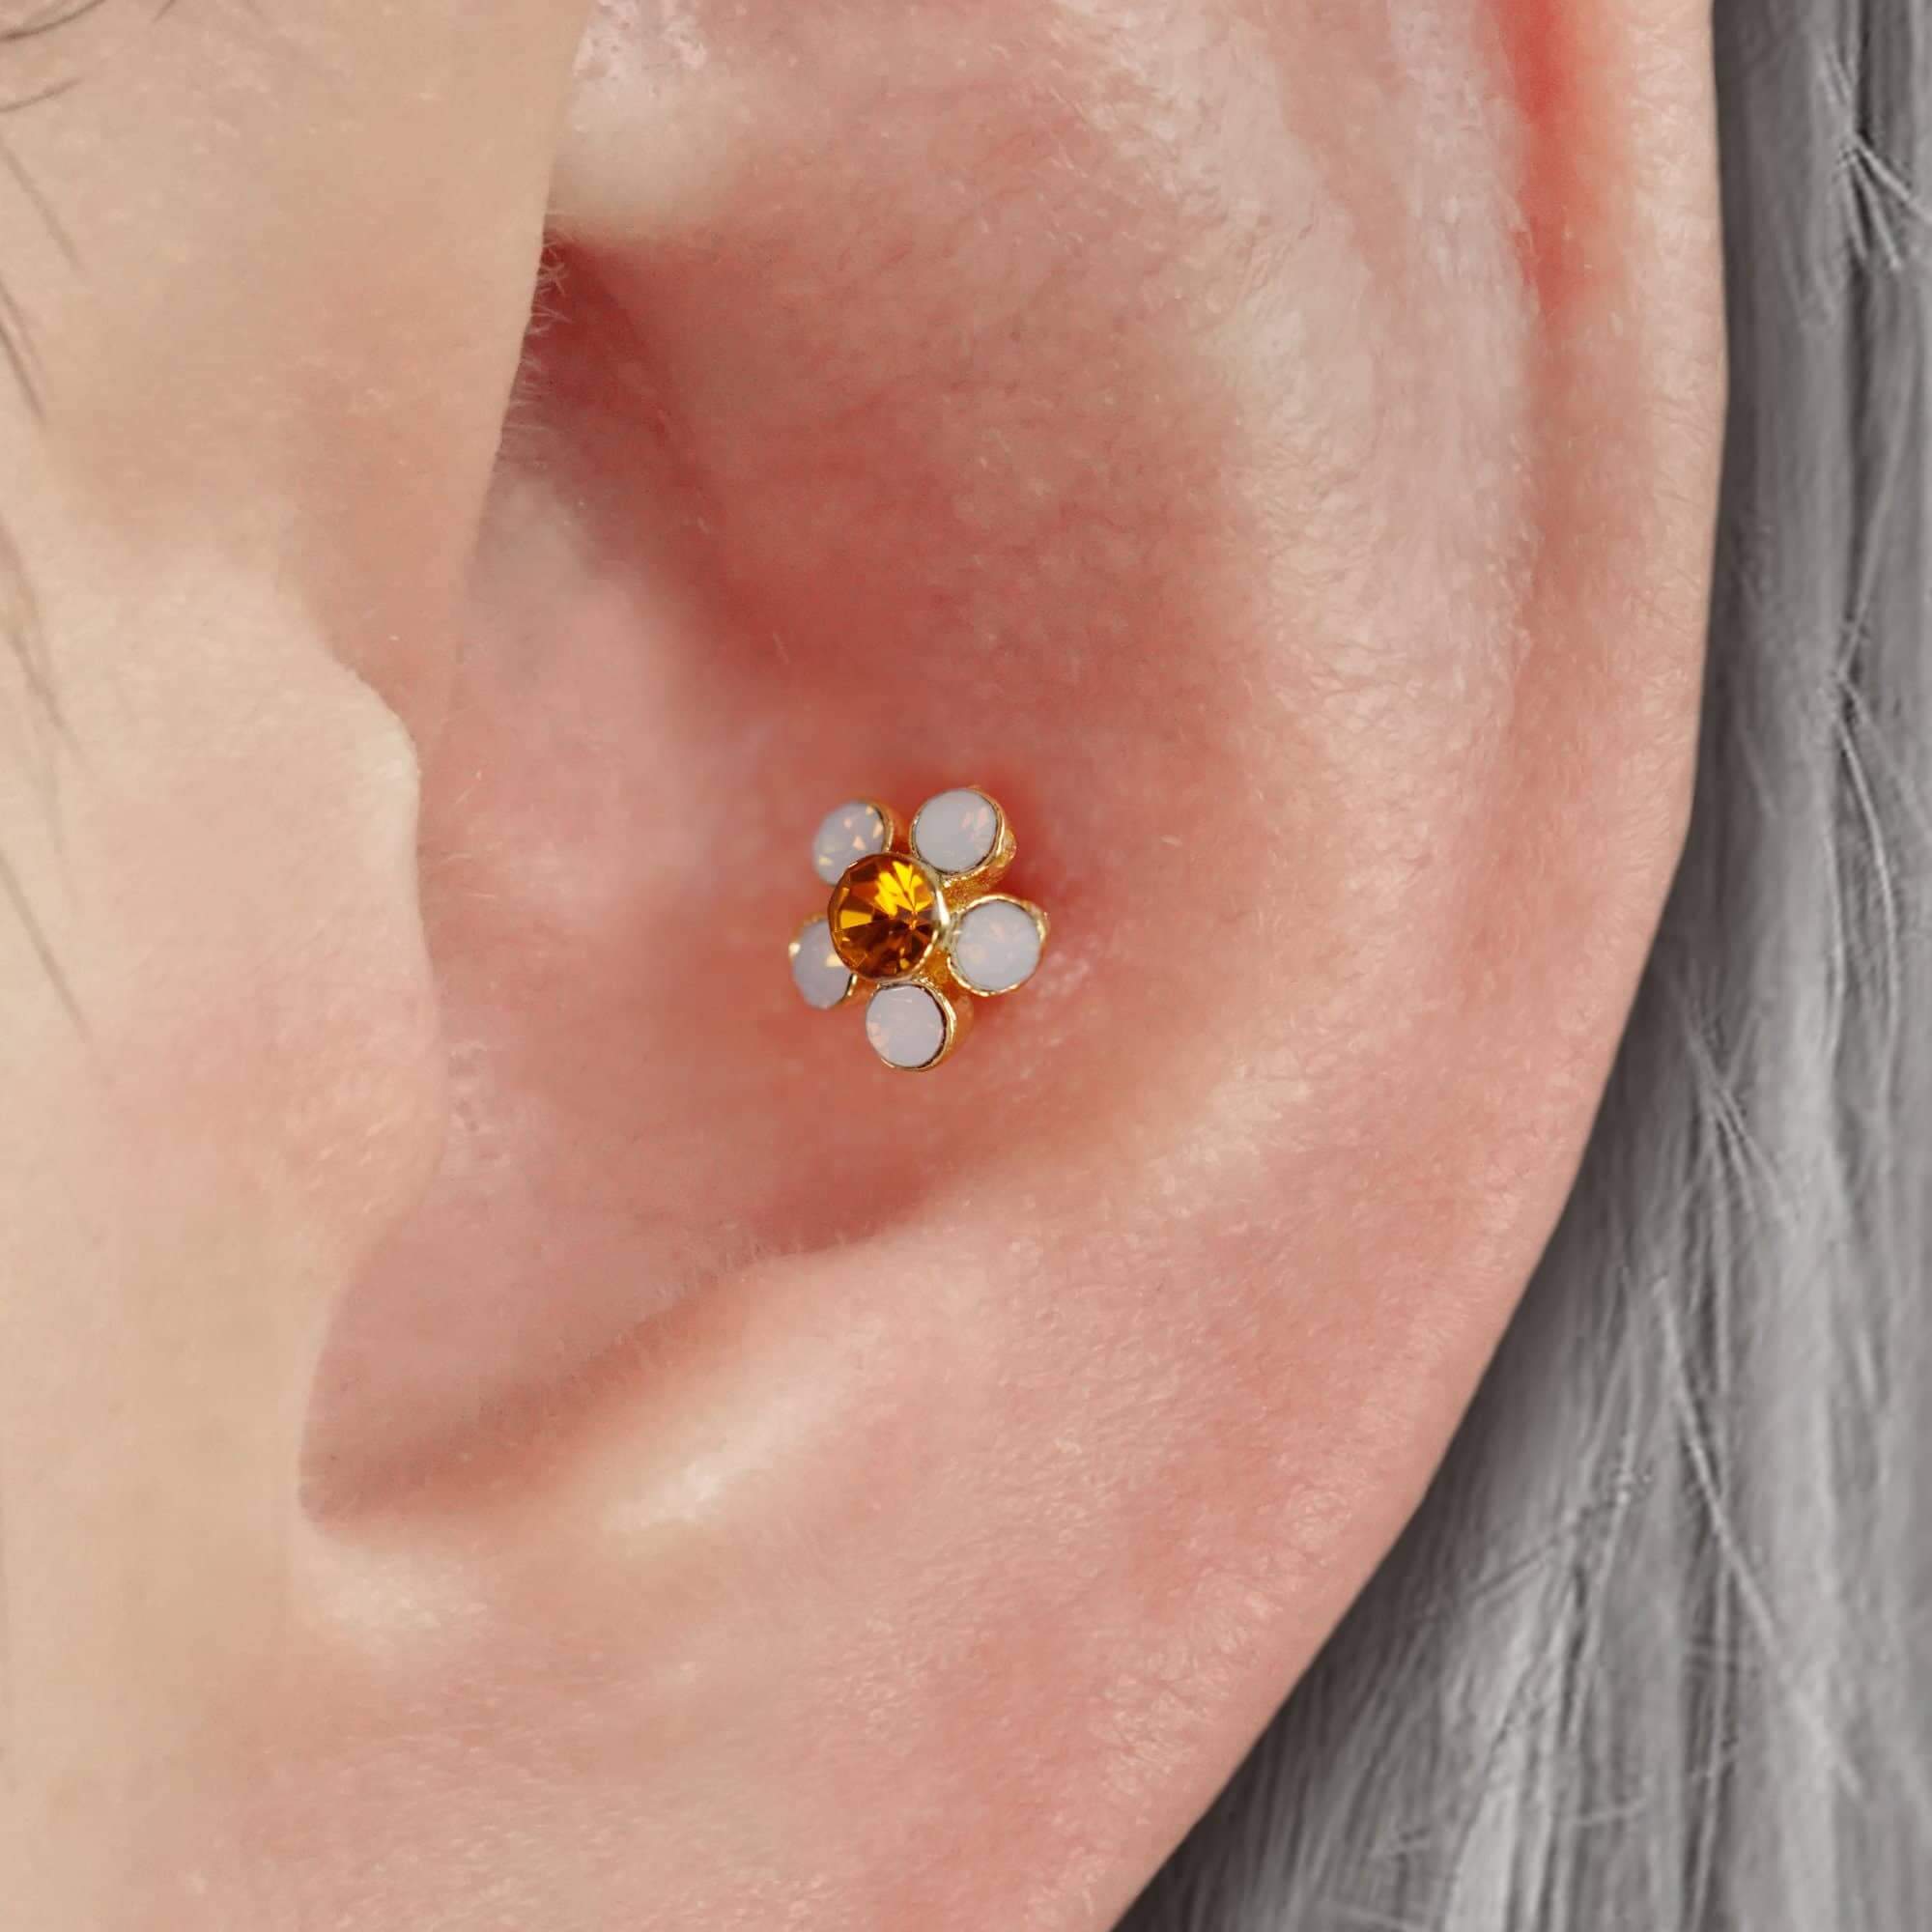
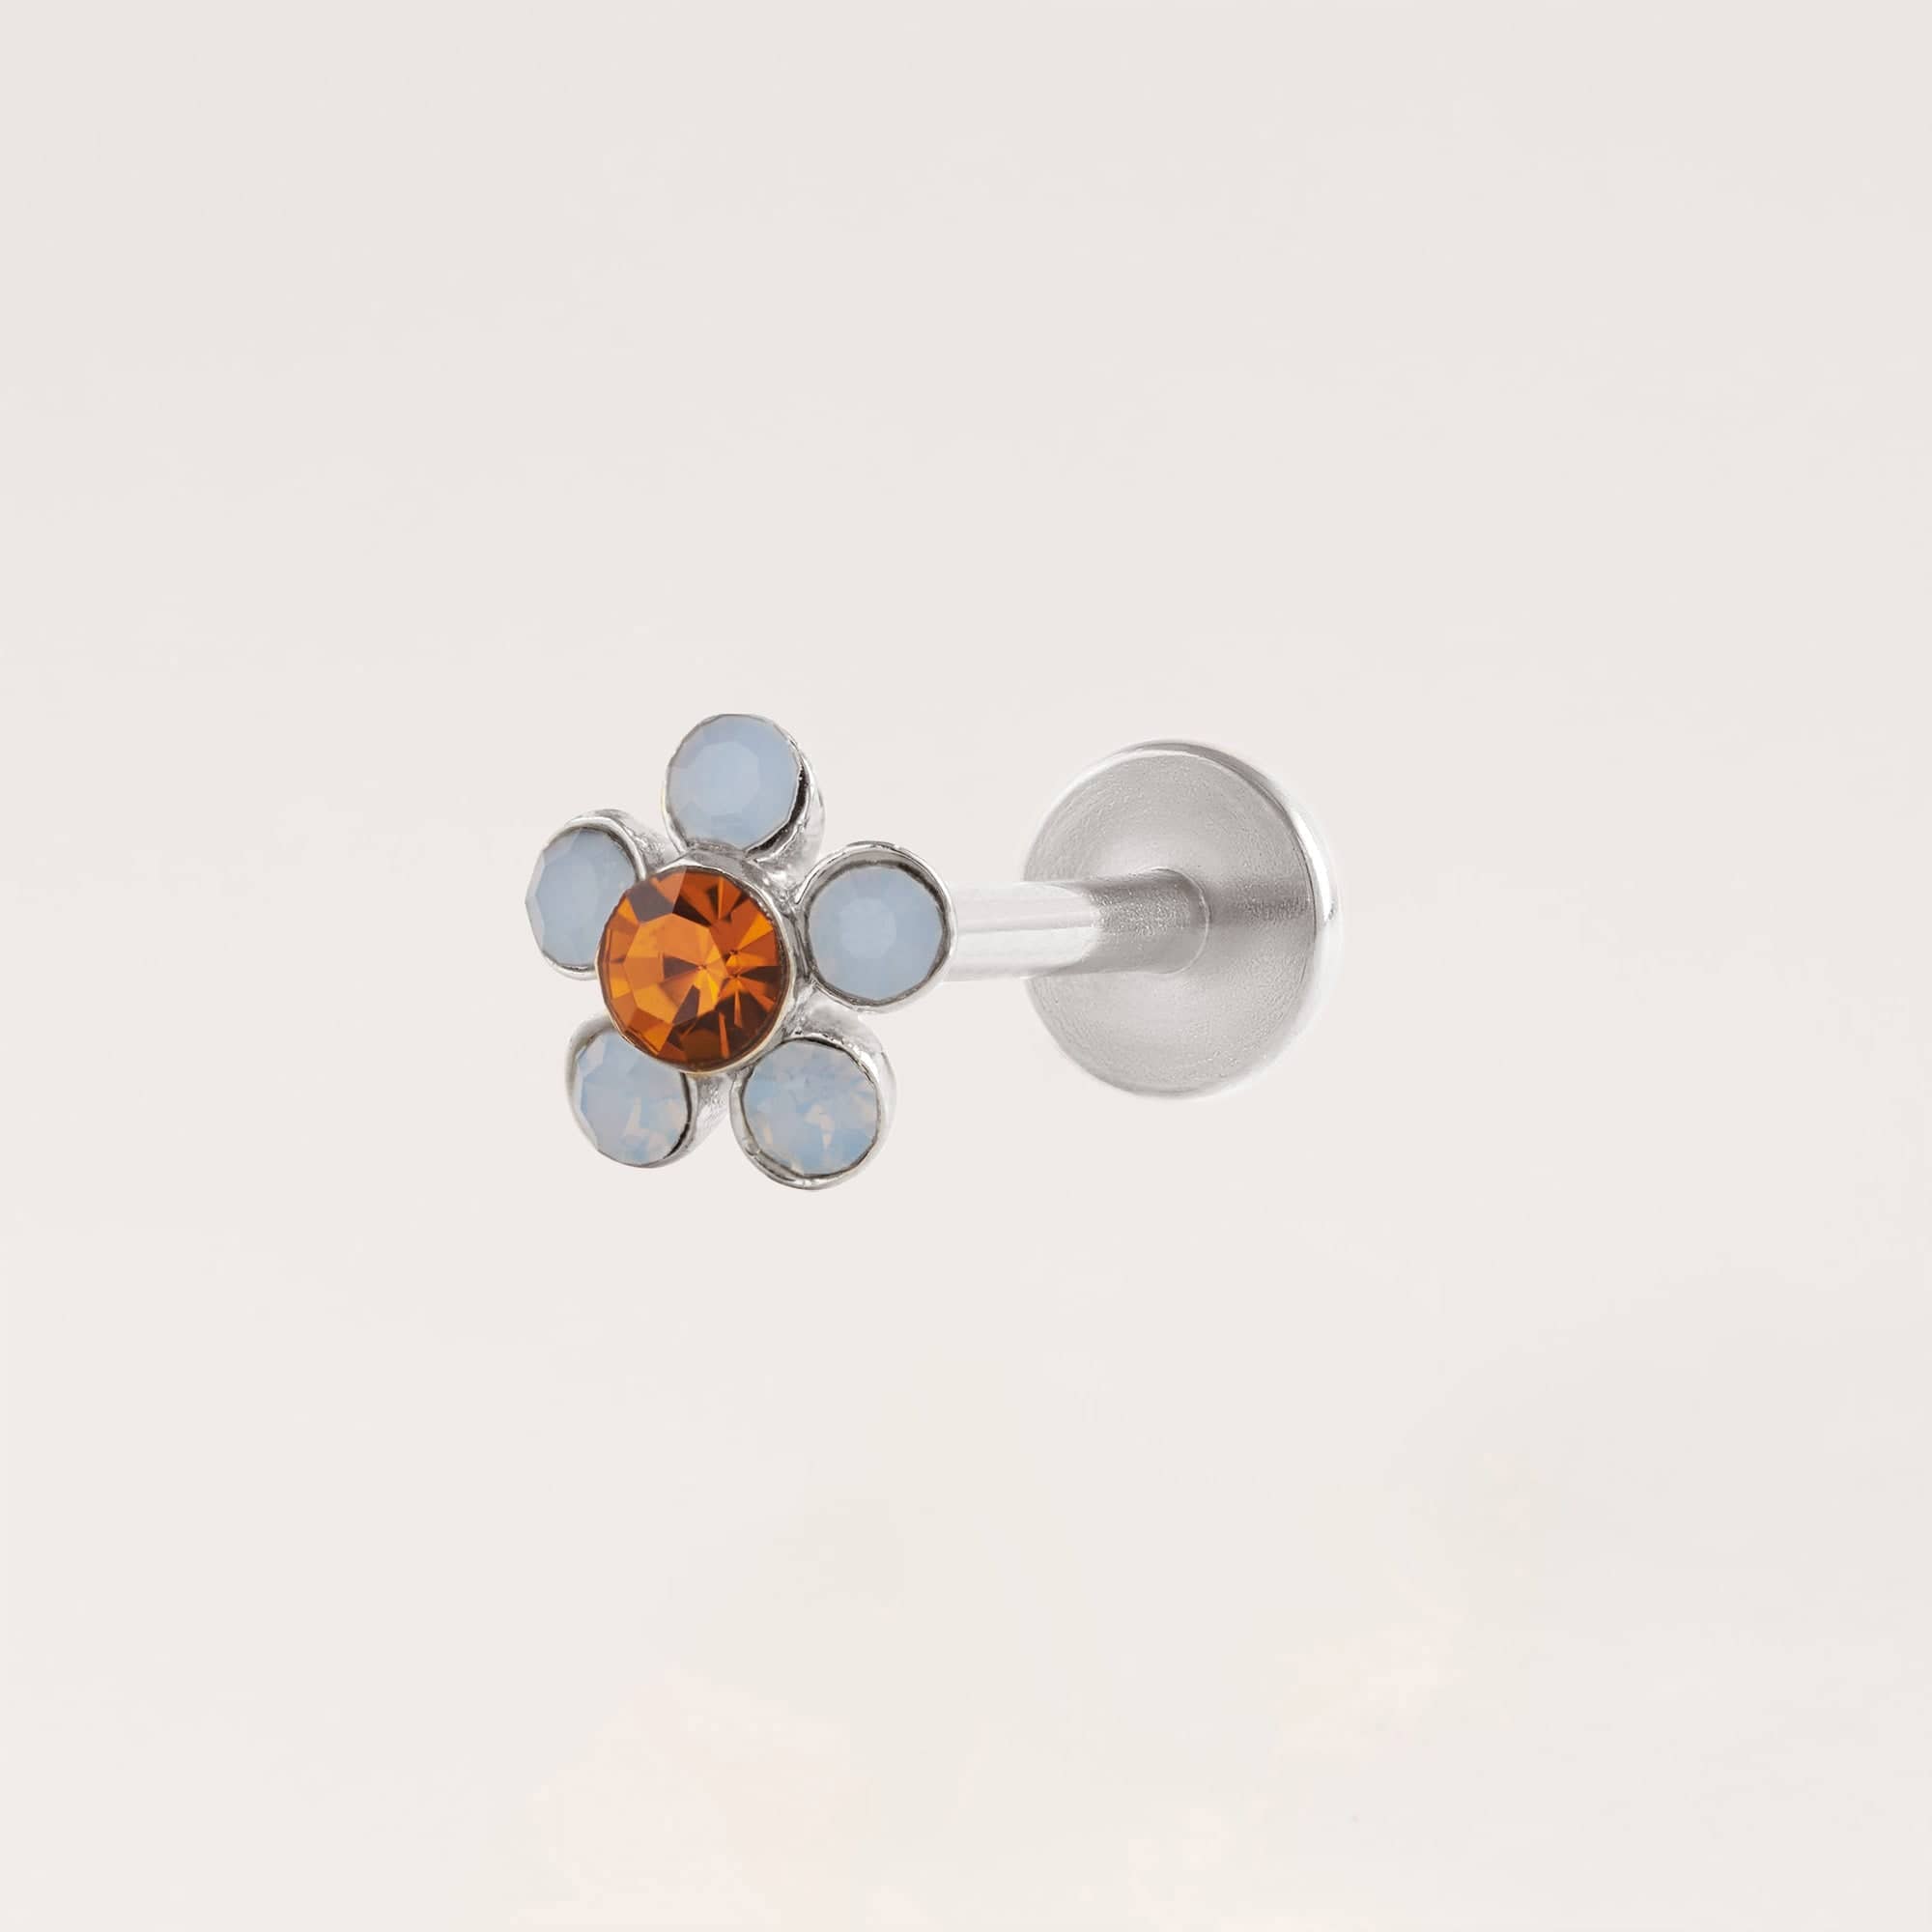
Select a post that matches the earring’s weight and size. For lightweight designs like the 925 Silver Snowflake CZ Diamond Flat Back Earrings, a thin post works best.
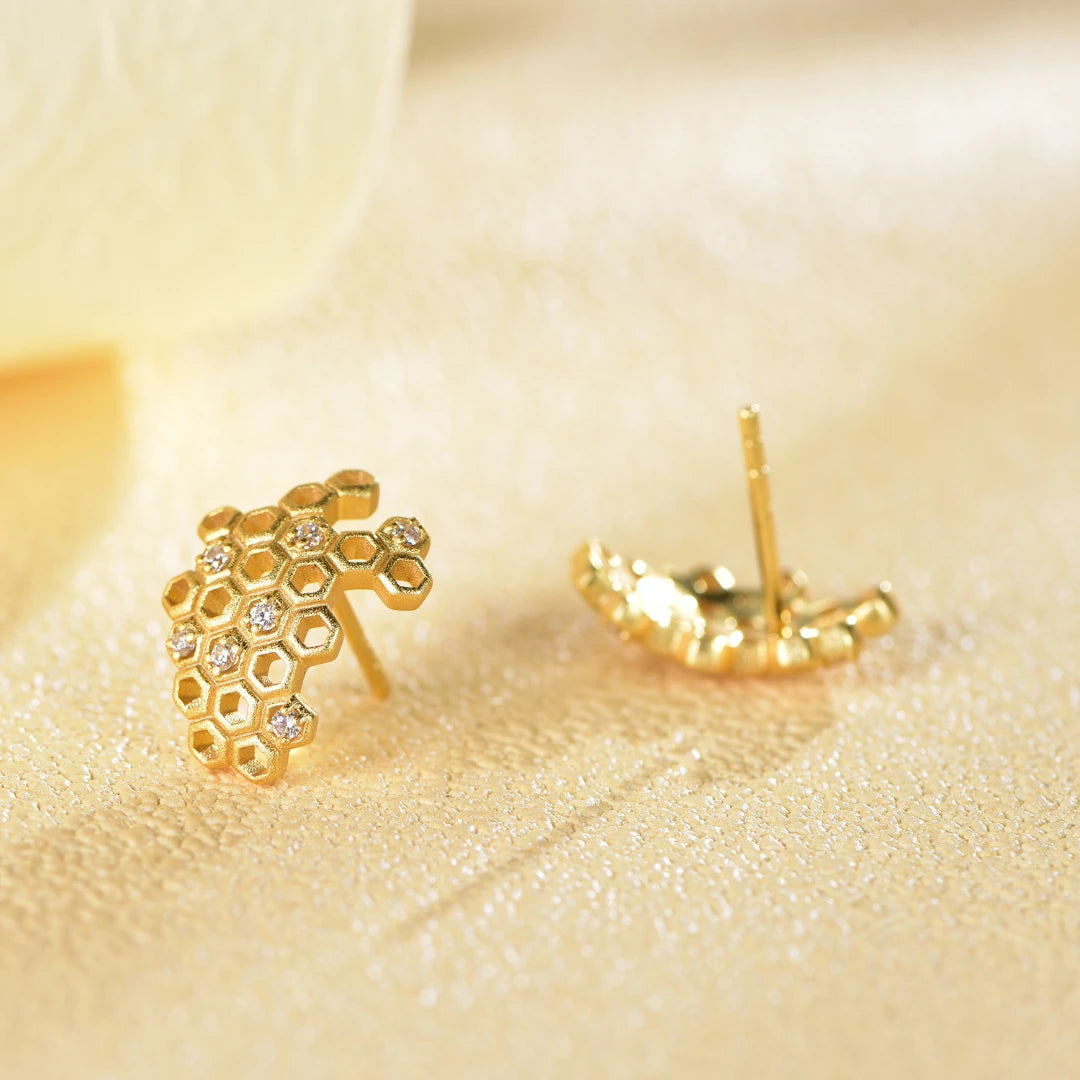
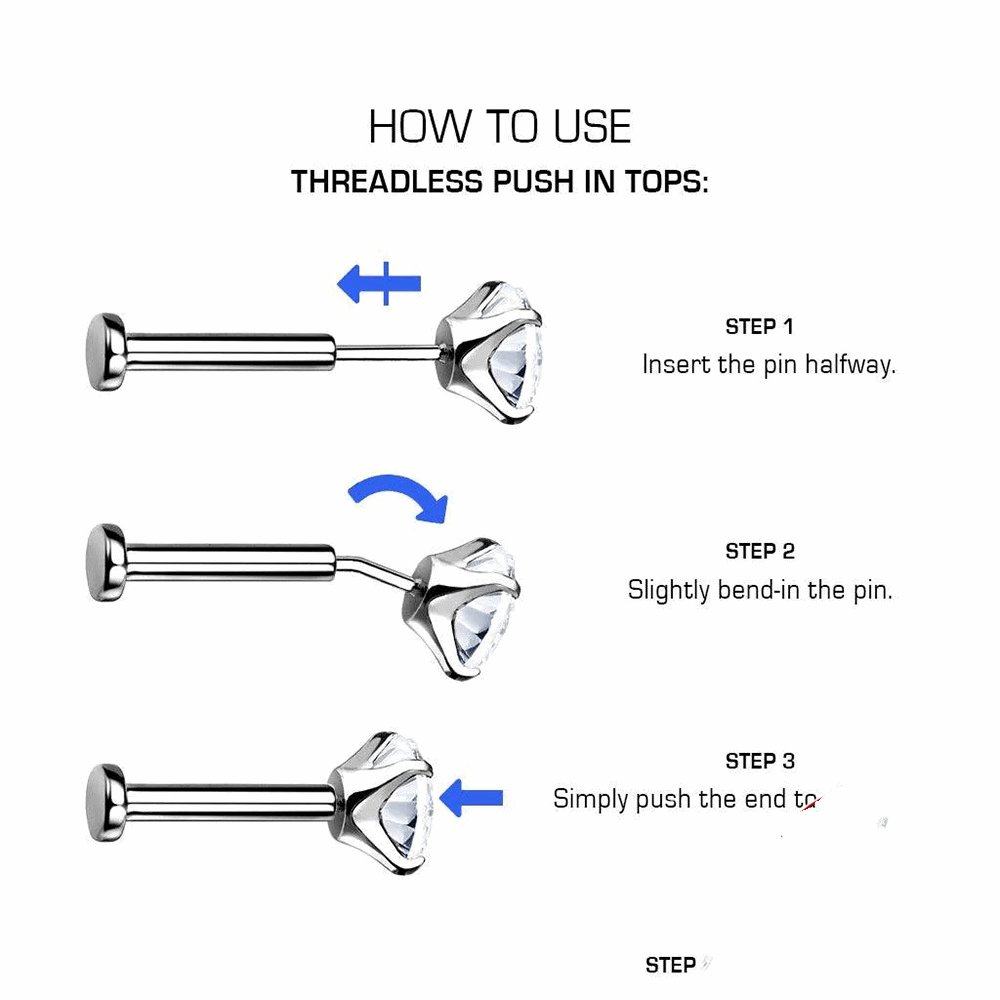
Step 3: Attach the Post
Apply a small amount of jewelry glue to the post’s flat end. Press it firmly onto the earring’s back, ensuring it’s centered. Hold for 30 seconds to set.

Step 4: Reinforce and Finish
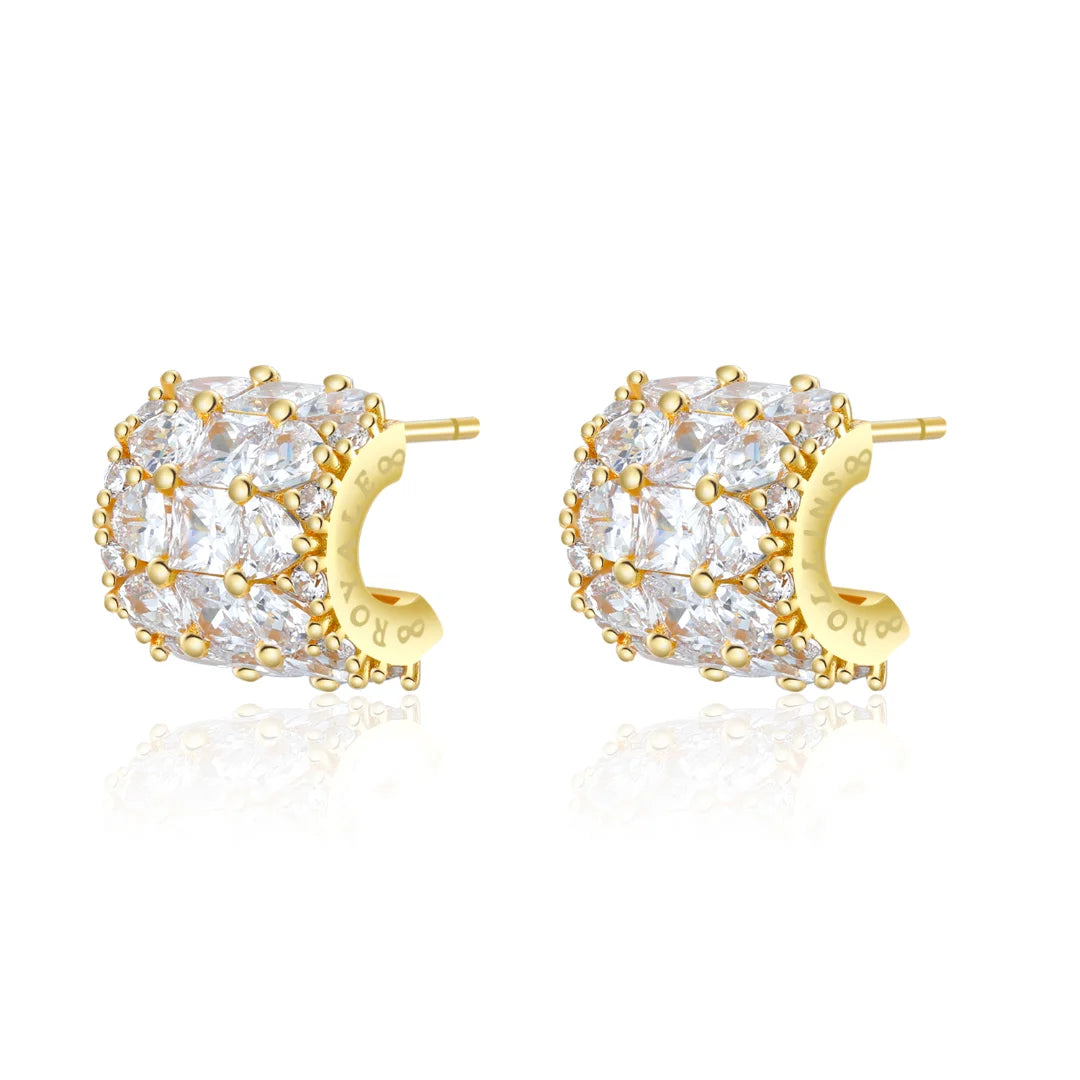
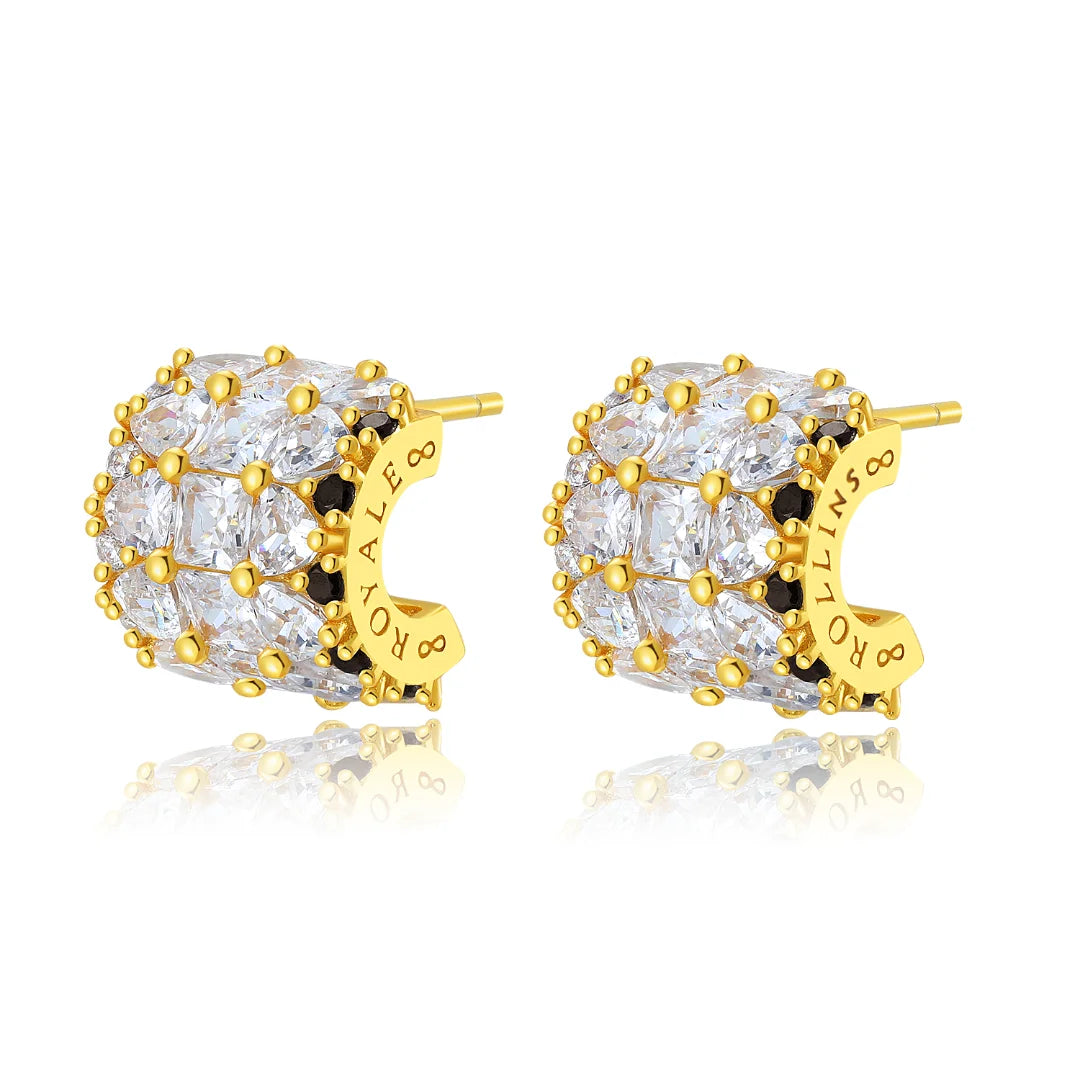
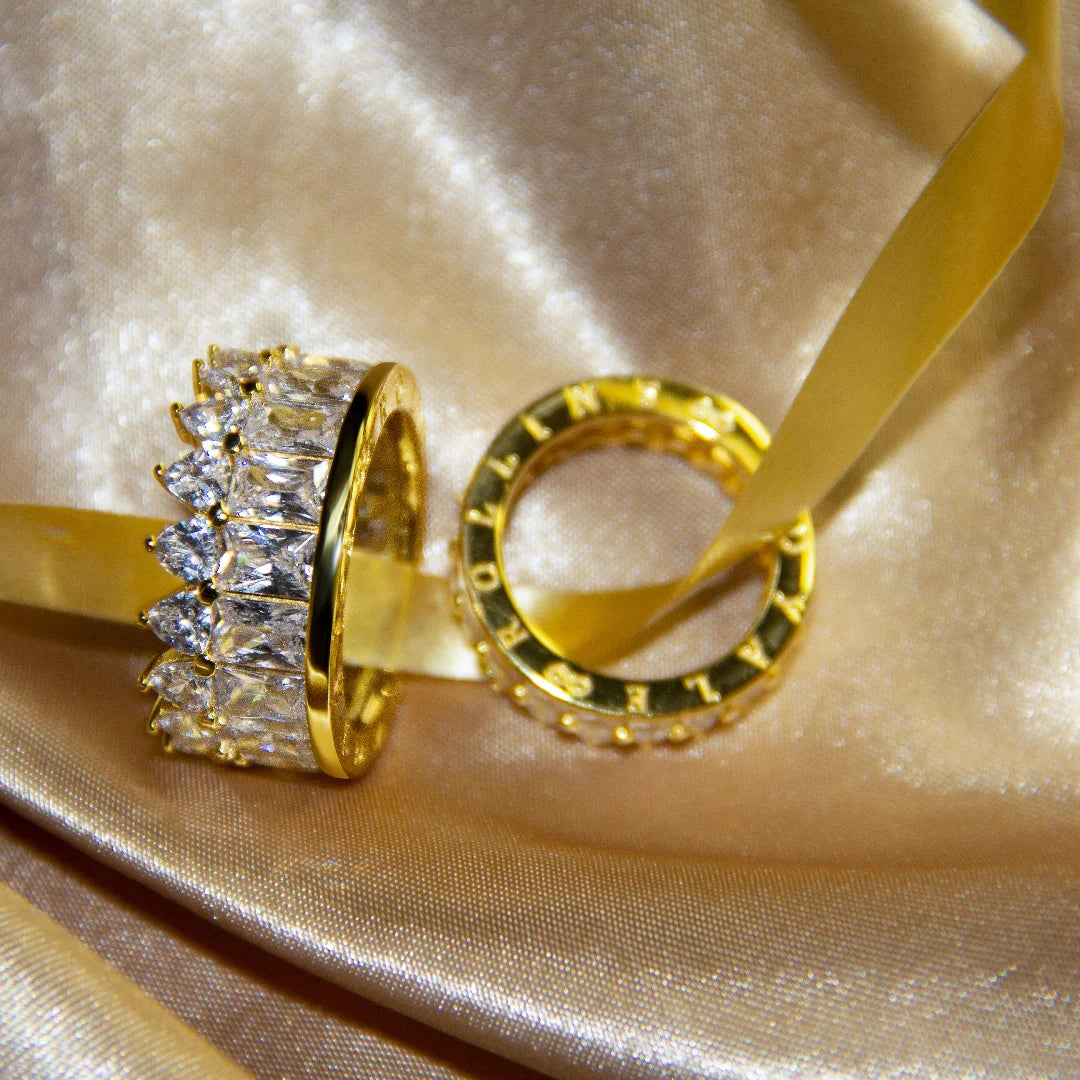
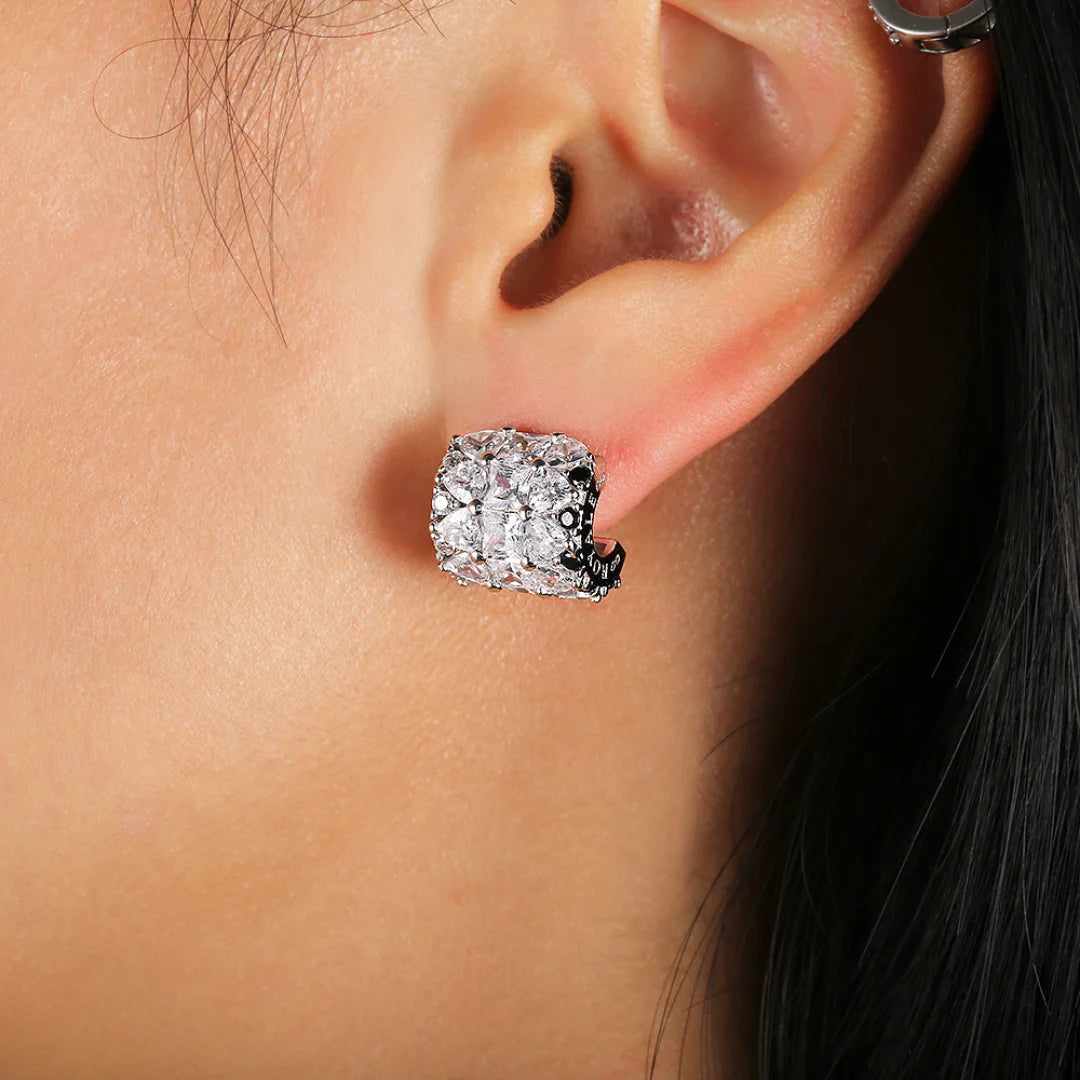
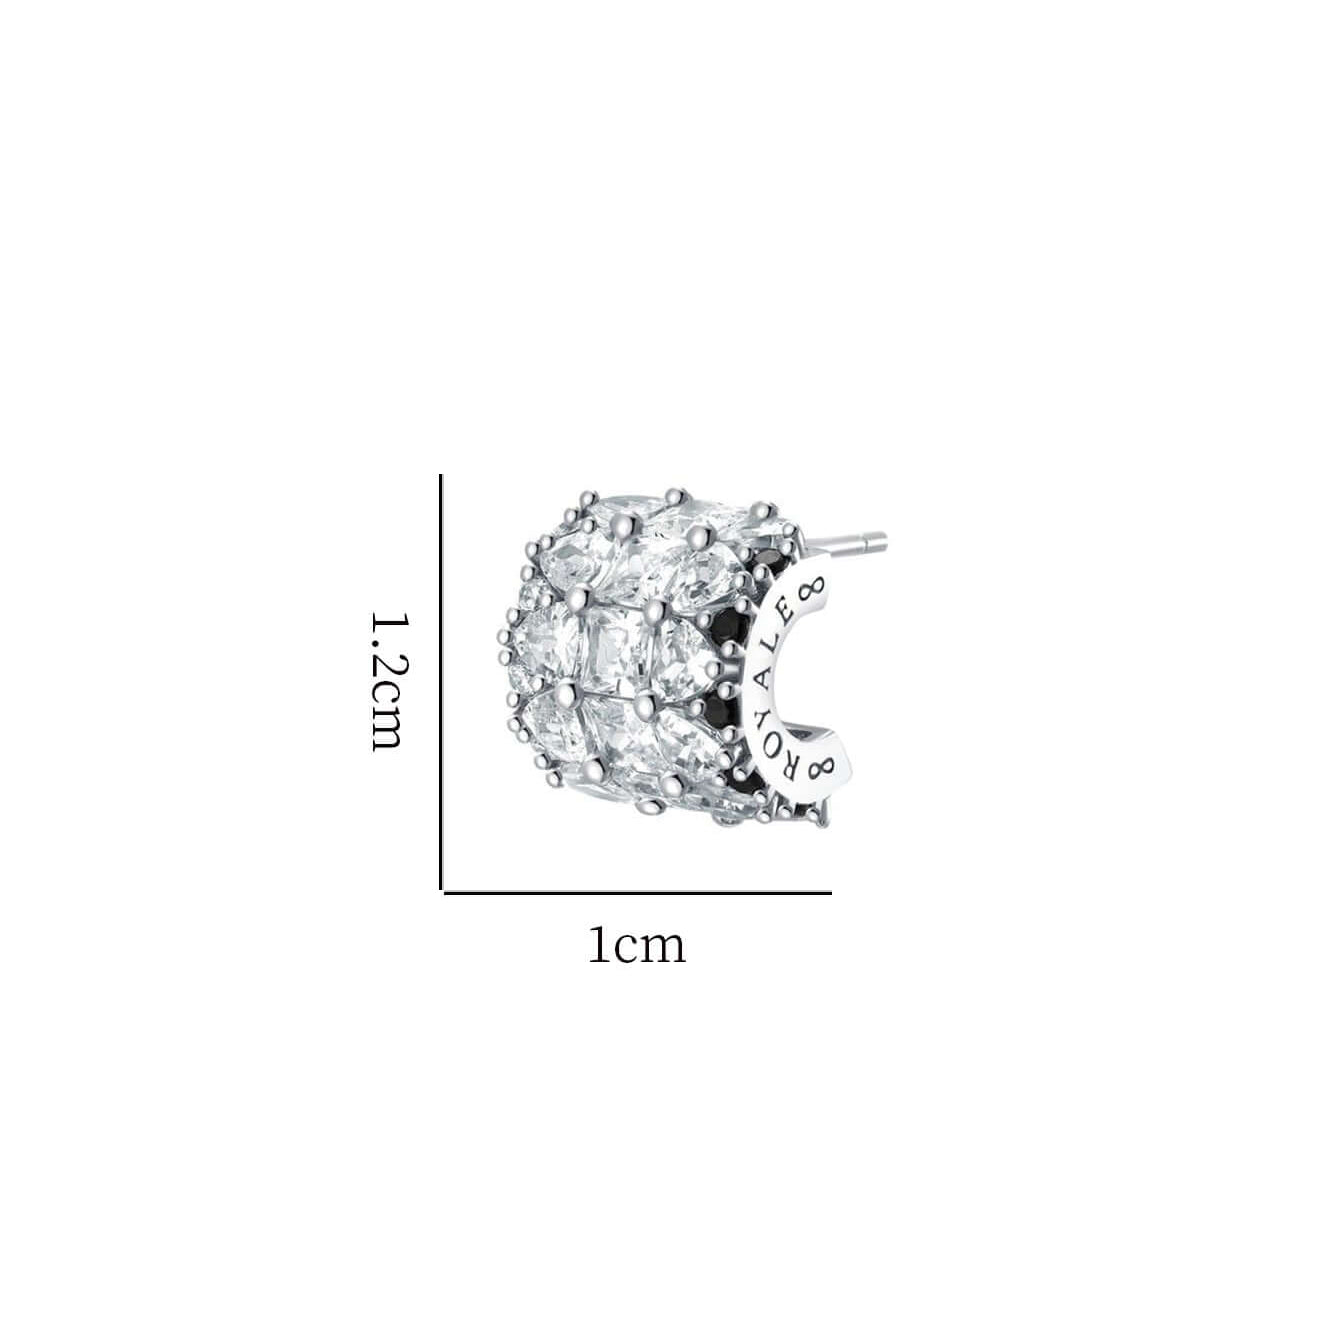
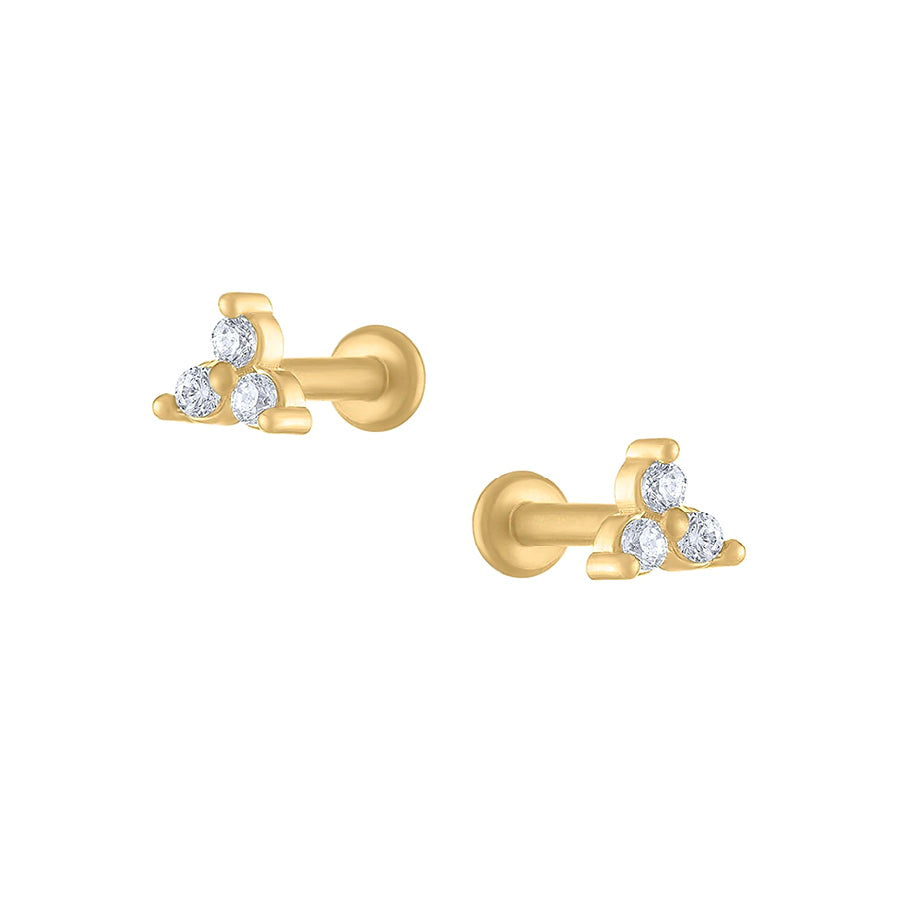
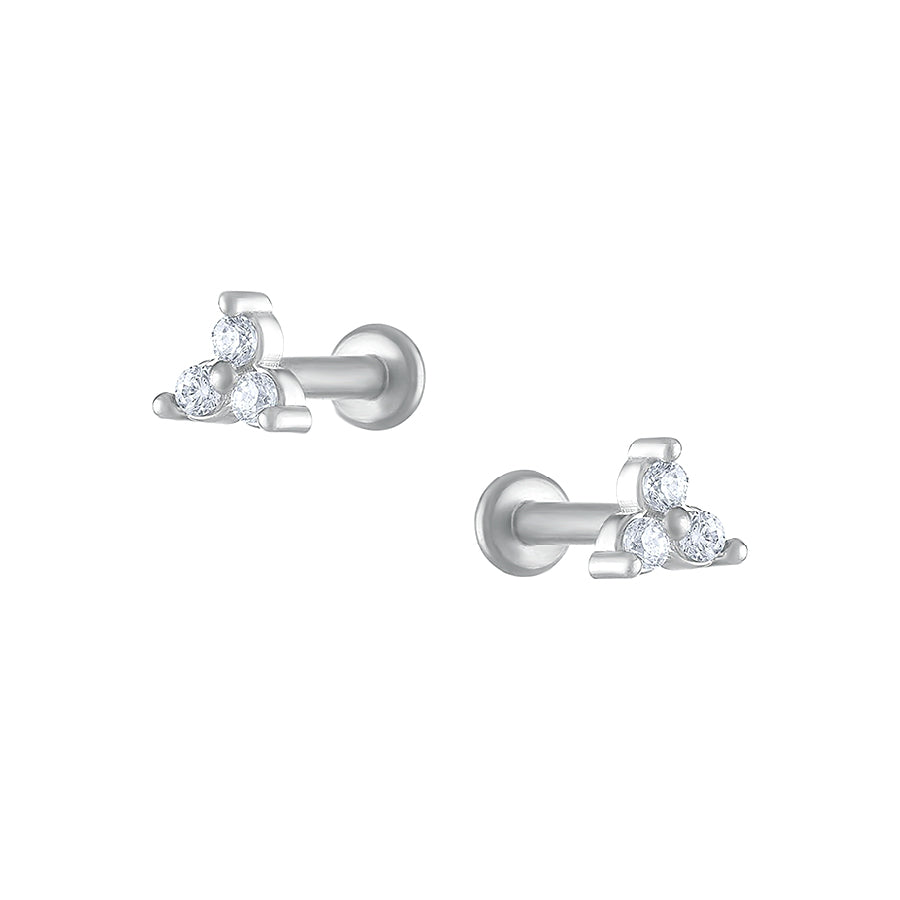
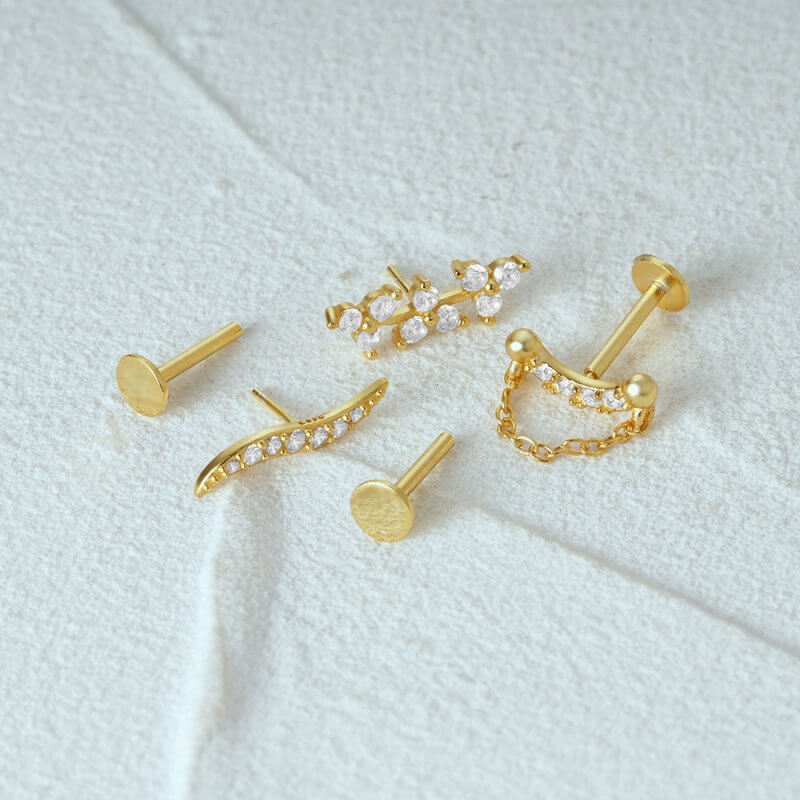
Once the glue dries, check for stability. File any rough edges for a smooth finish. For added security, consider soldering the post (recommended for heavy earrings like the 925 Silver Square Round CZ Diamond Flat Back Earrings).
Common Pitfalls and How to Avoid Them
1. Choosing the Wrong Post: Heavy earrings require thicker posts. A mismatch can lead to drooping or breakage.
2. Over-Gluing: Excess adhesive can seep onto the earring’s front, ruining its appearance.
3. Rushing the Process: Allow ample drying time—24 hours for glue, 48 for epoxy.

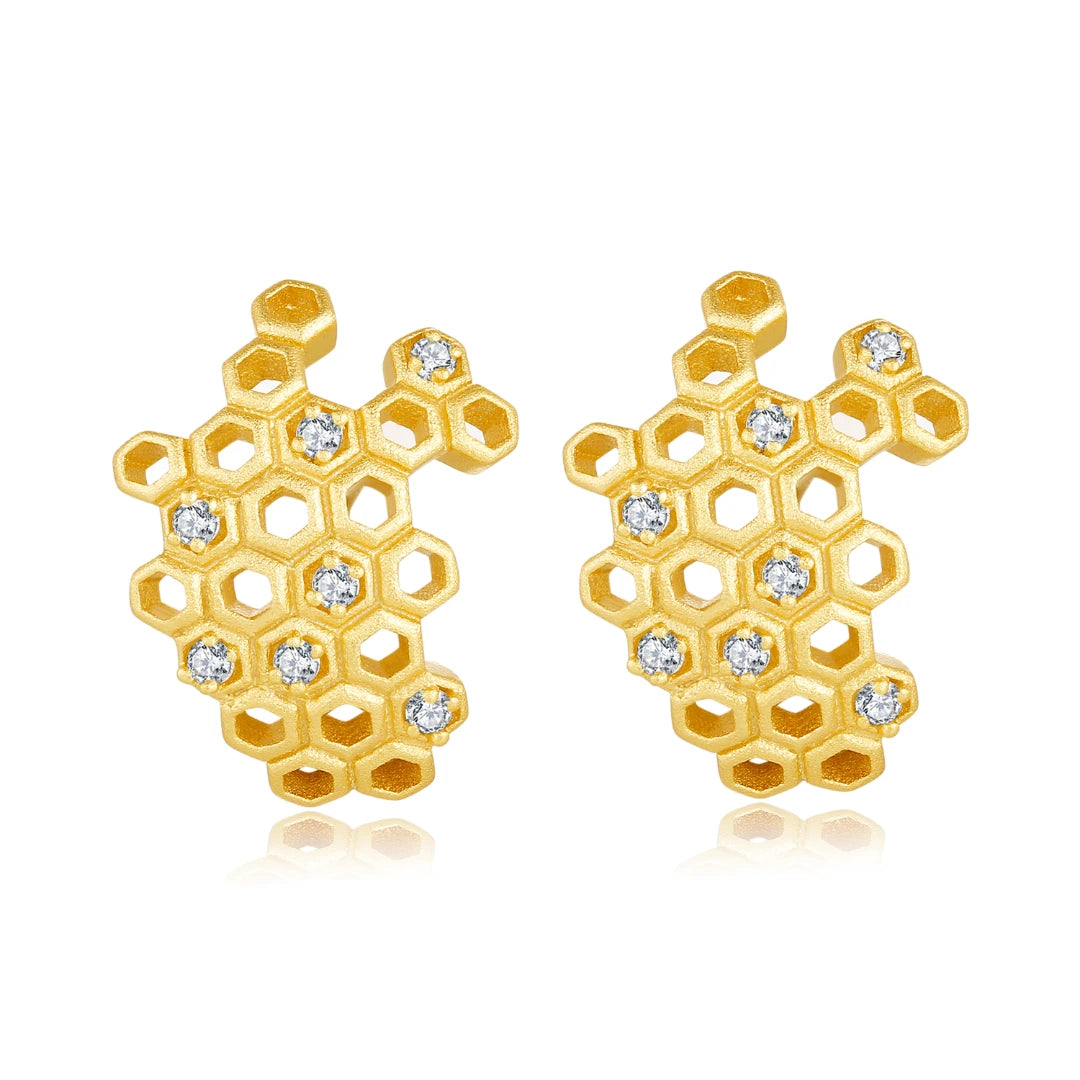
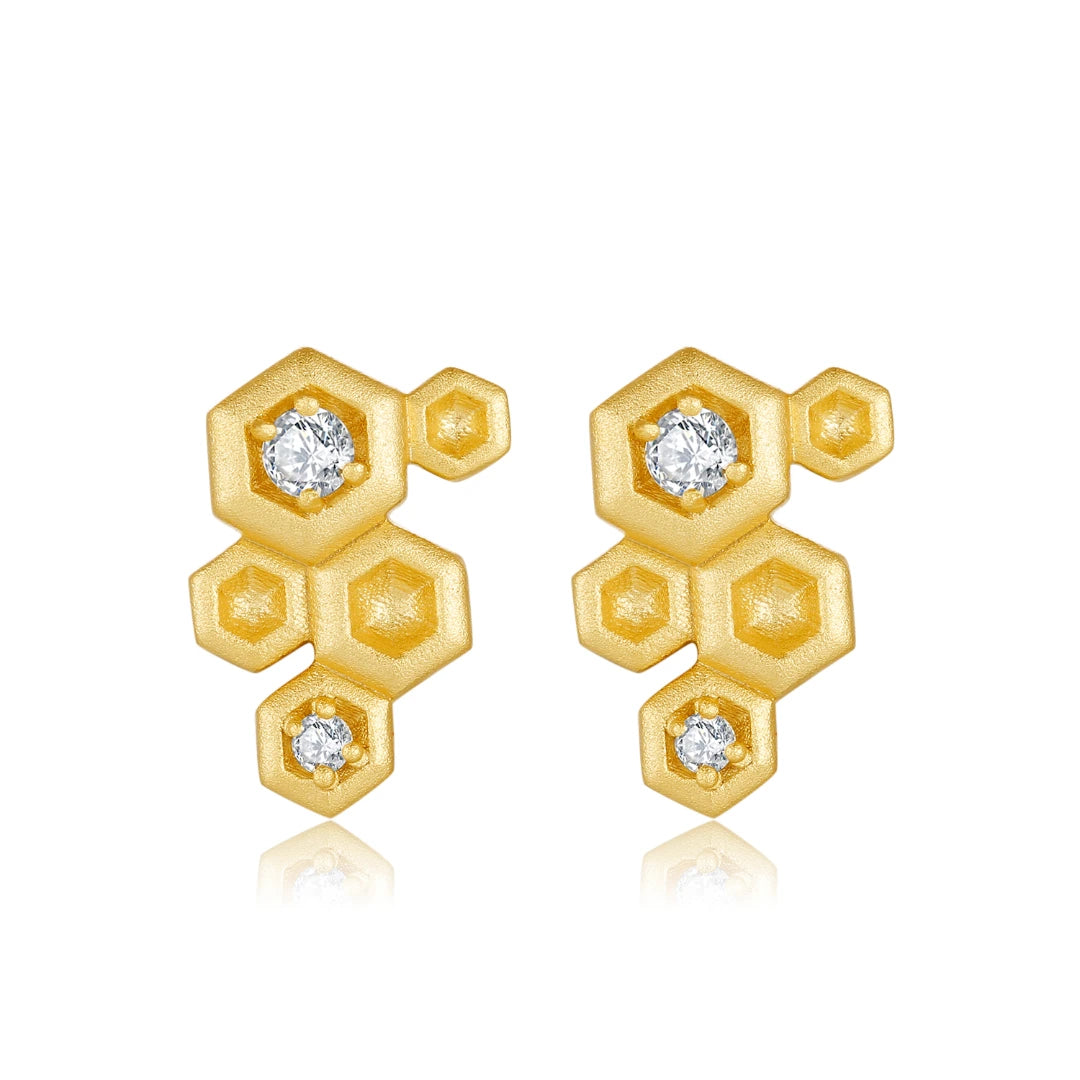
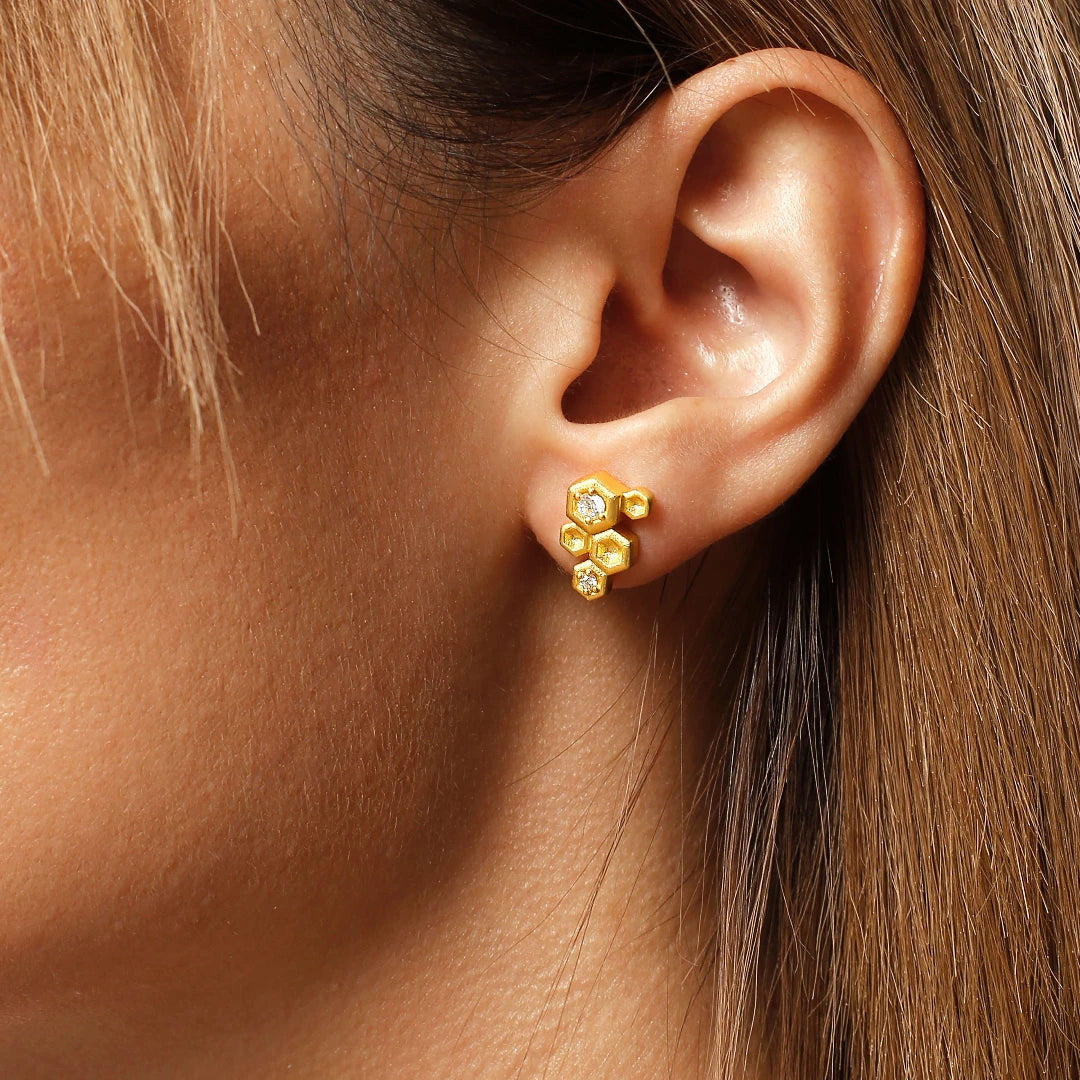
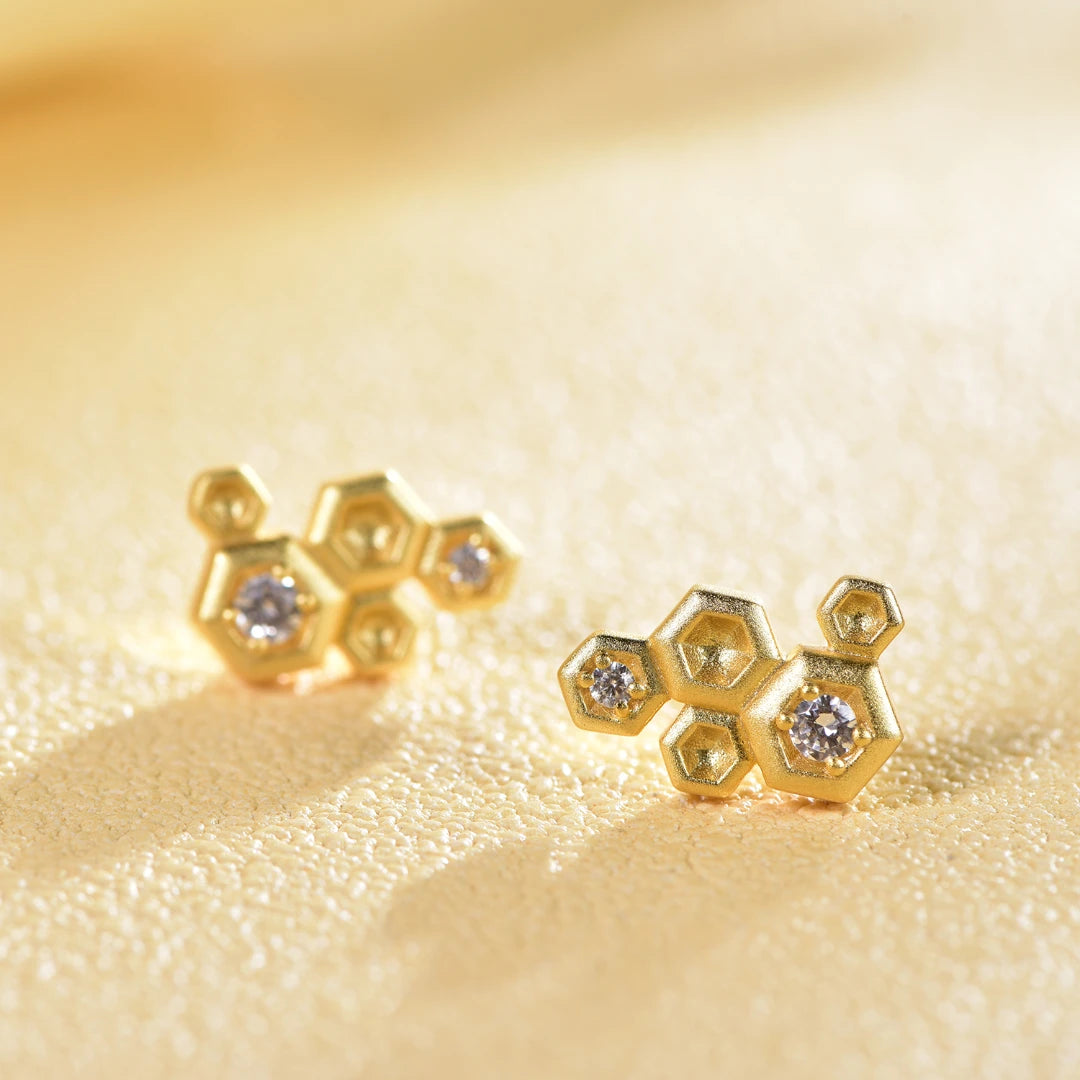
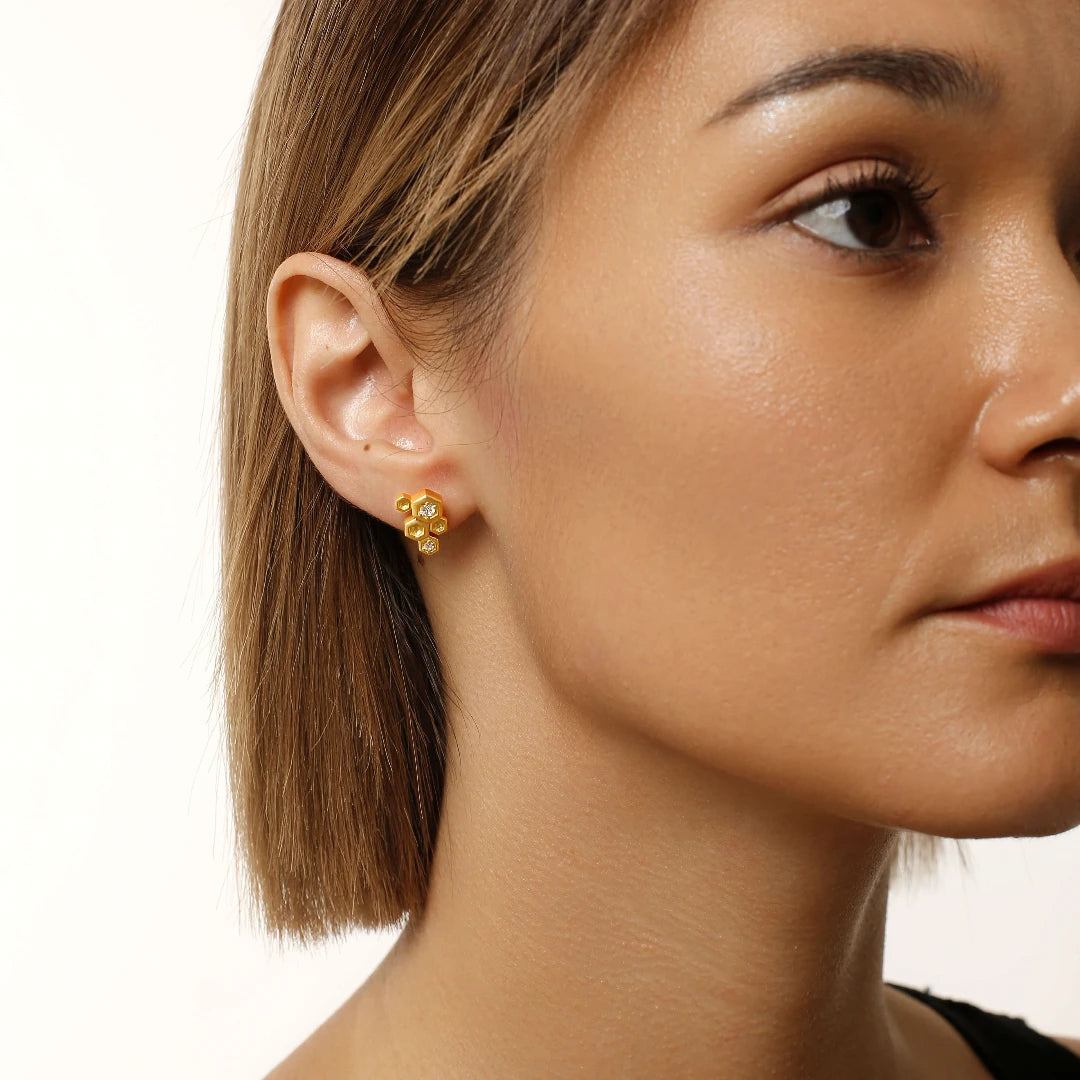
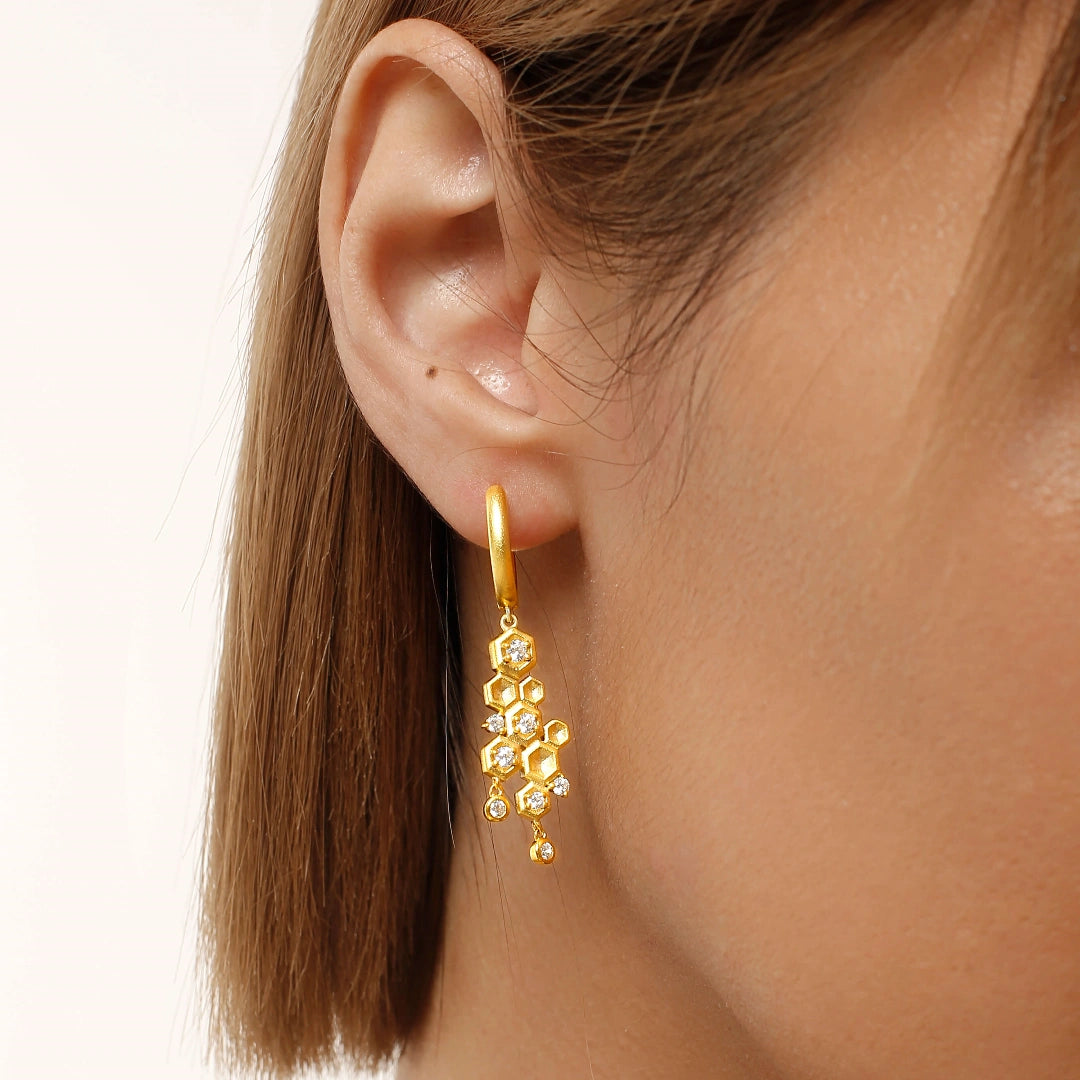
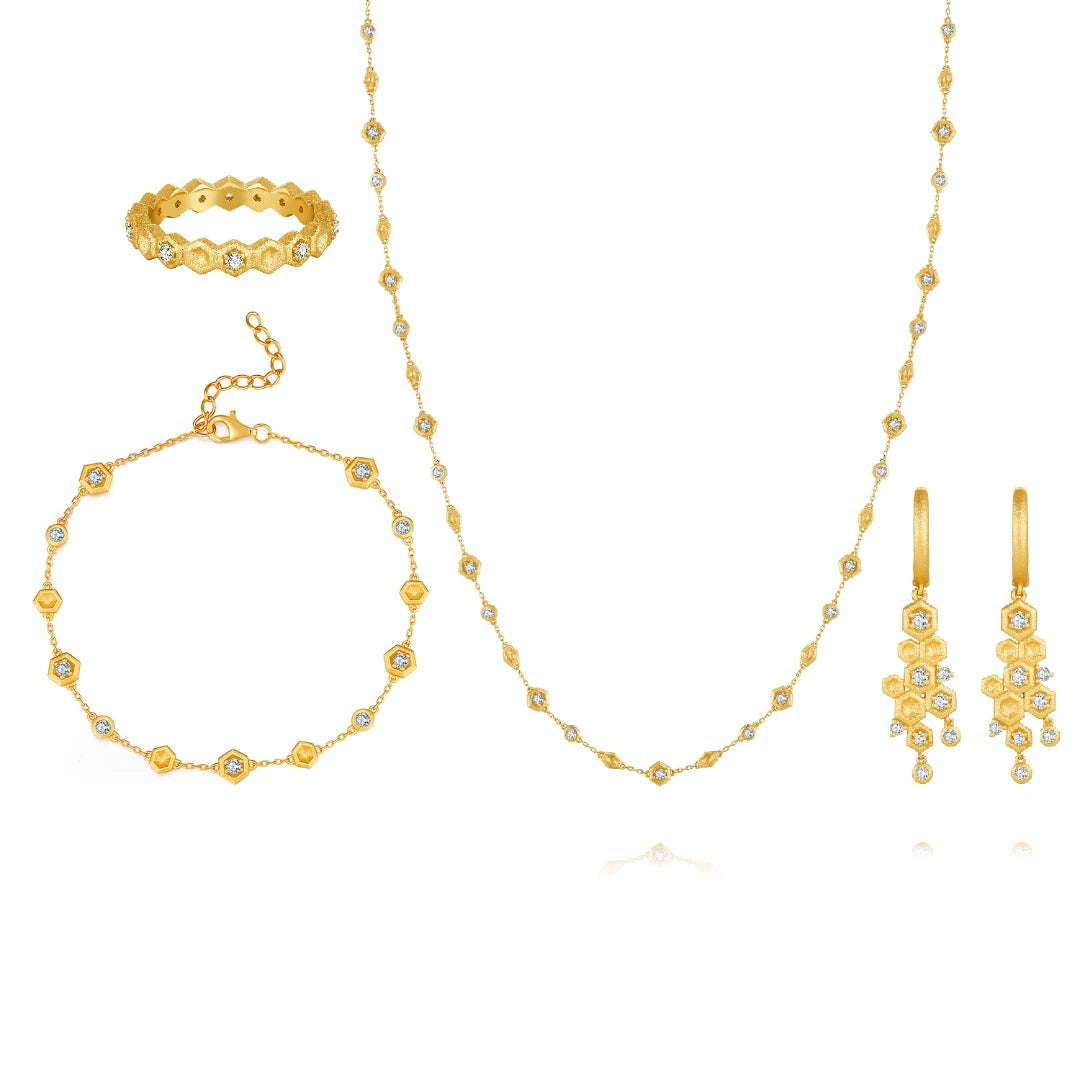
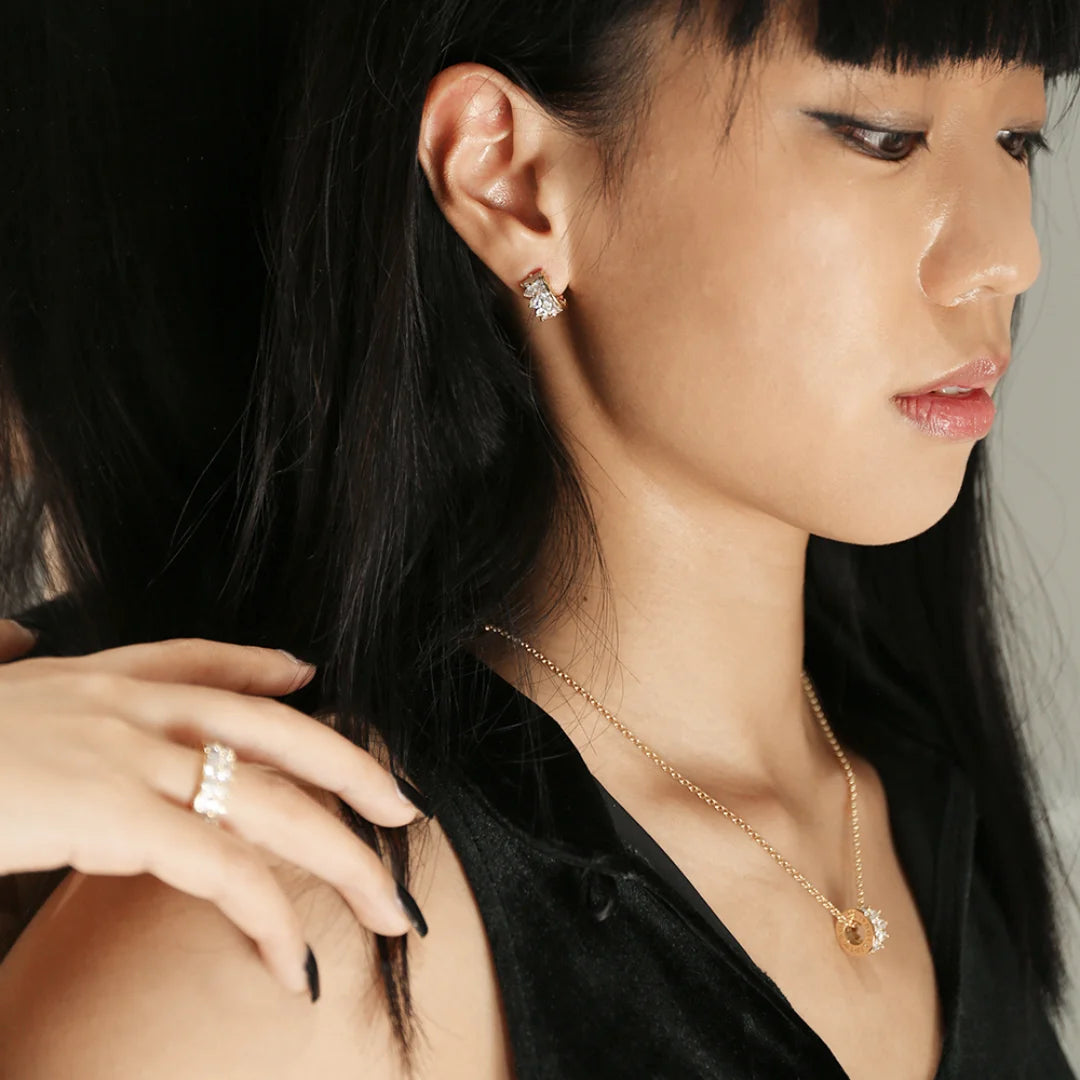
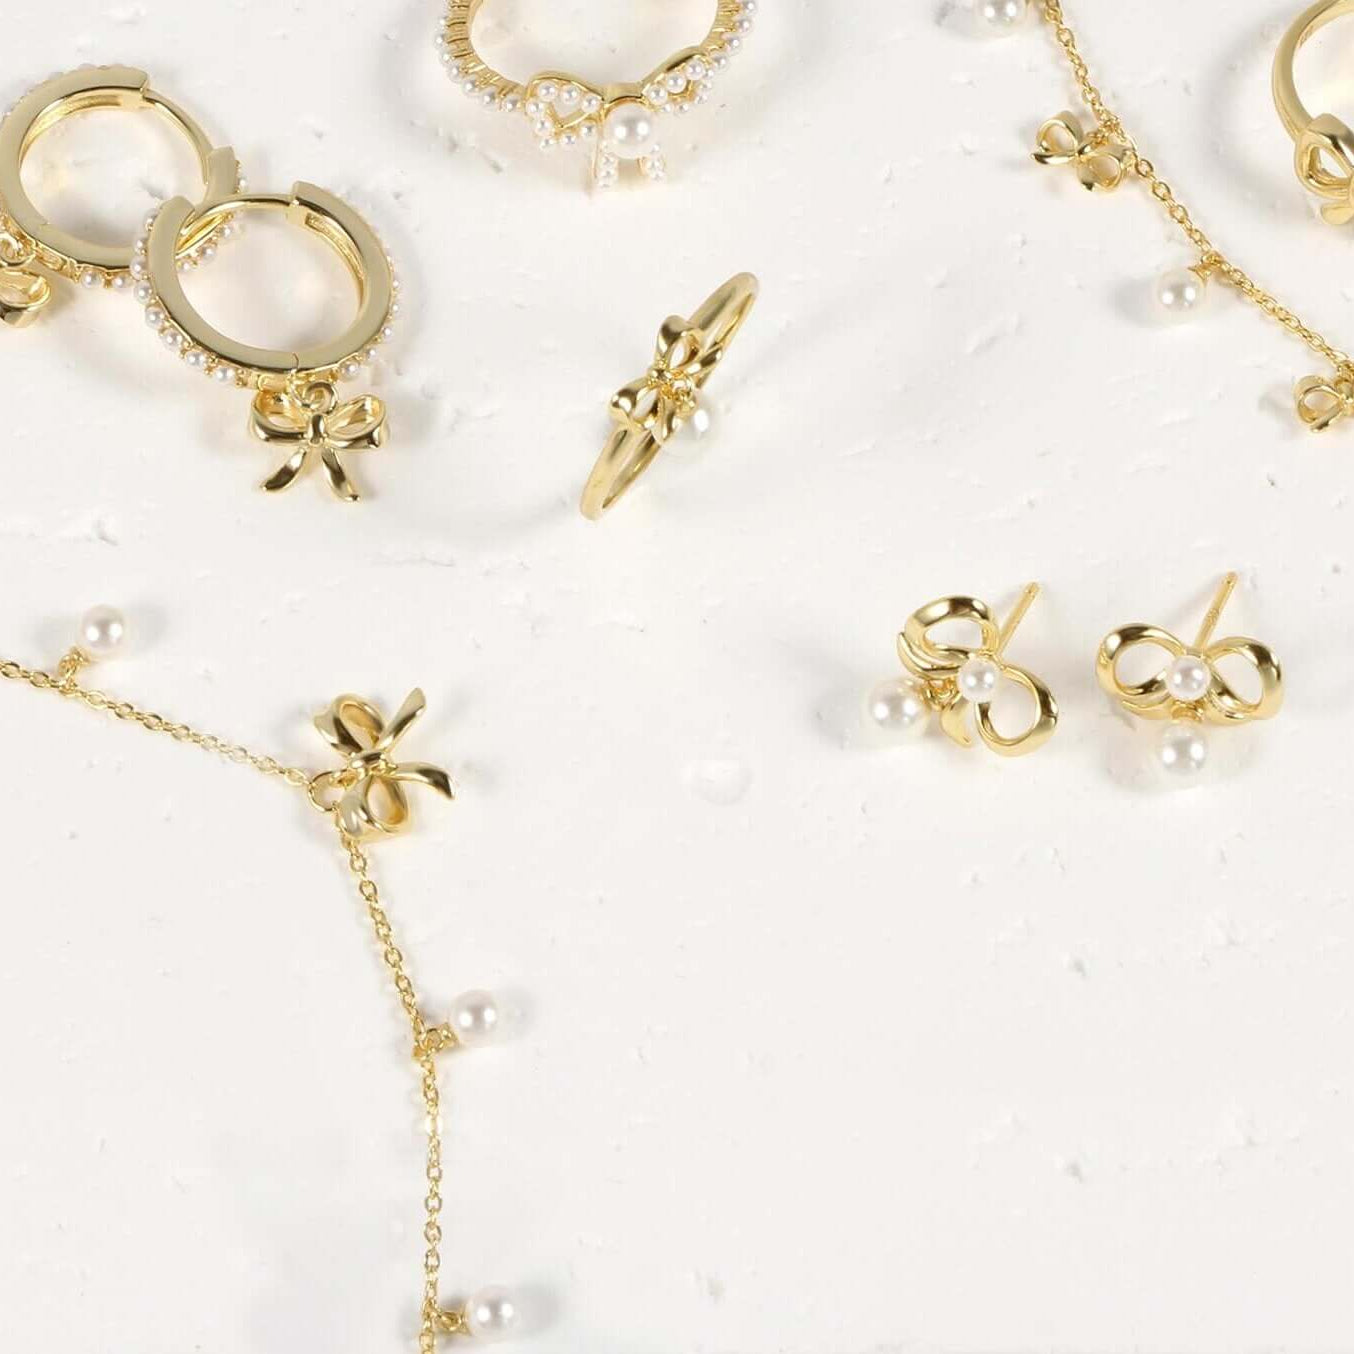
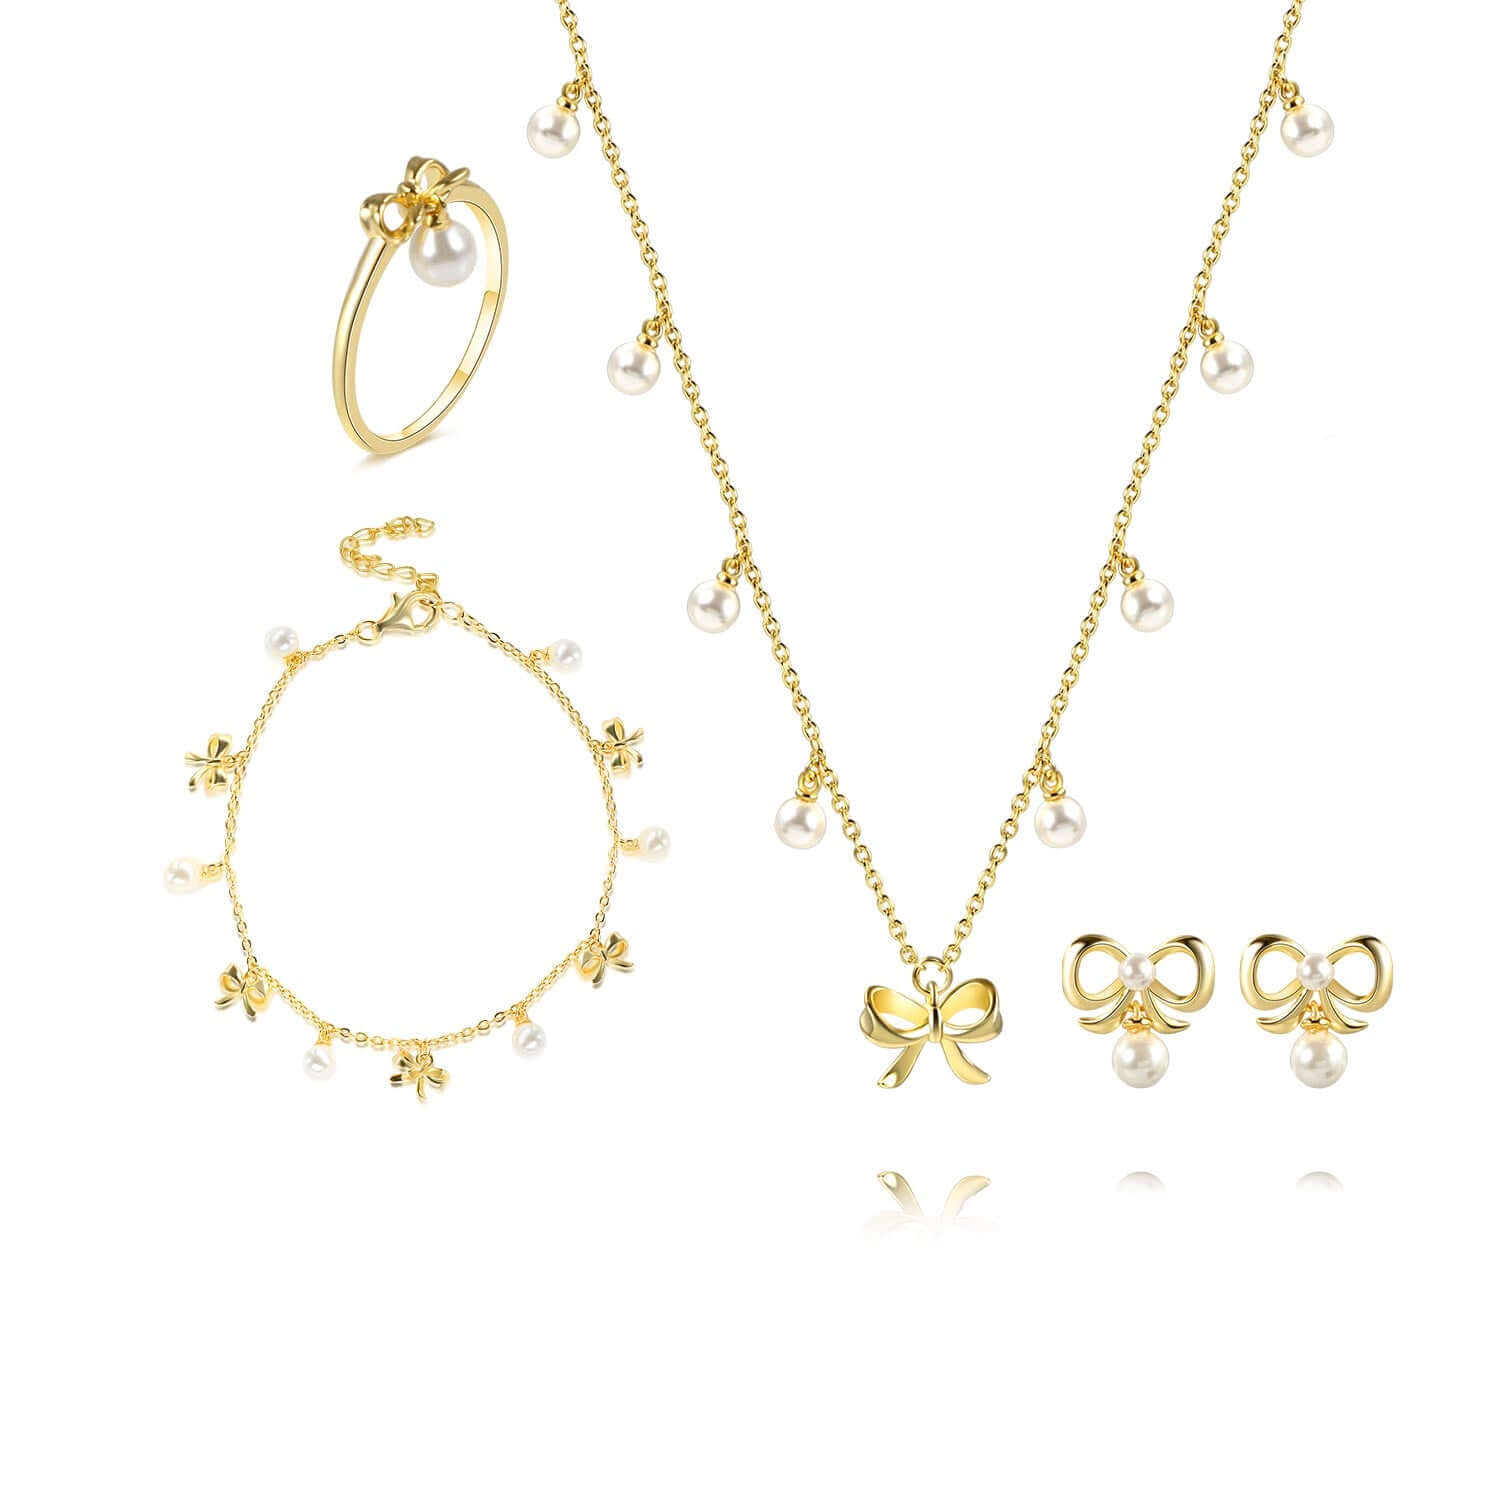
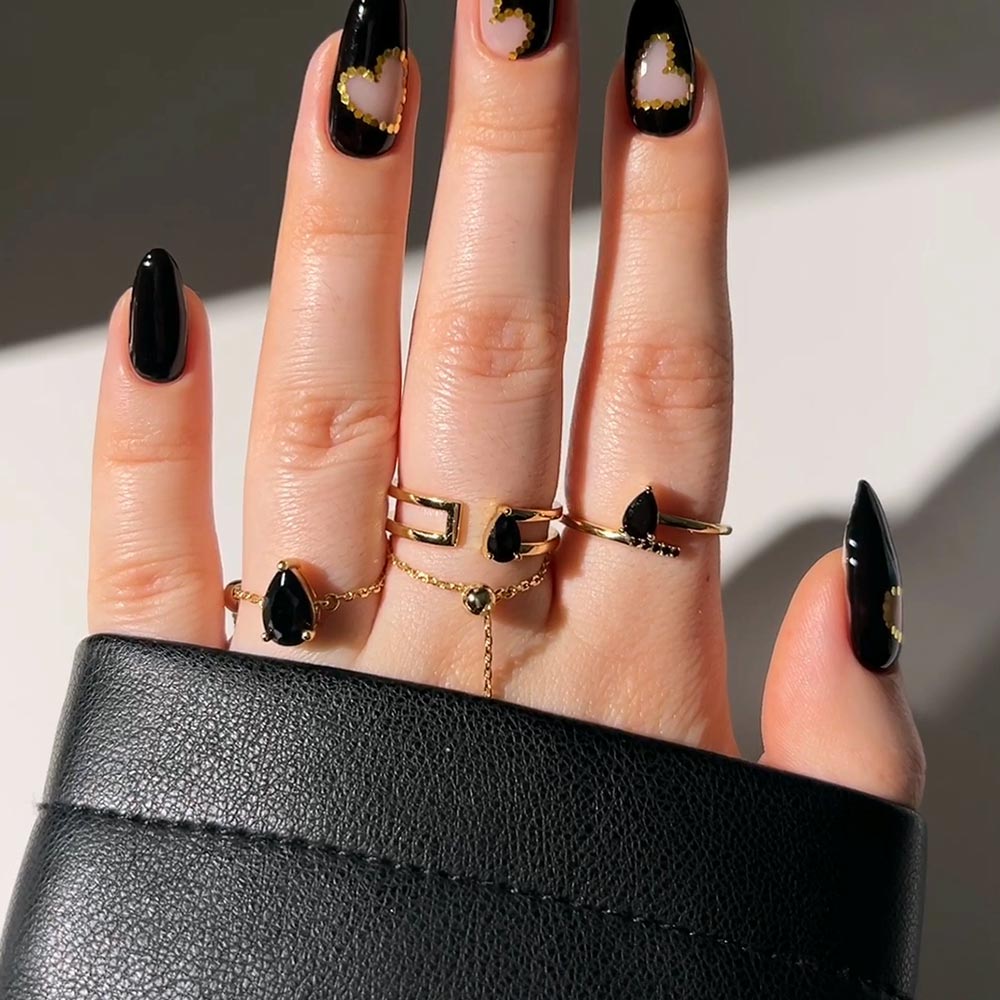
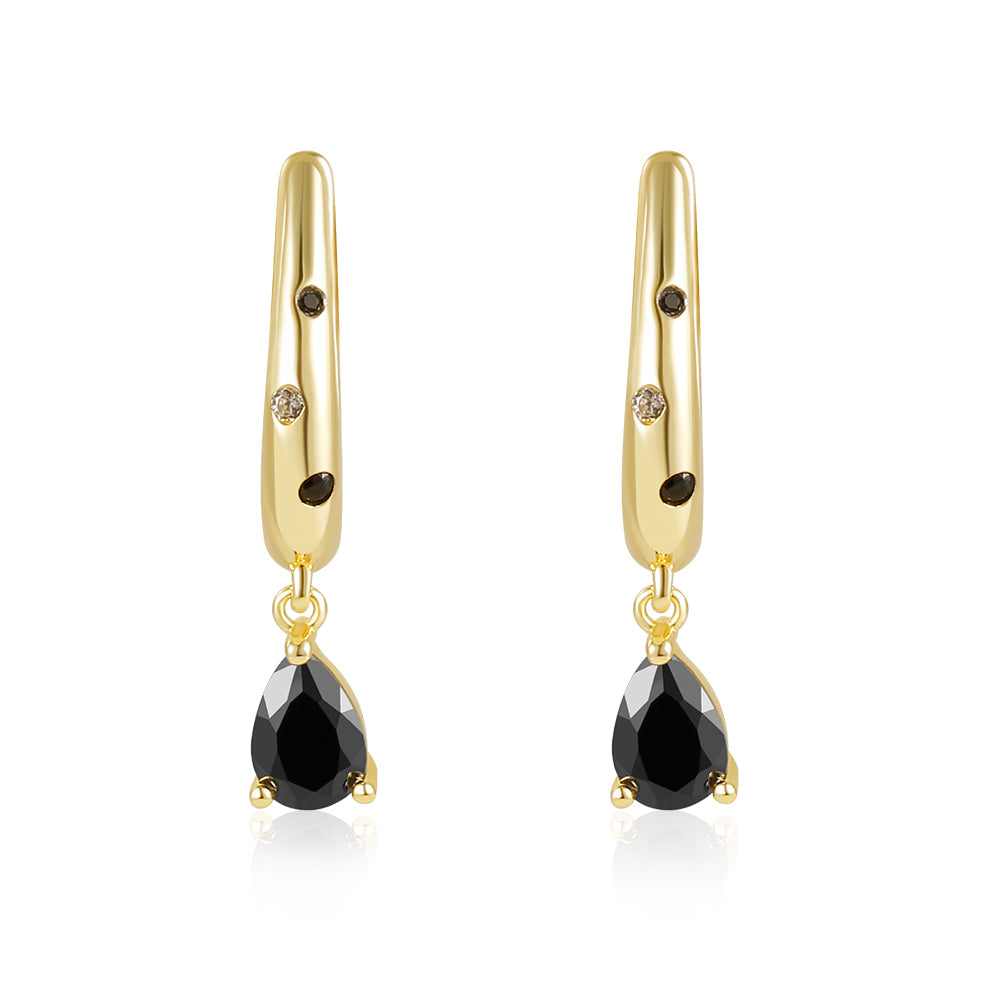
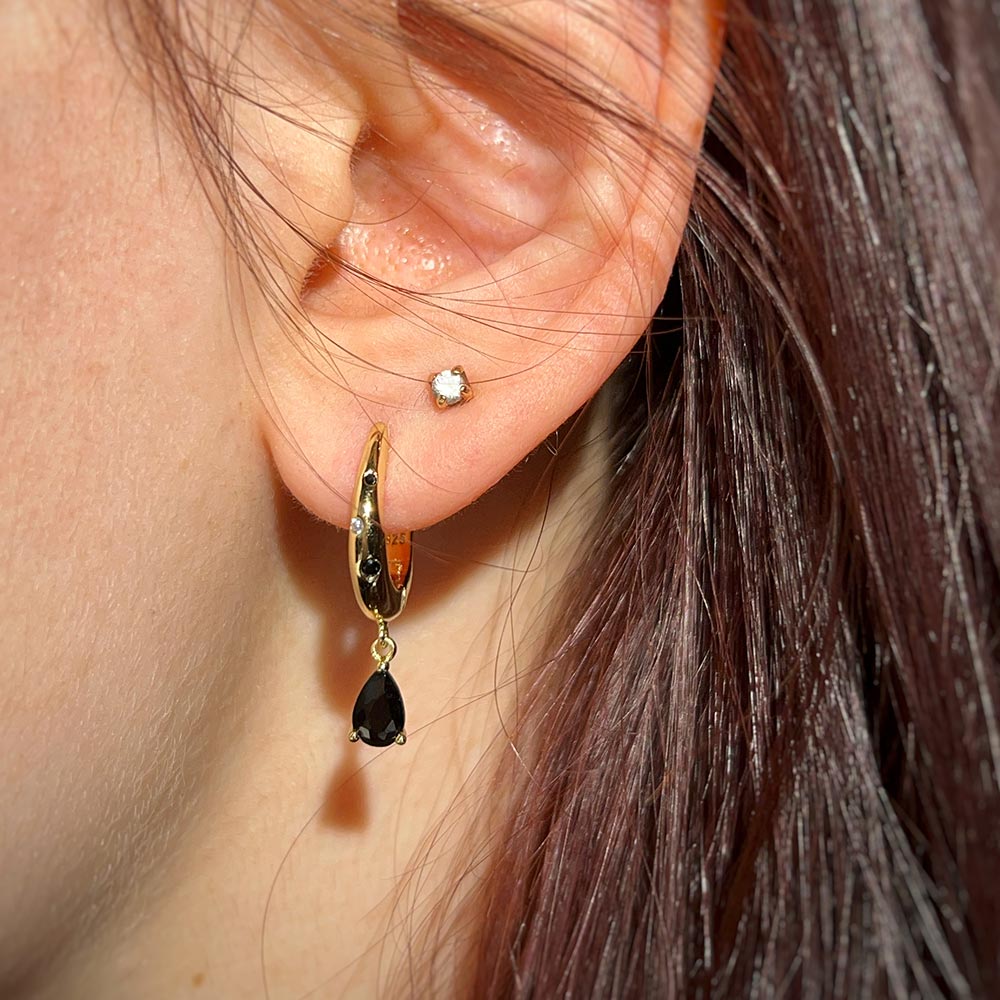
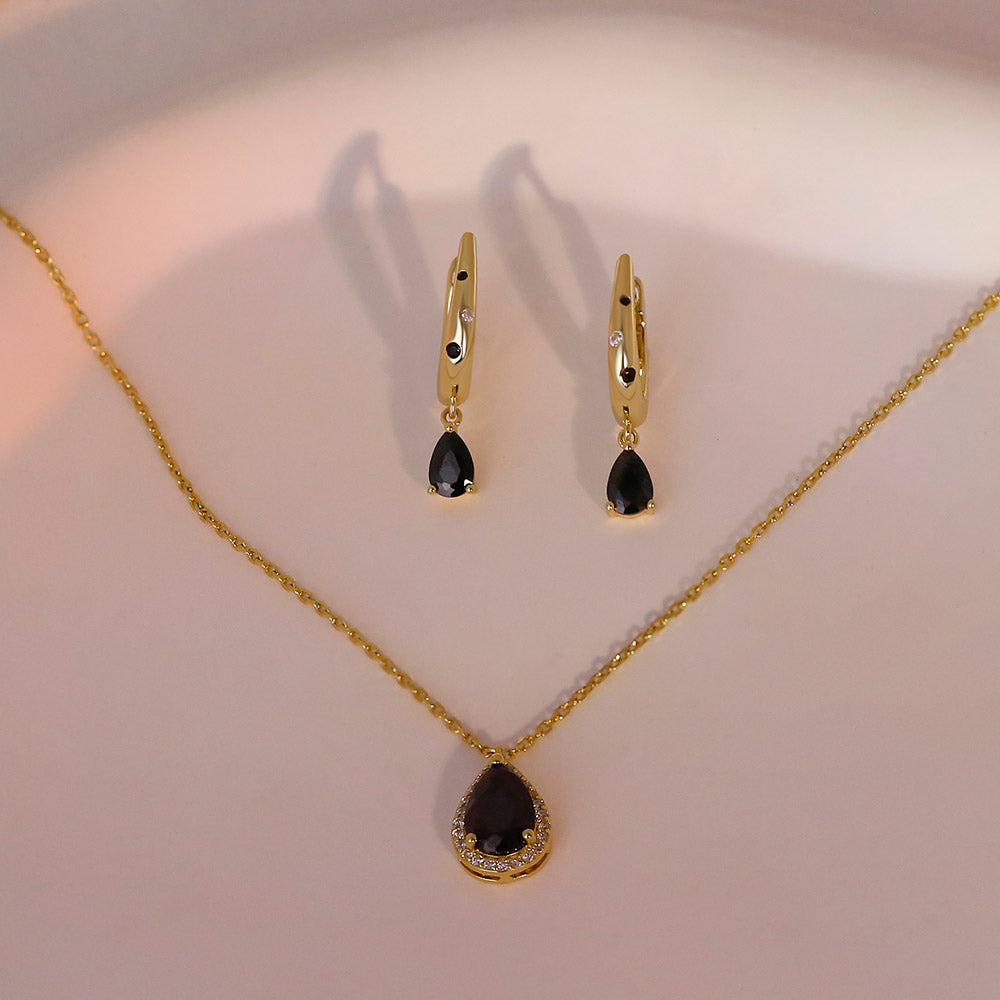
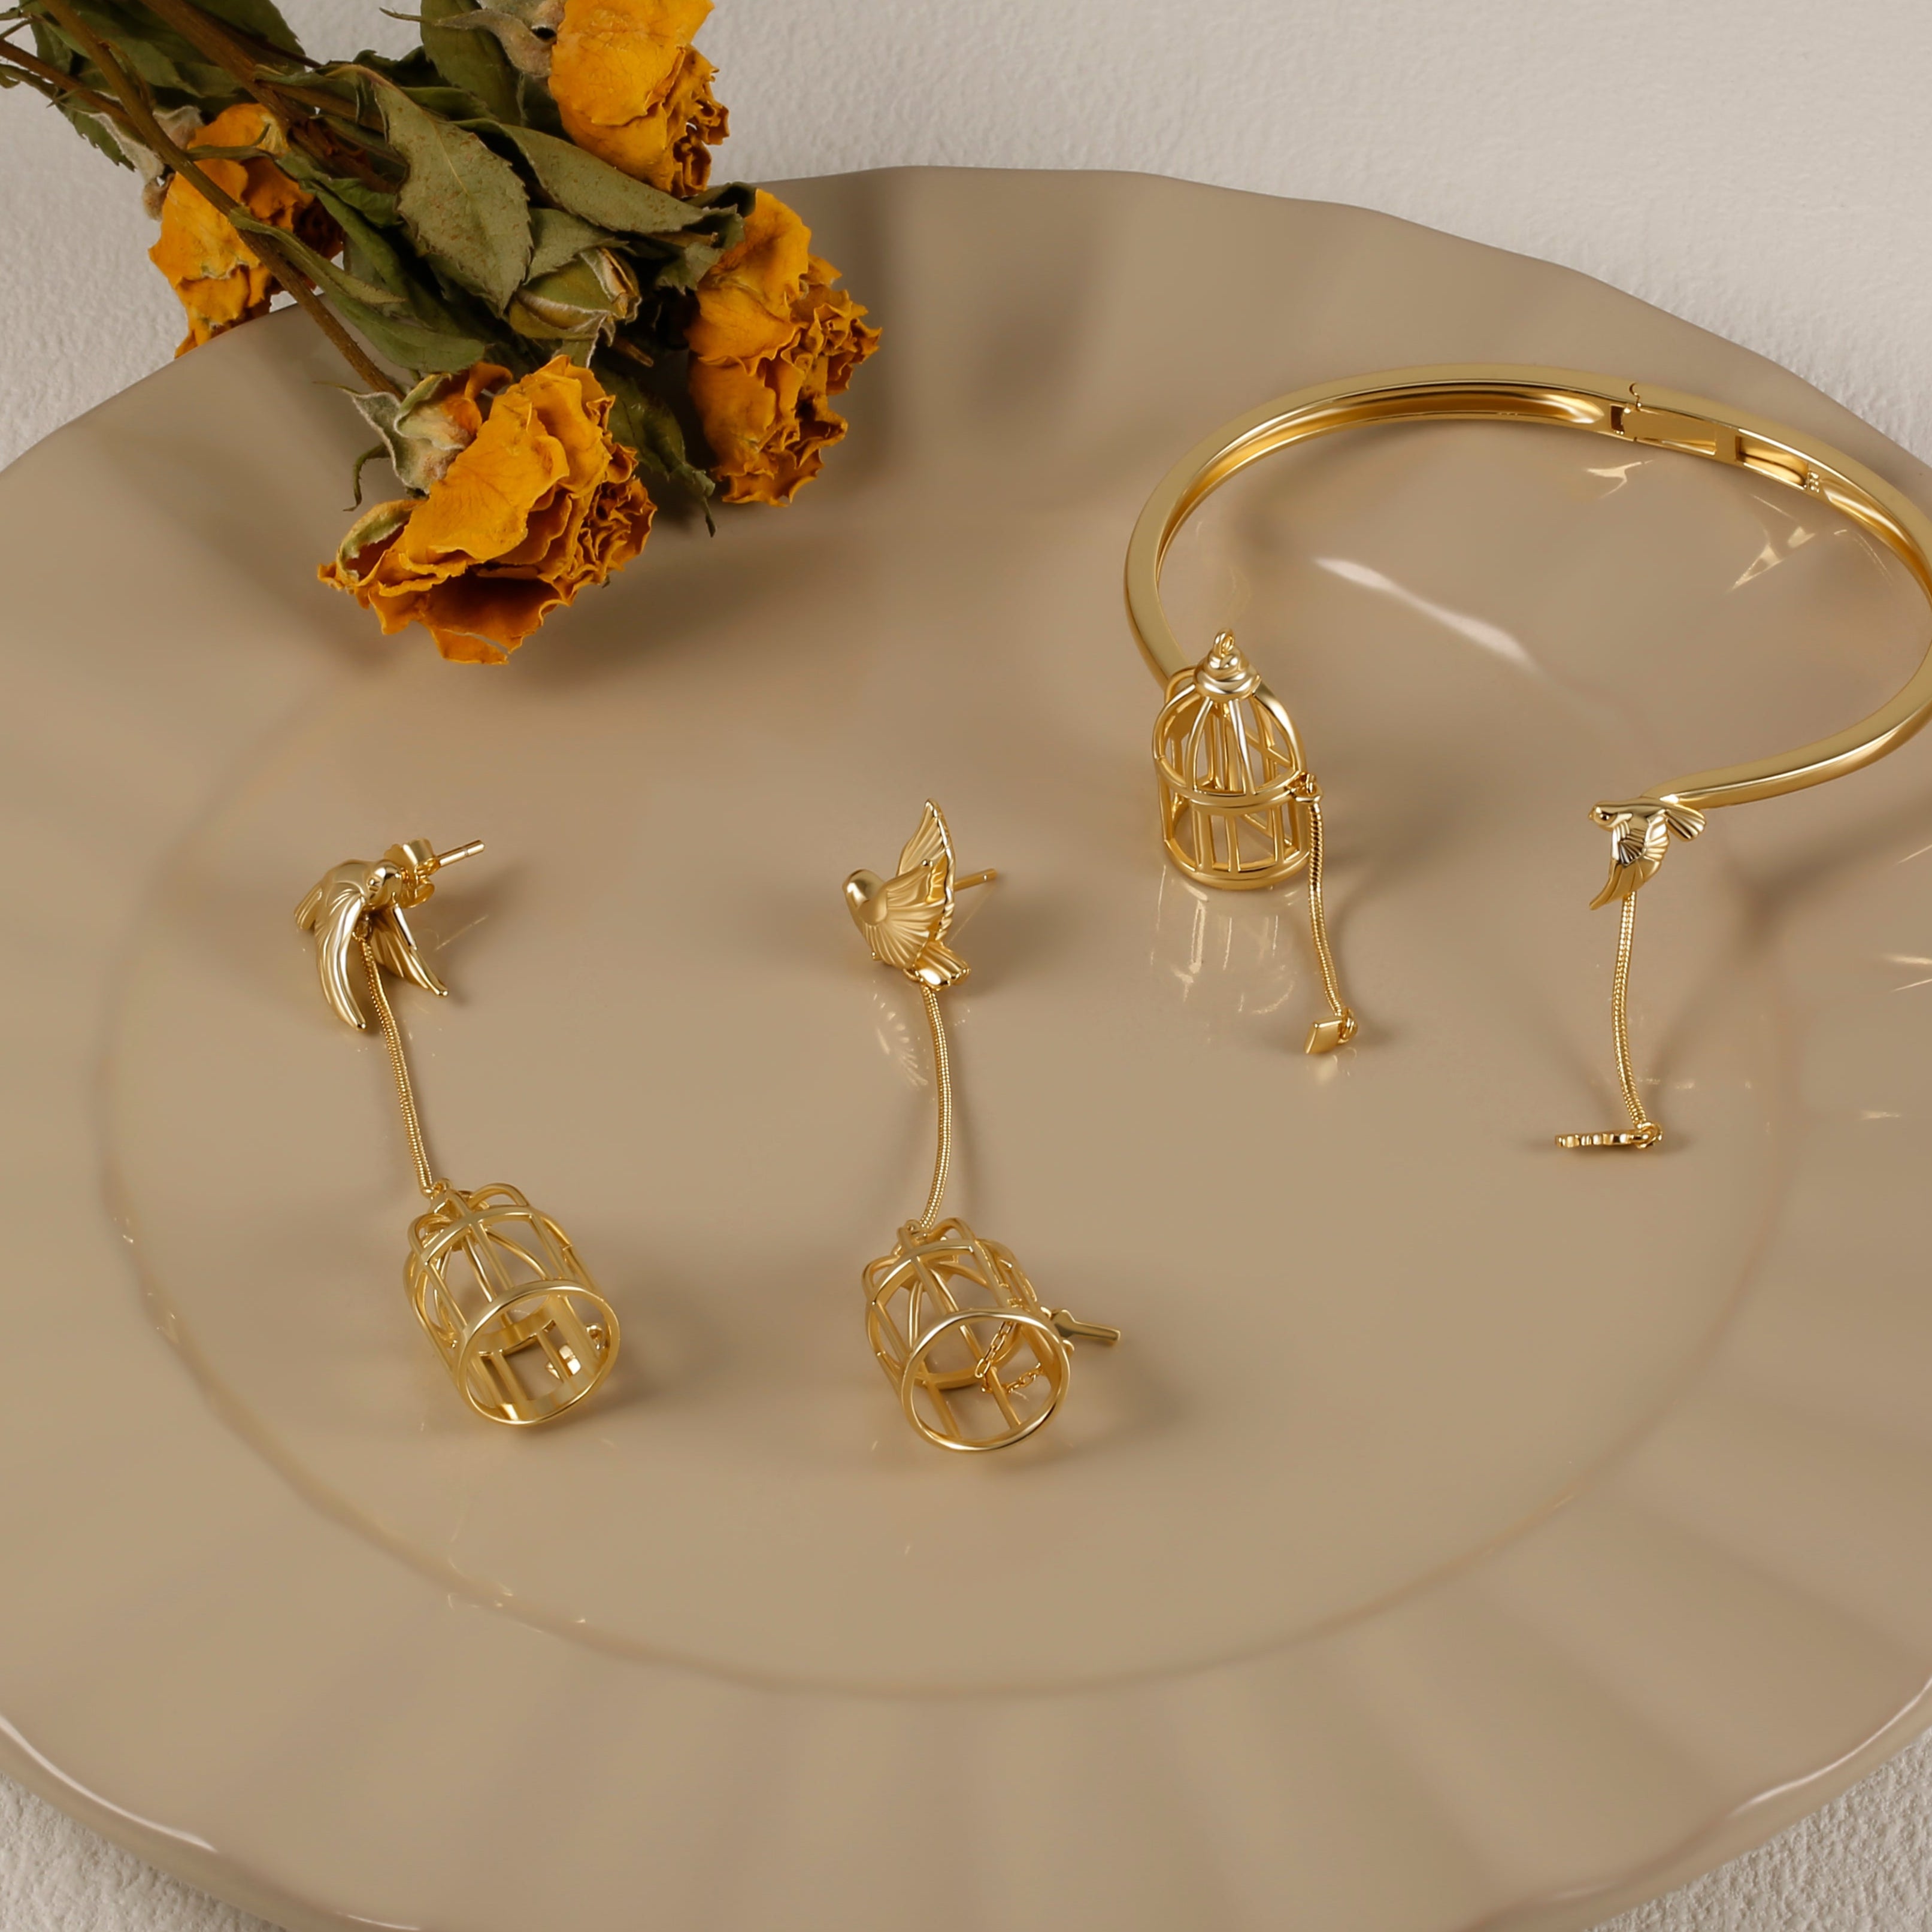
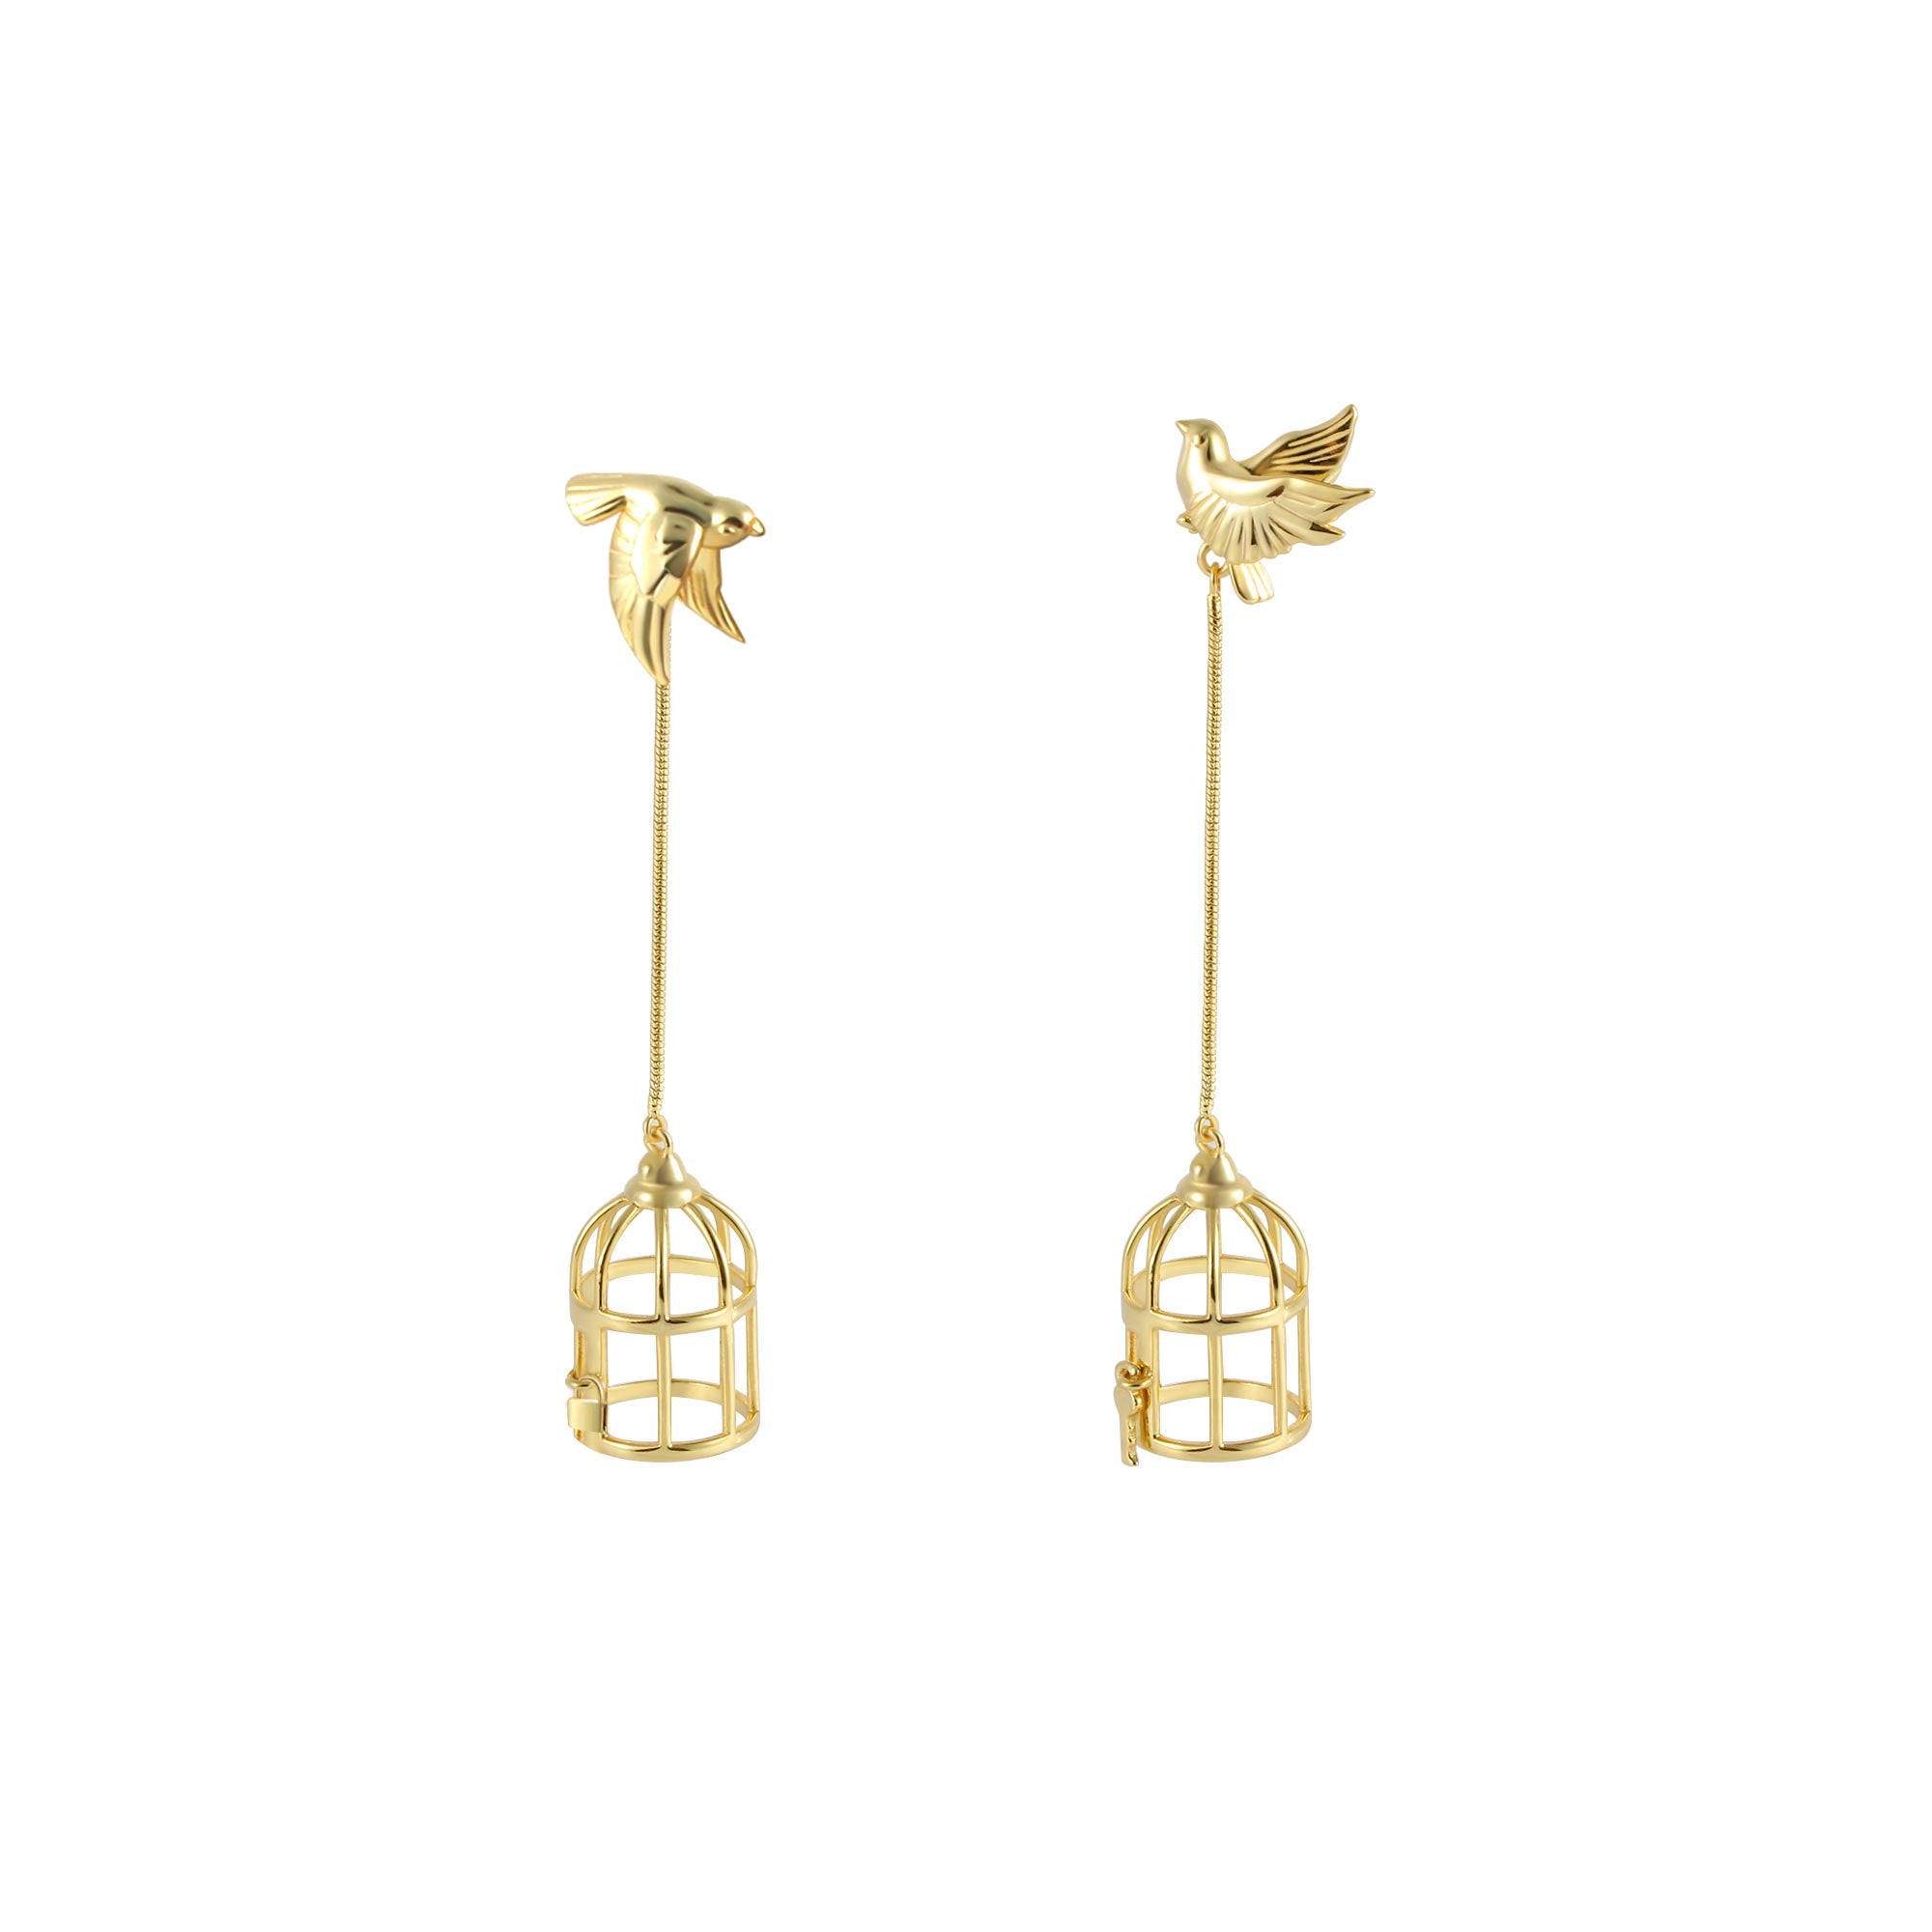
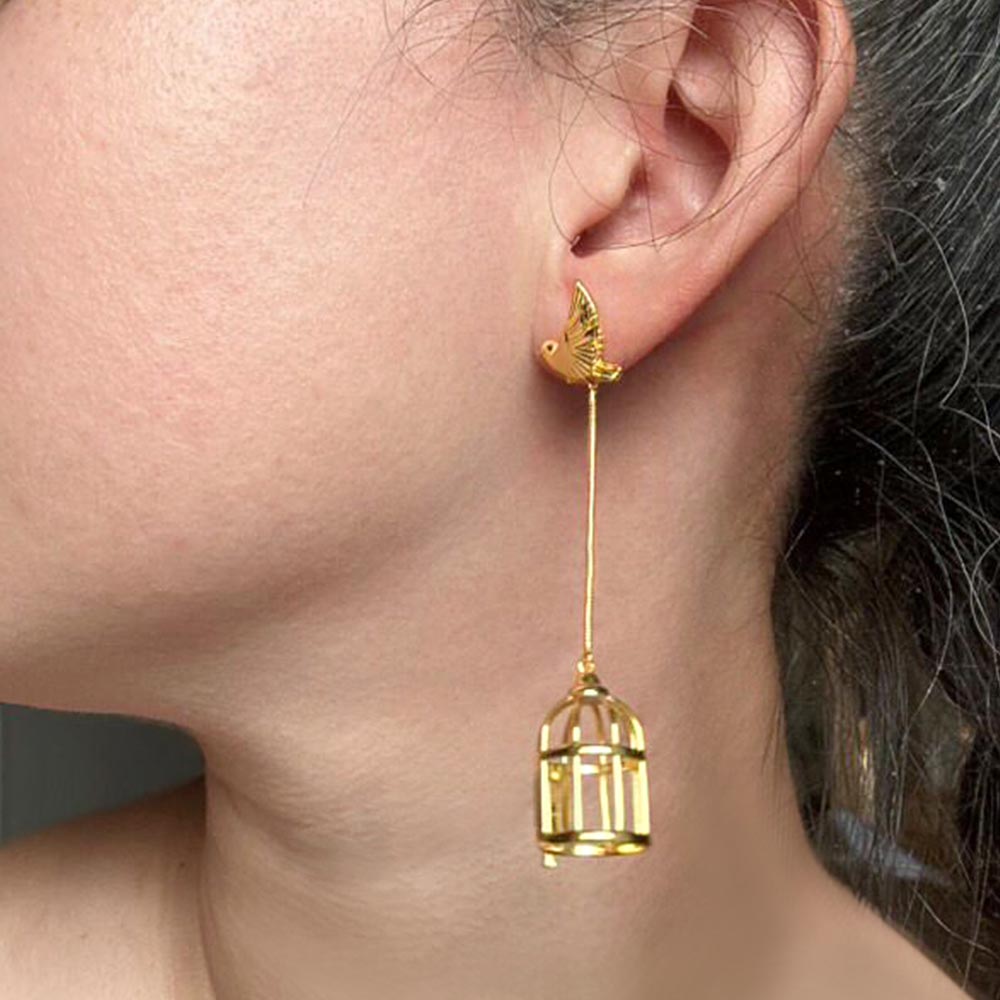
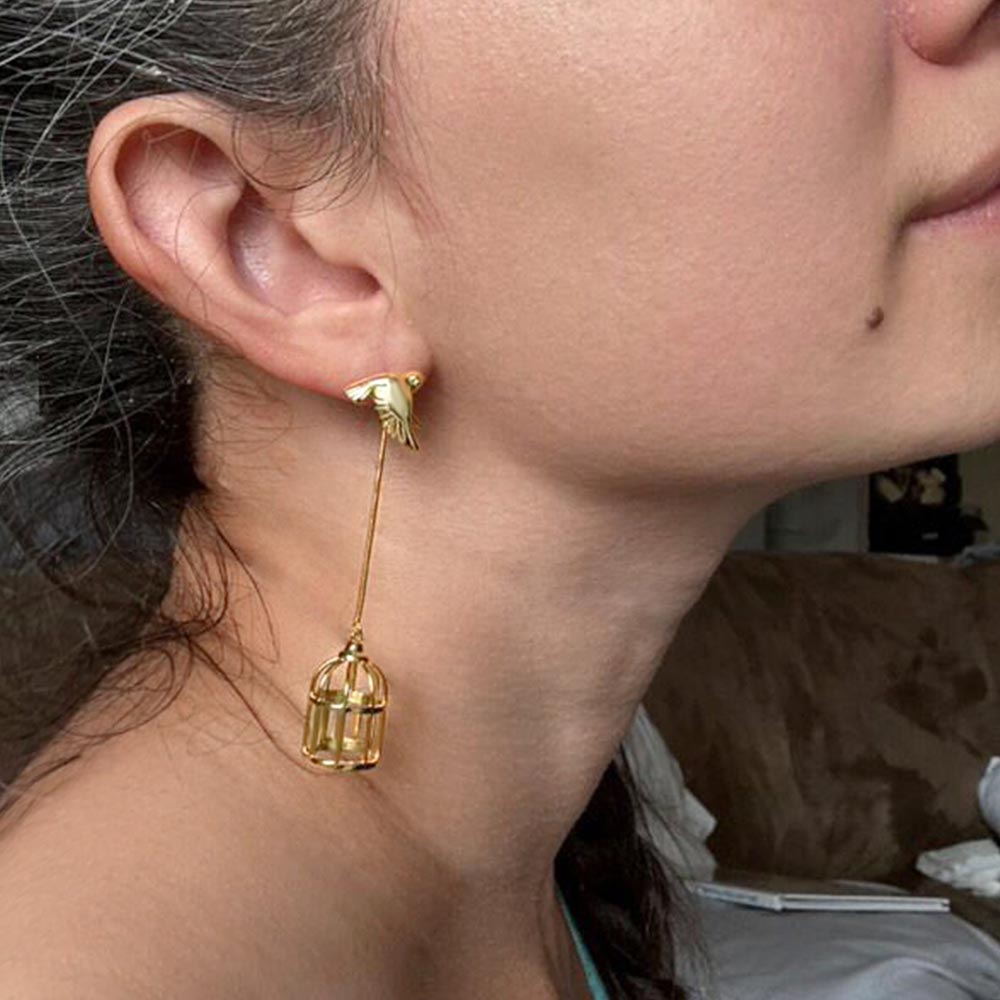
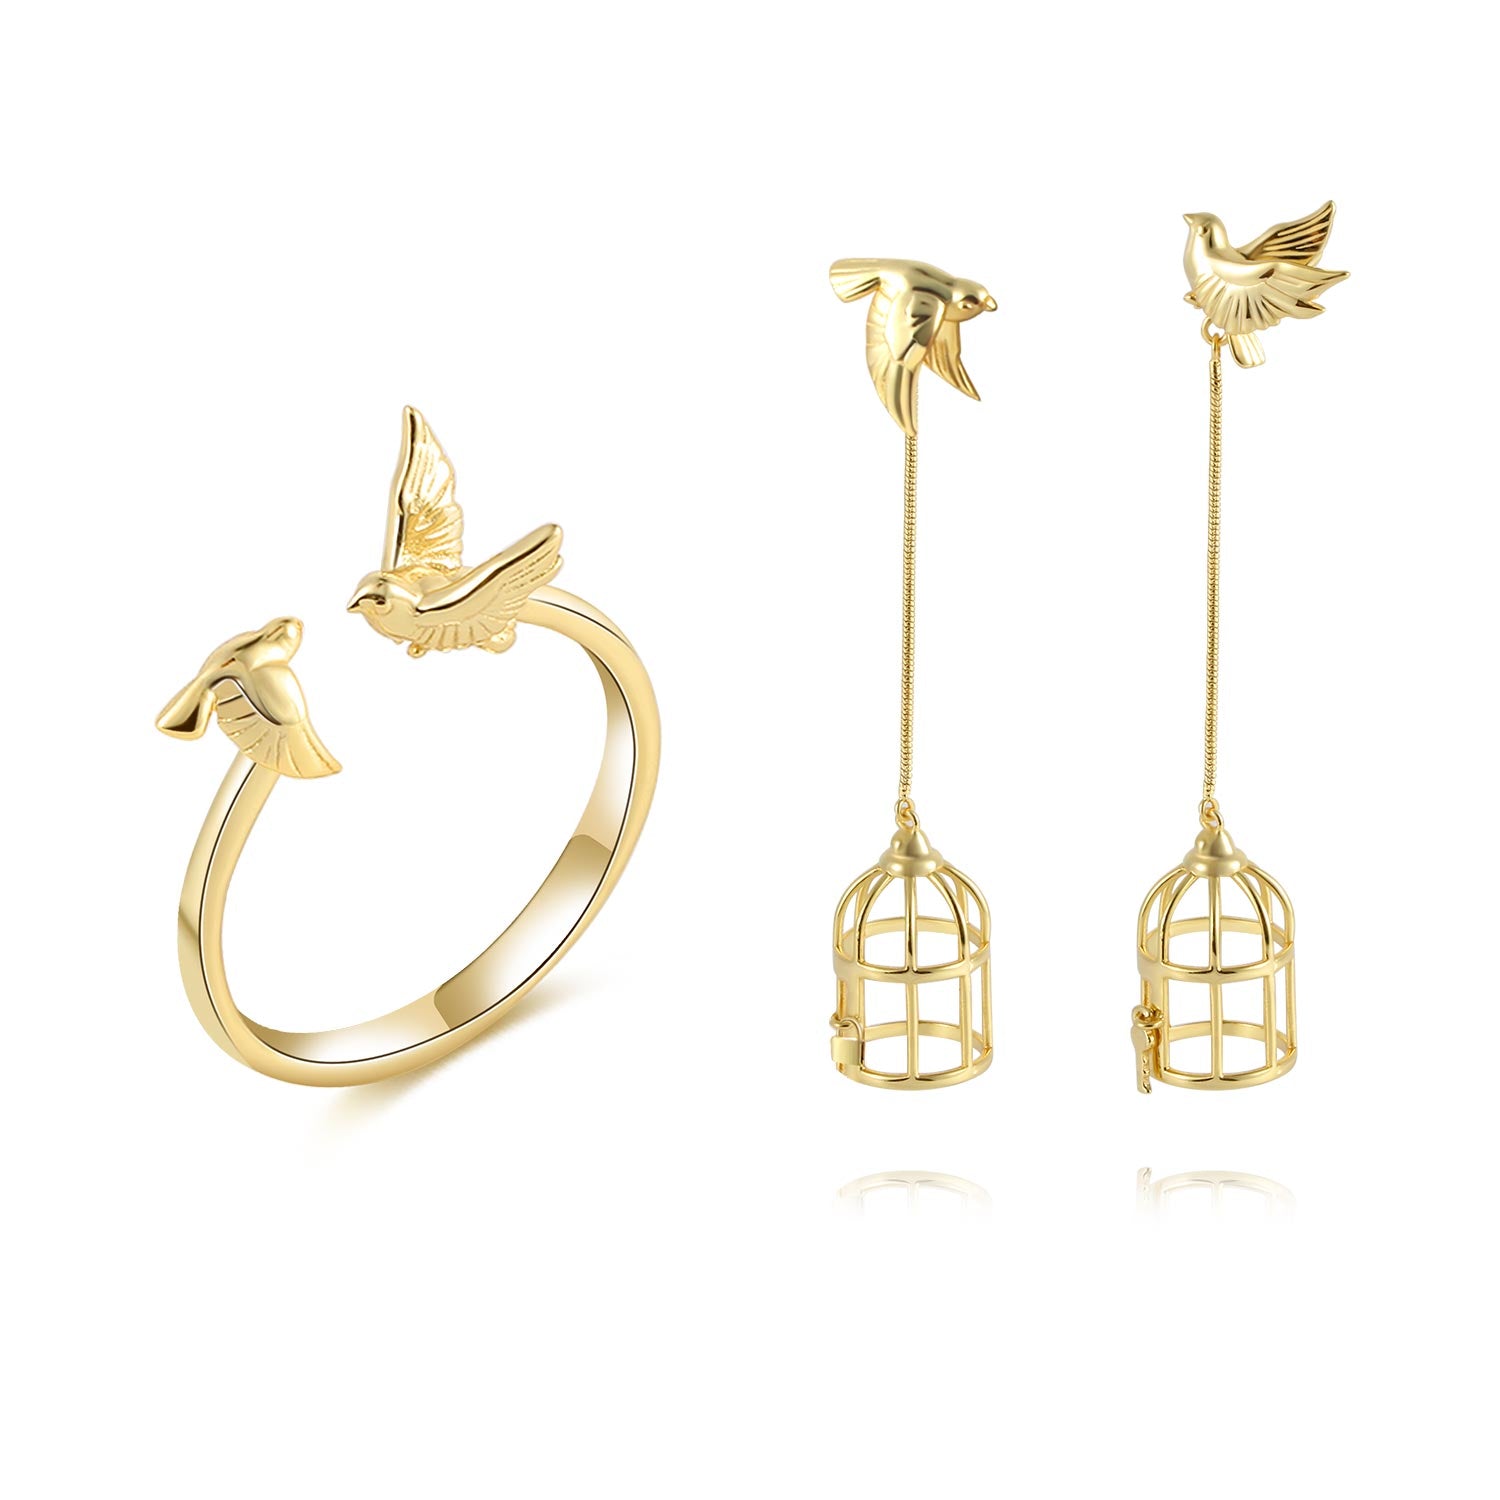
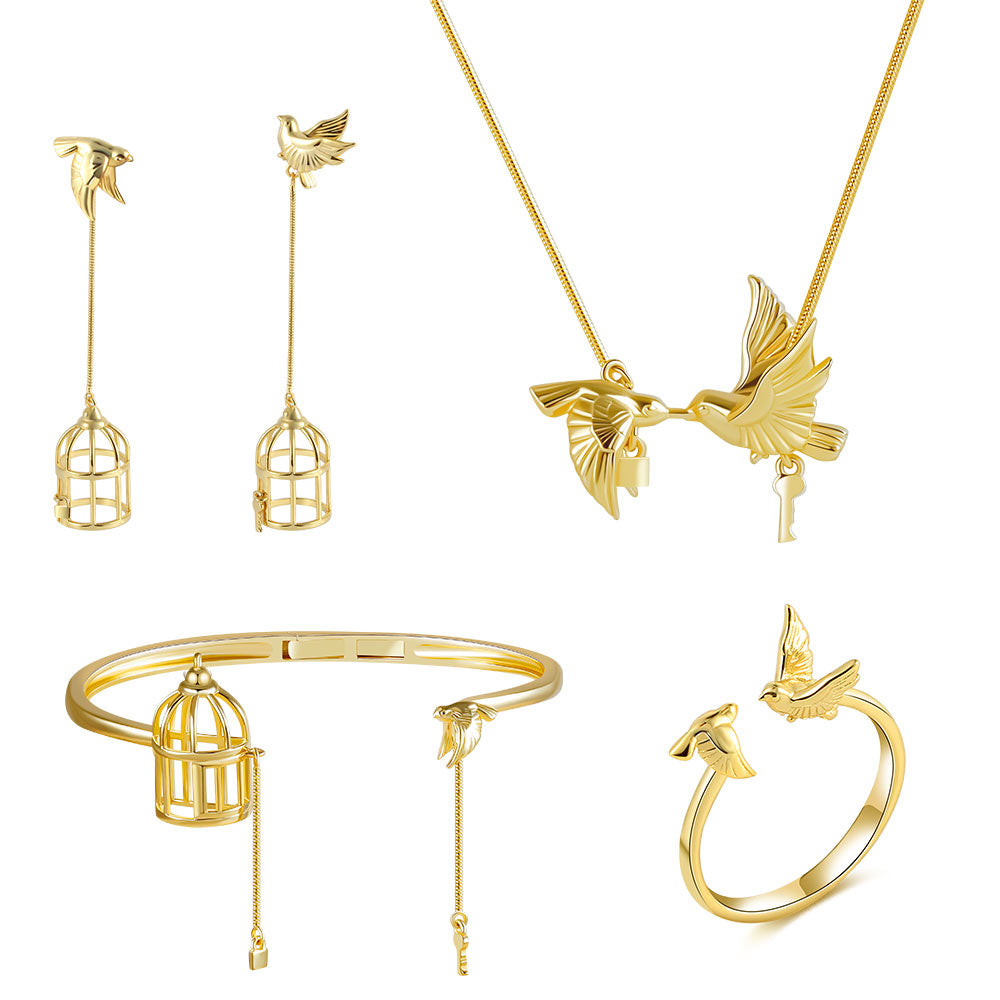
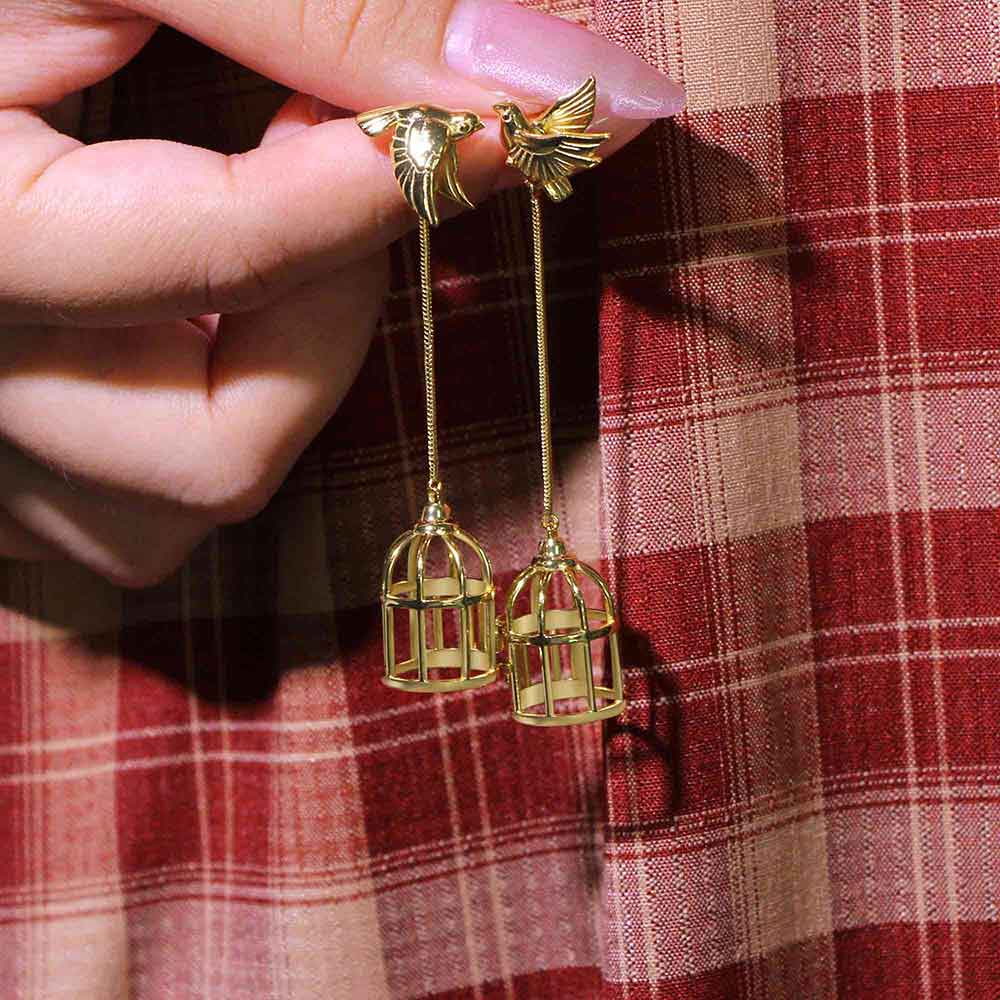
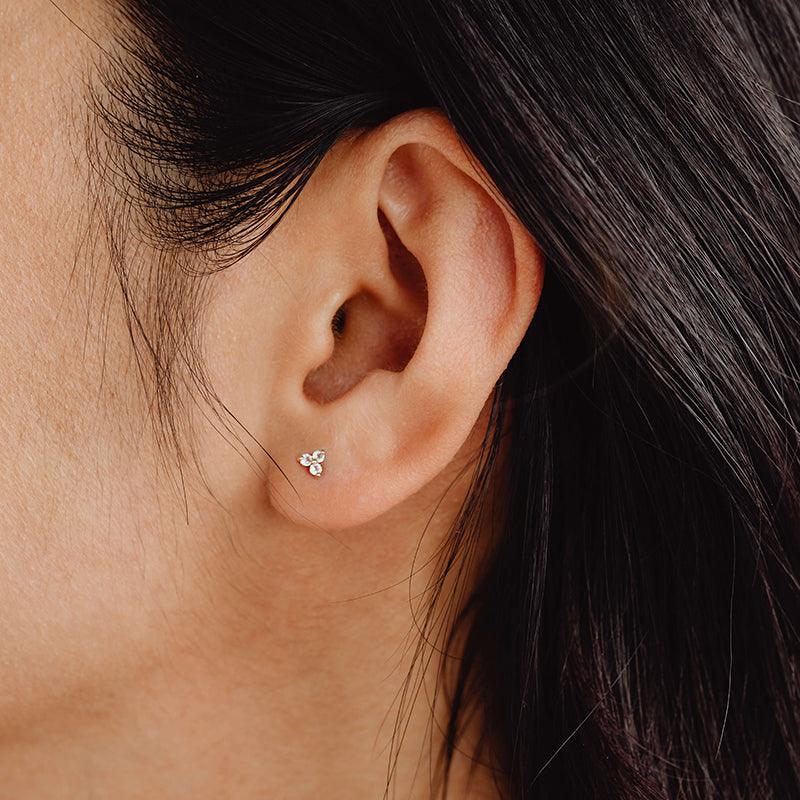
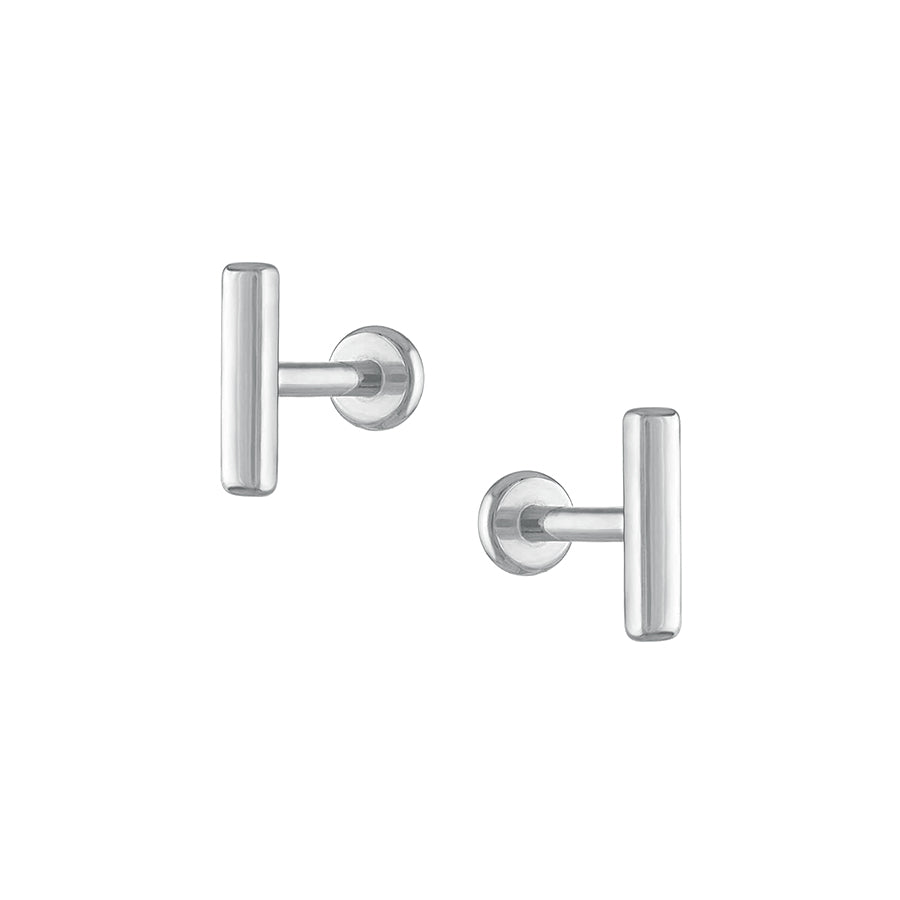
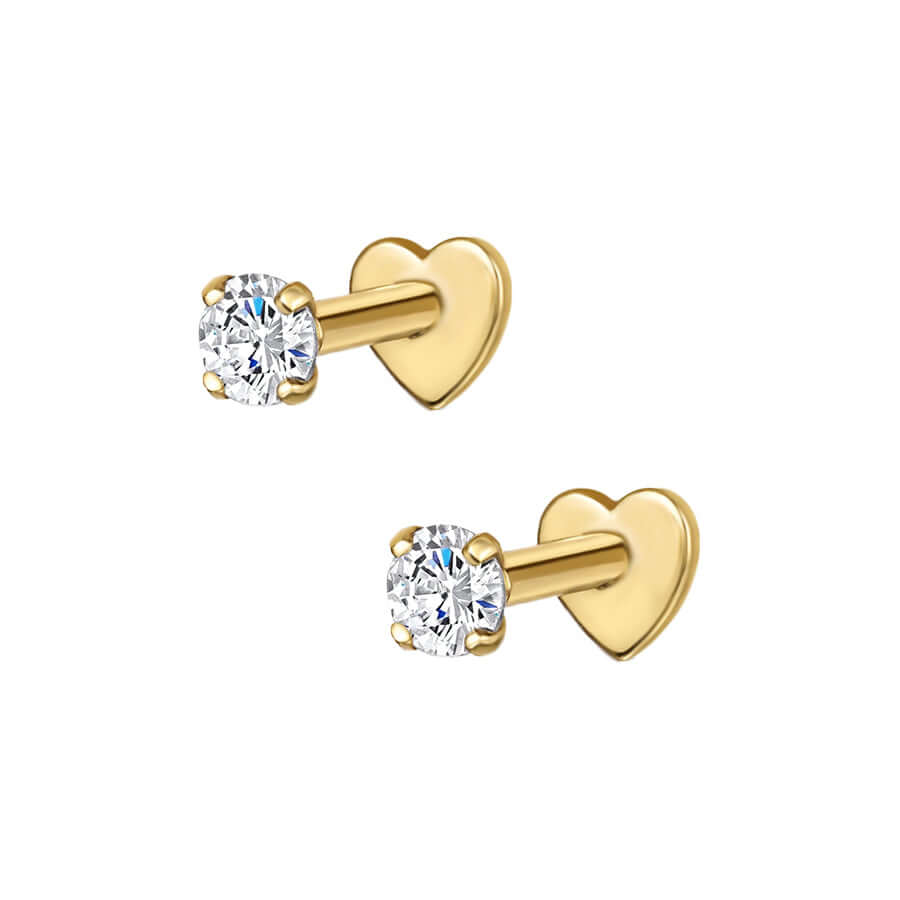
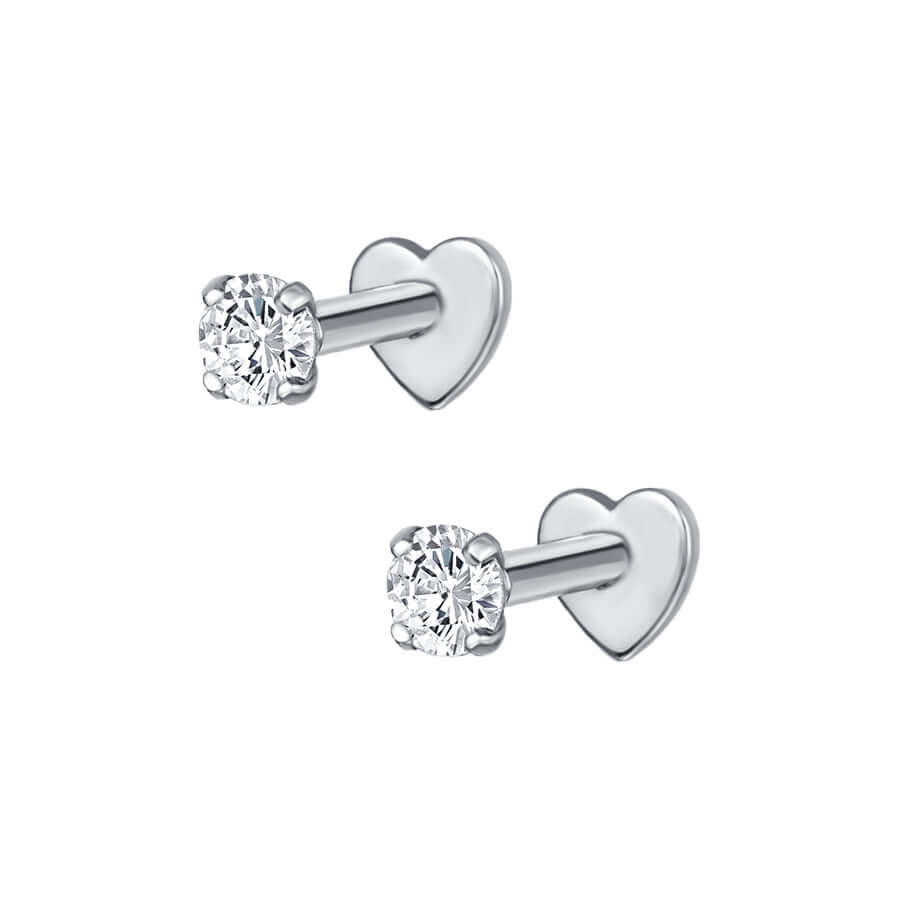
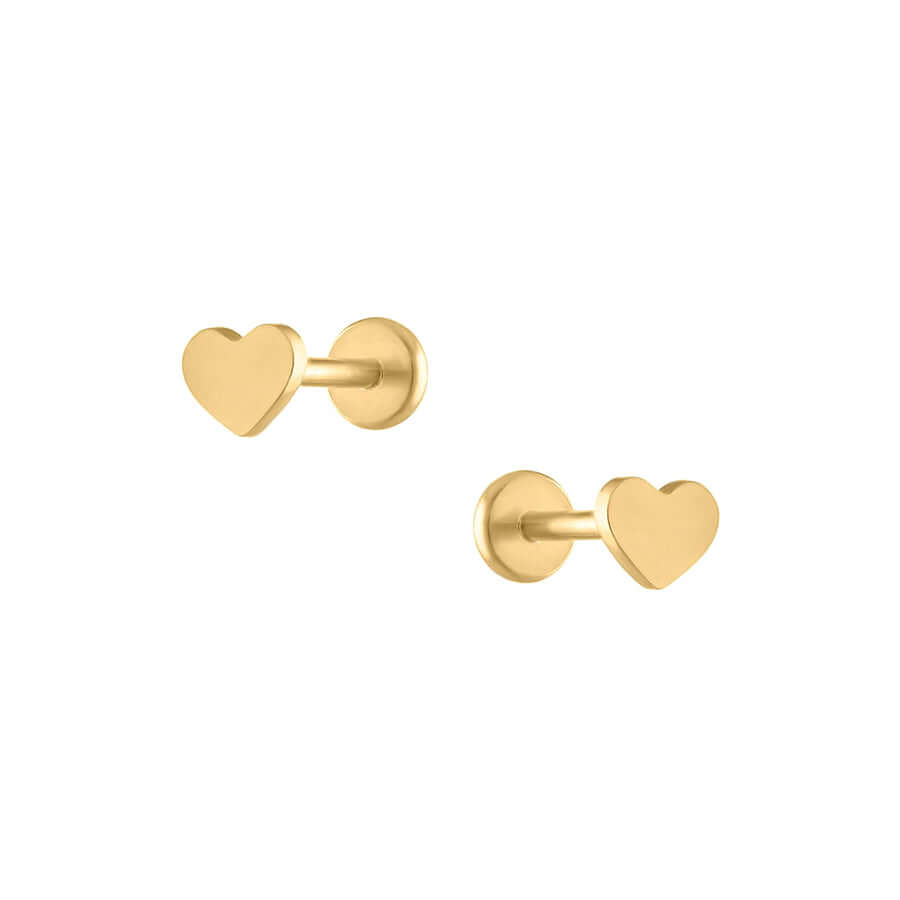
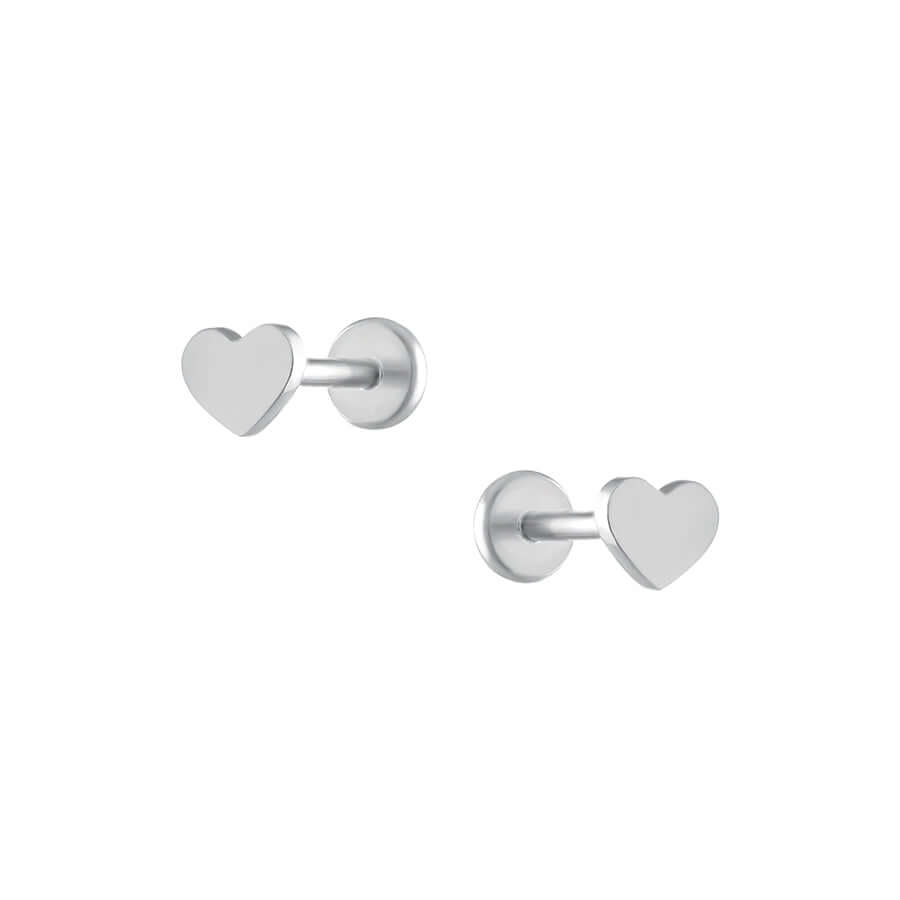
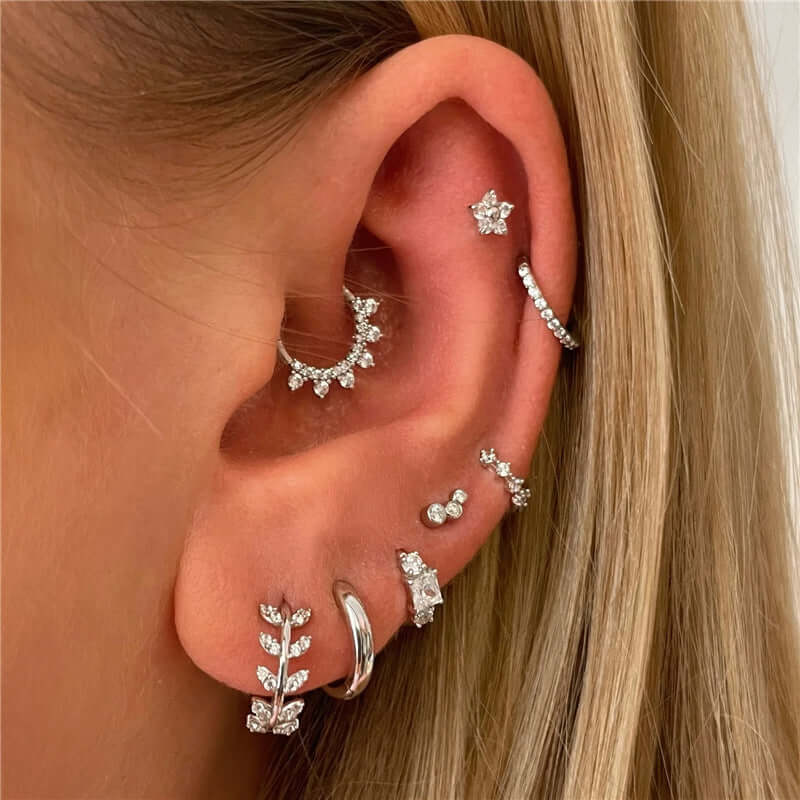
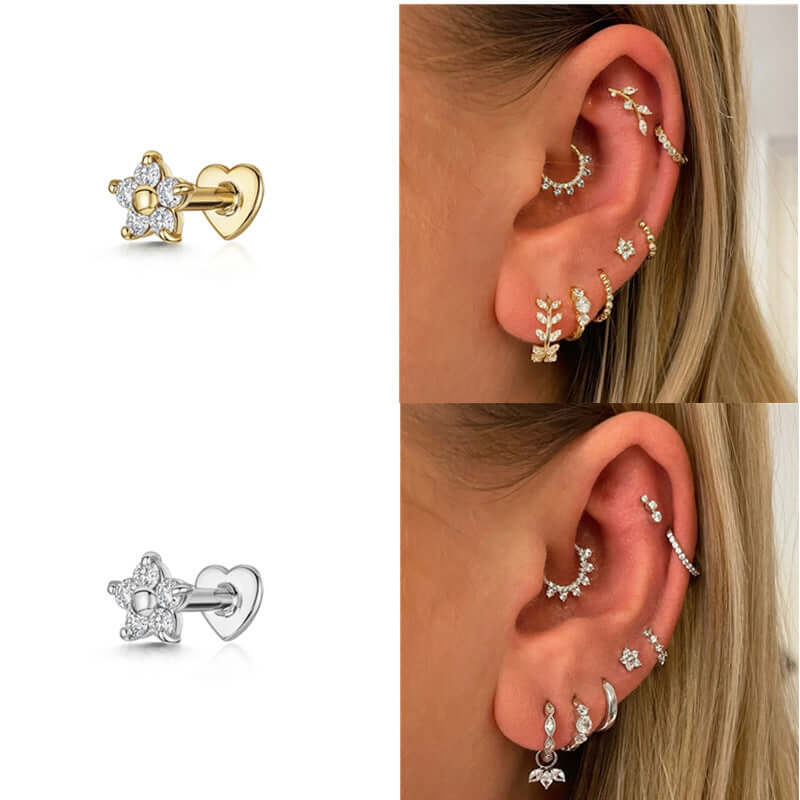
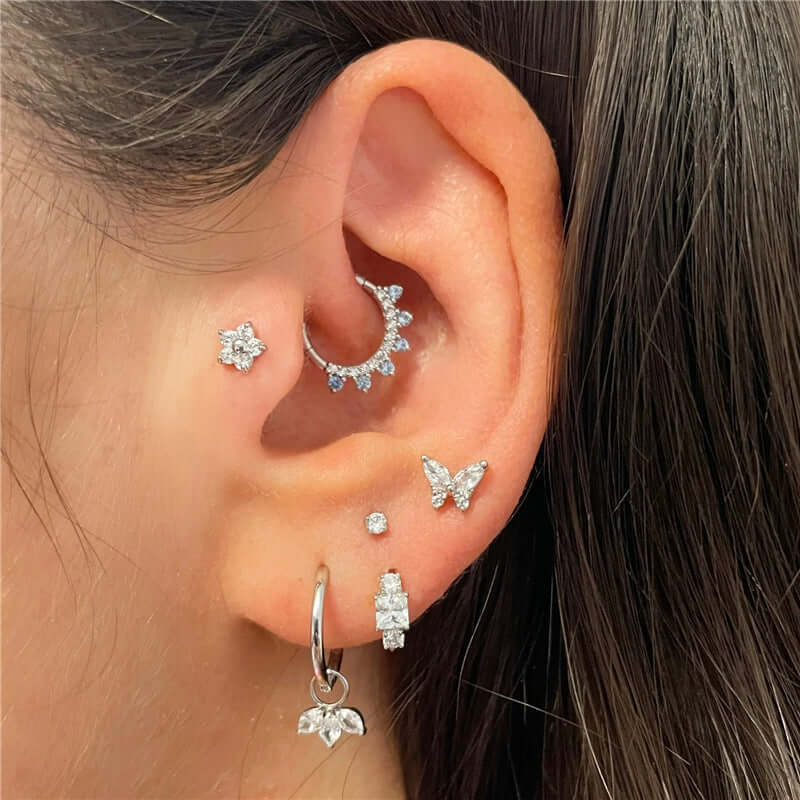
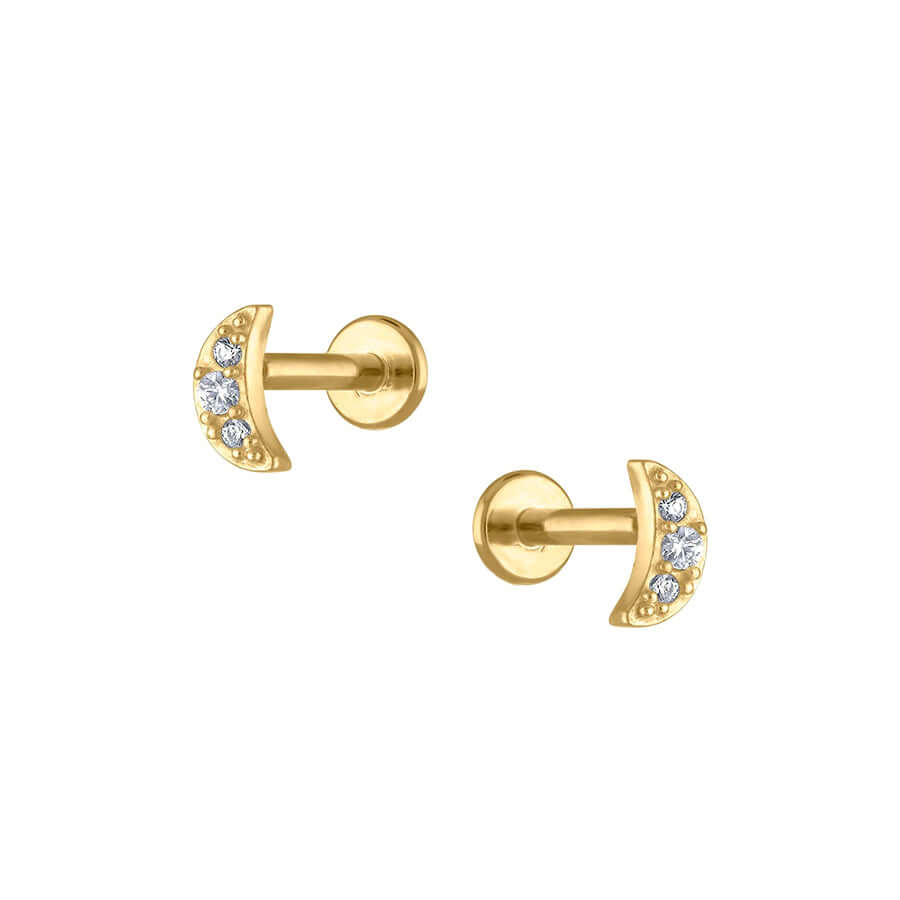
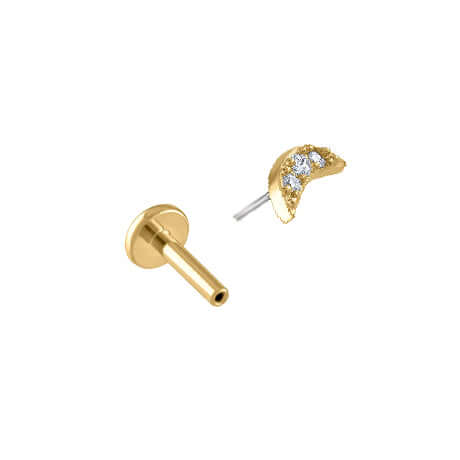
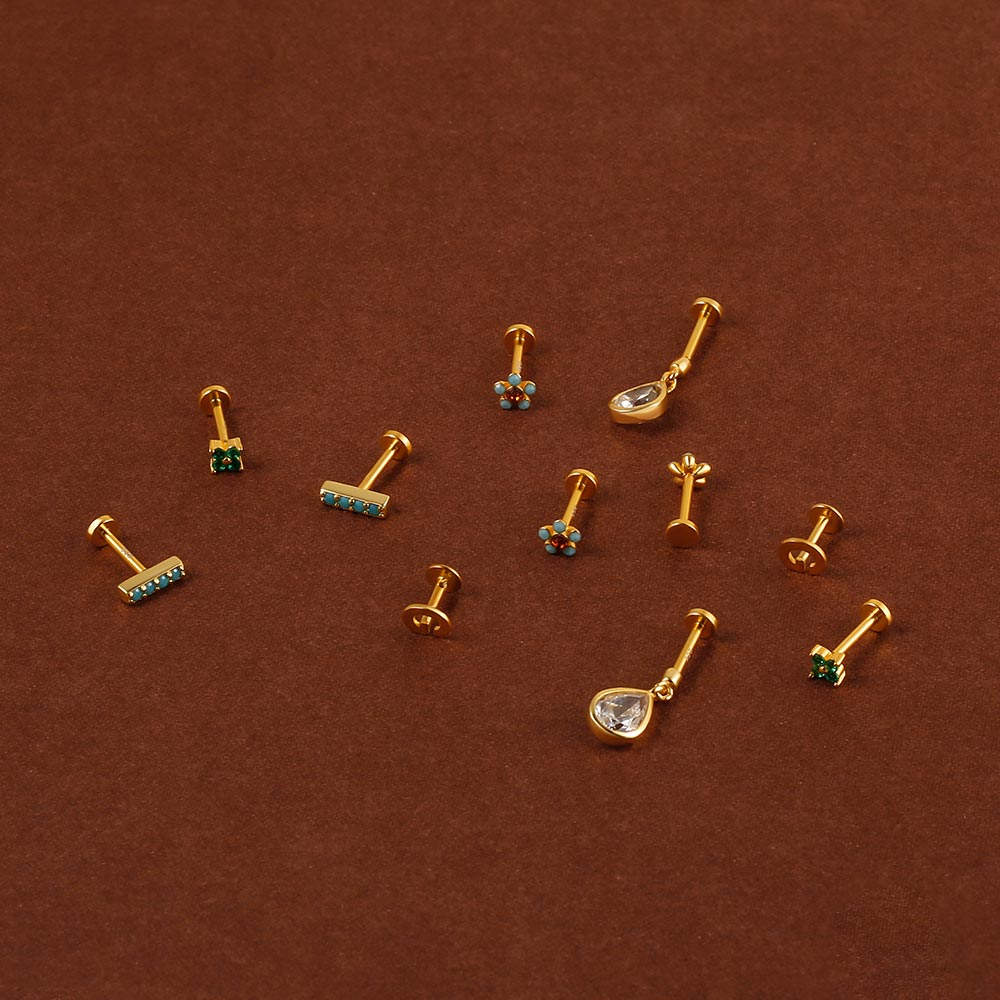
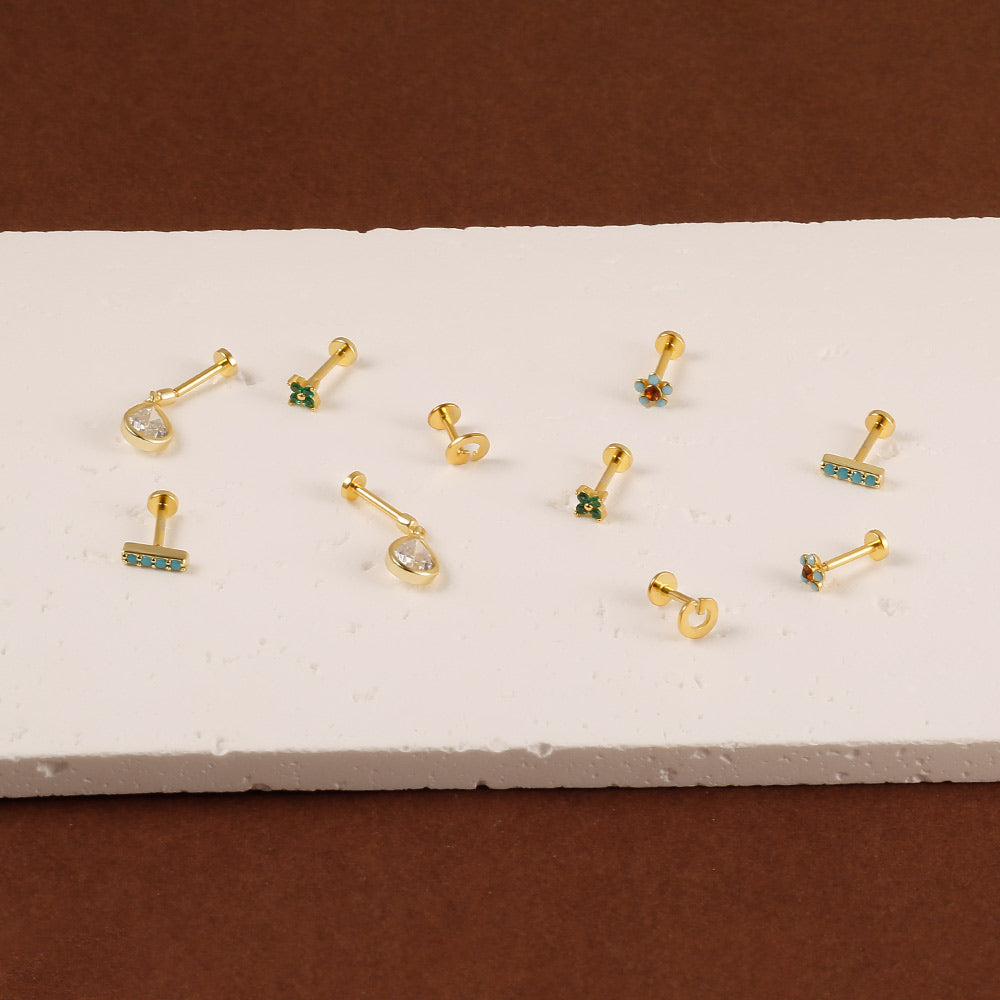
Top Pierced Earrings for Inspiration
If DIY isn’t your style, explore these ready-to-wear pierced designs:
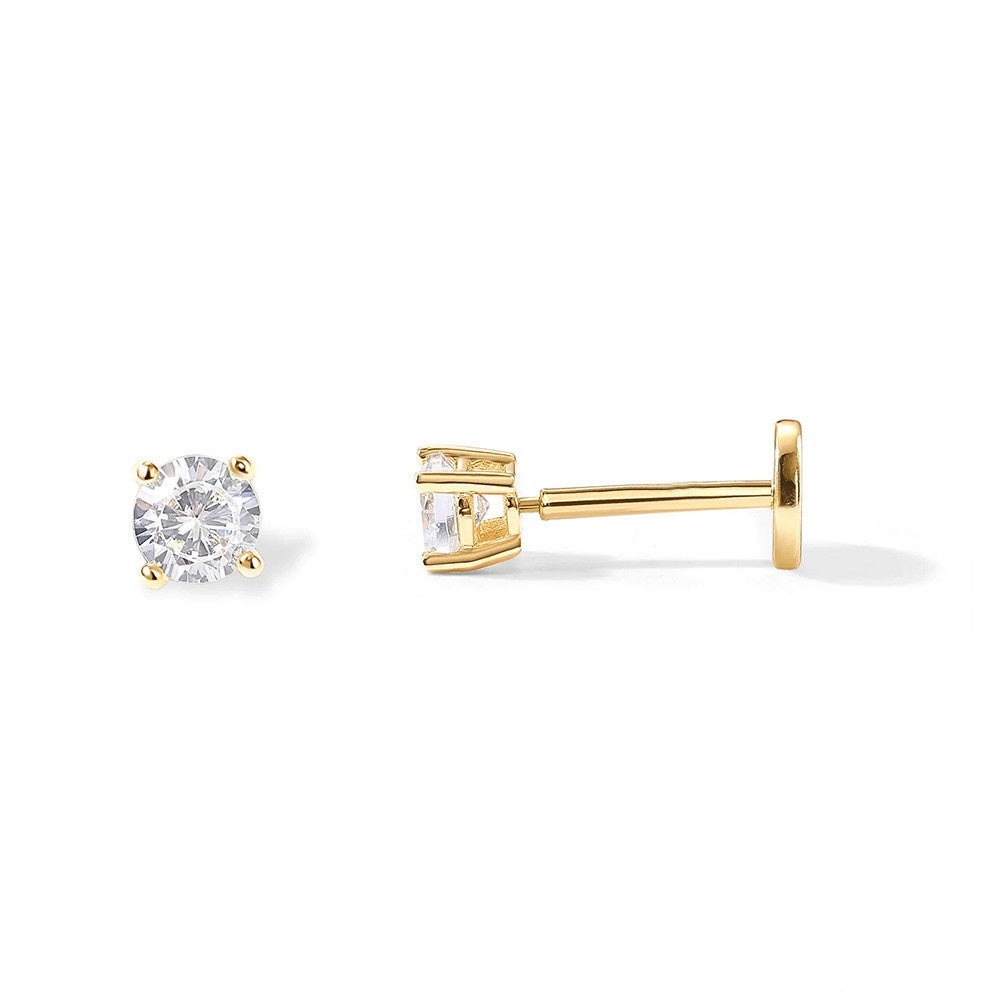
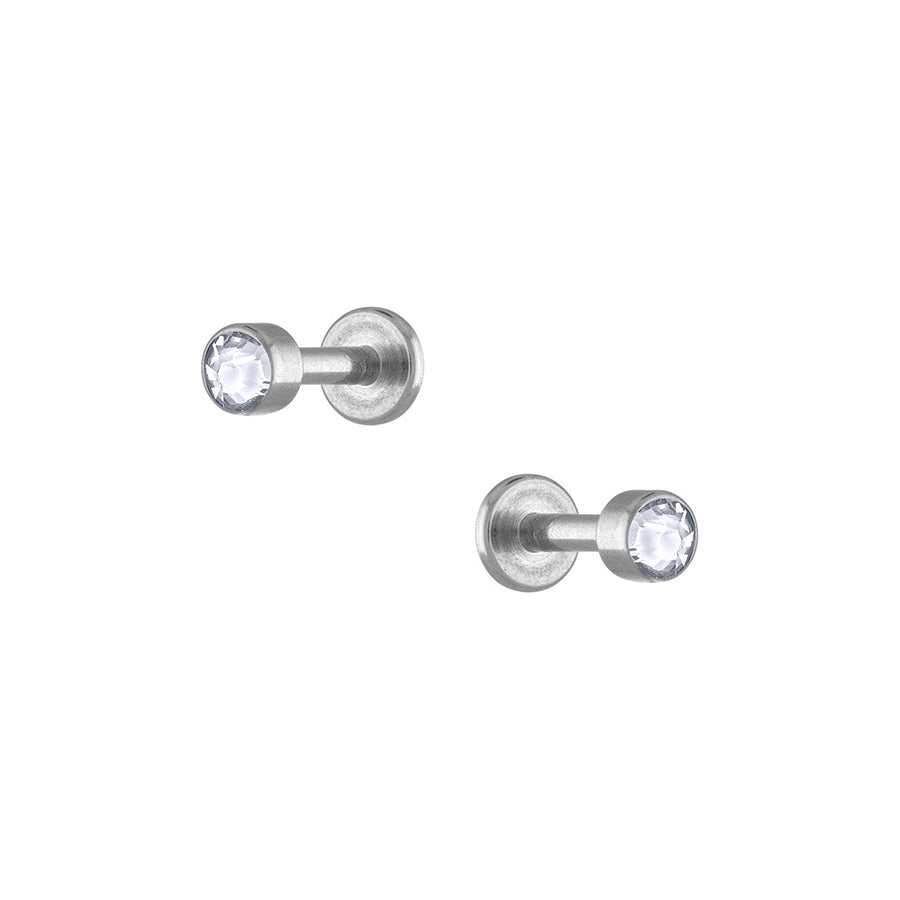
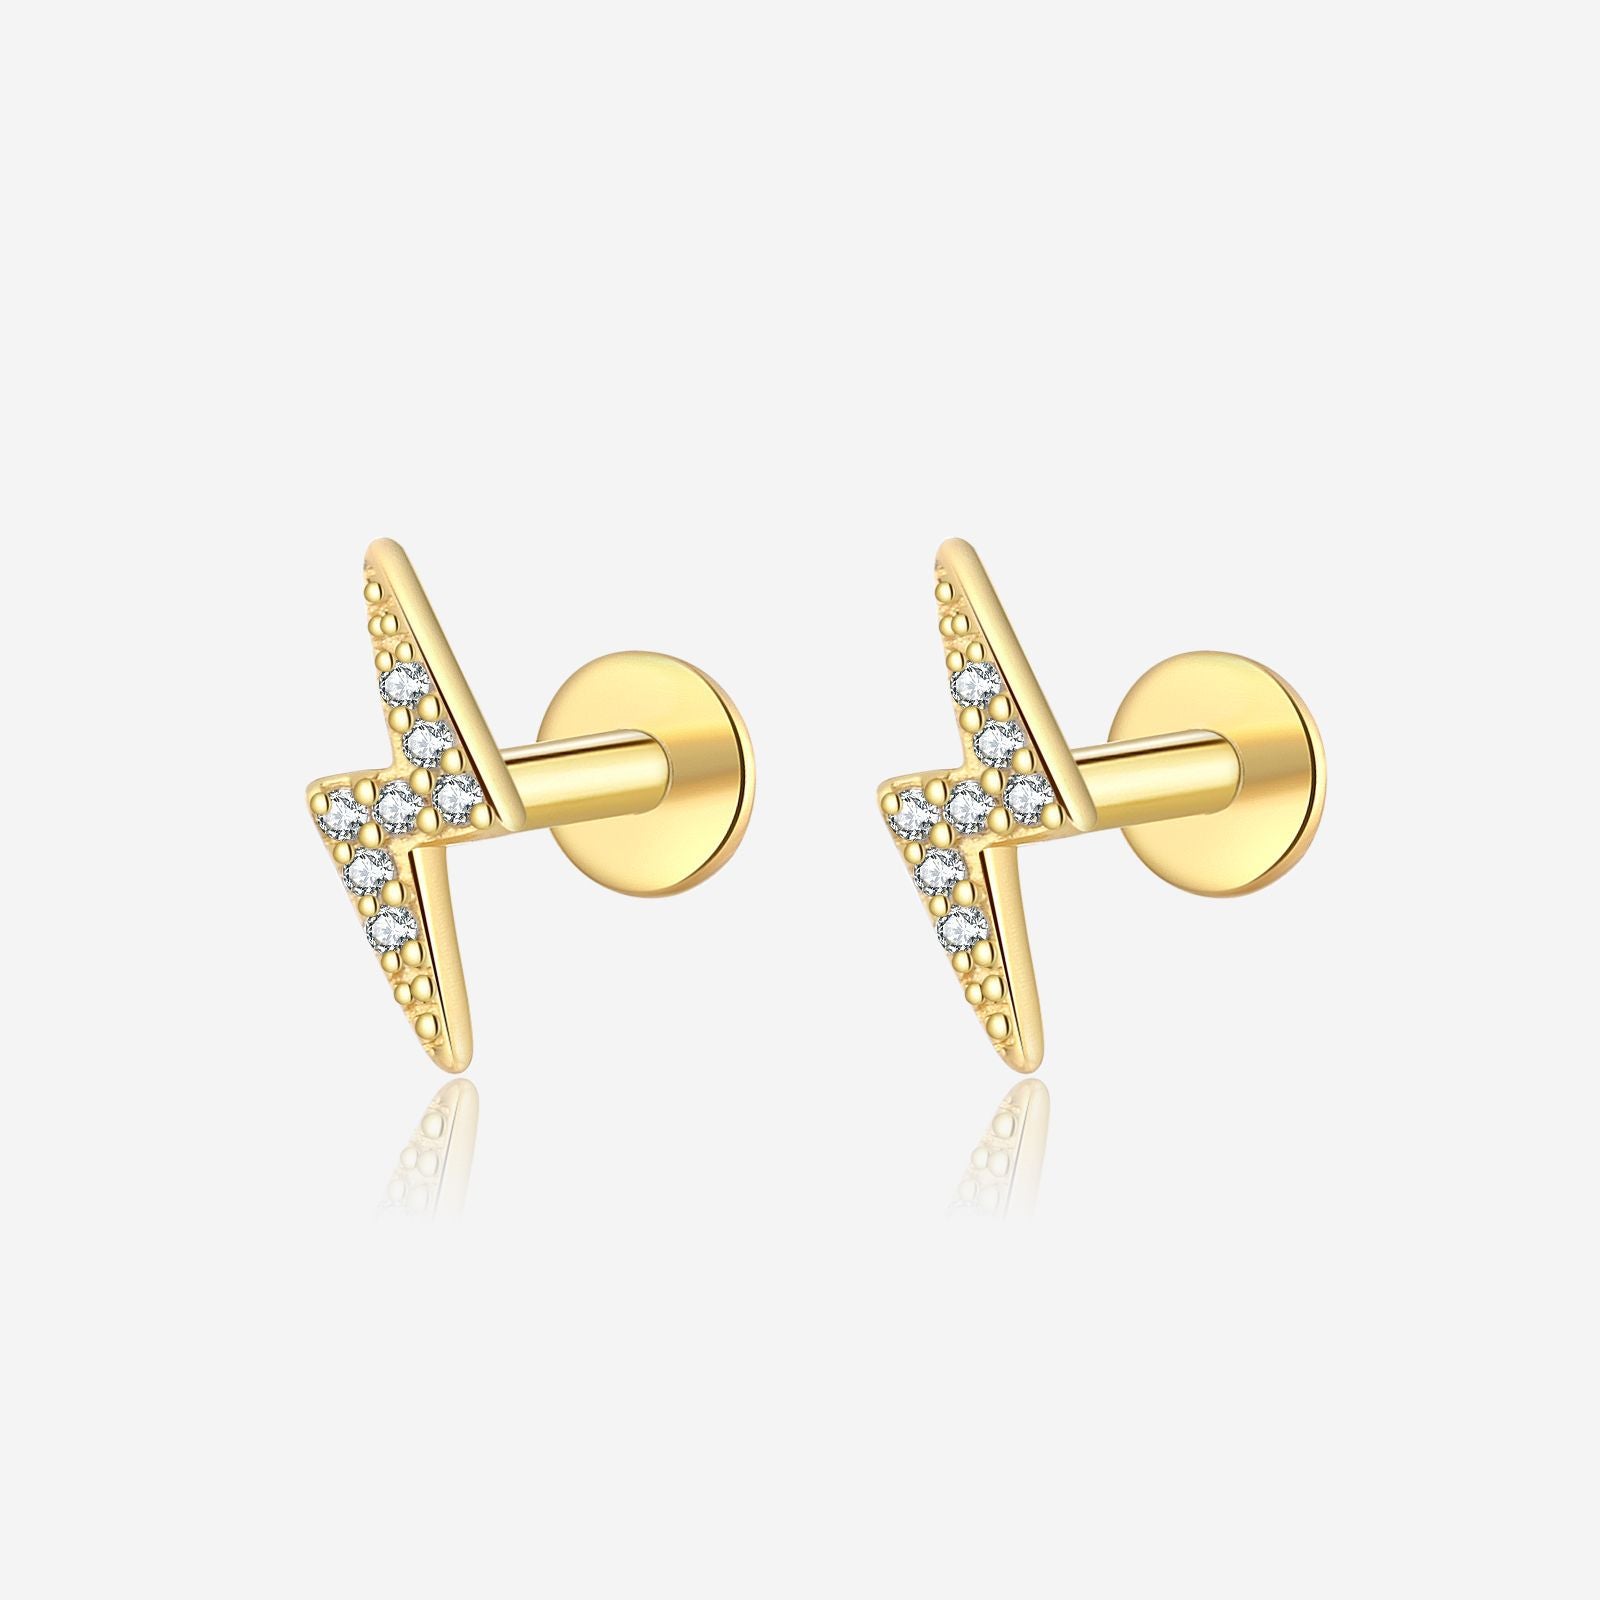
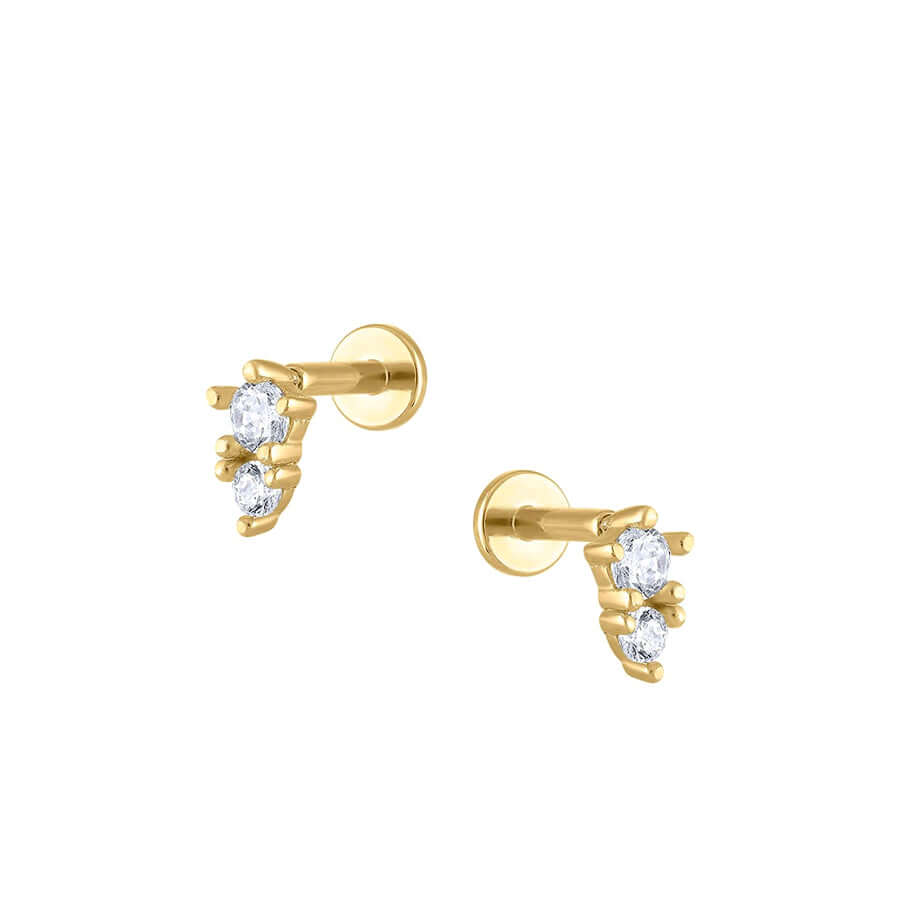
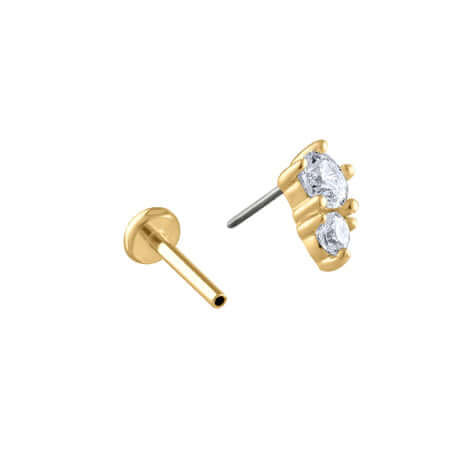
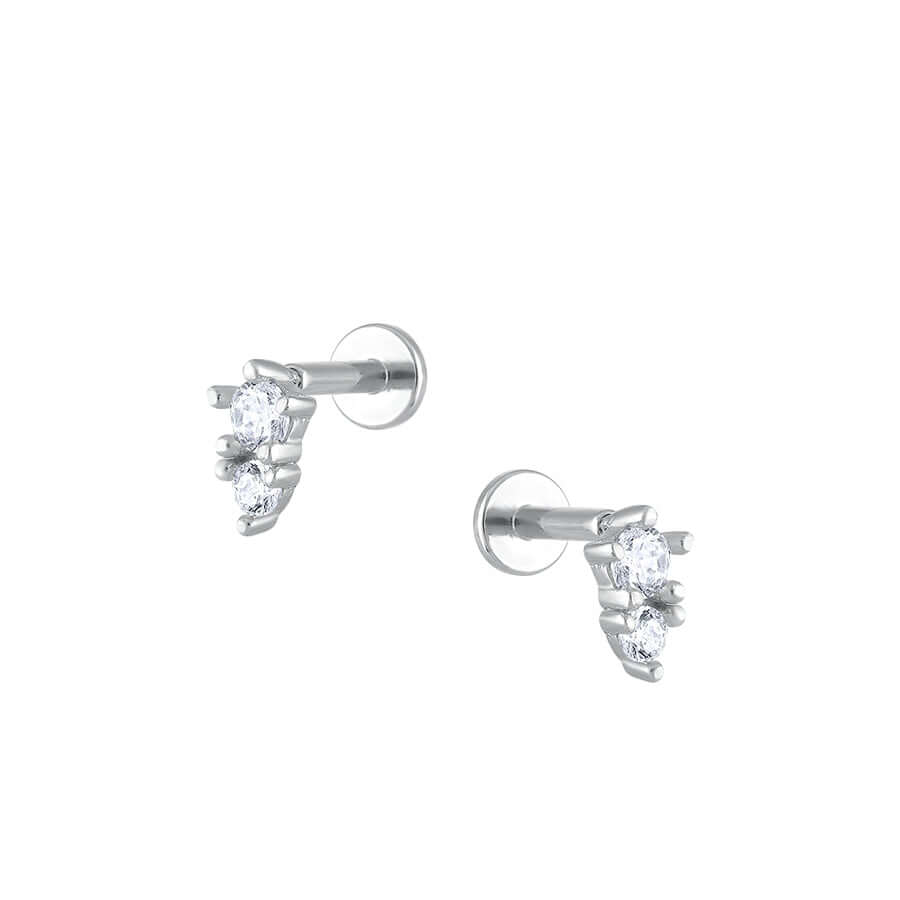
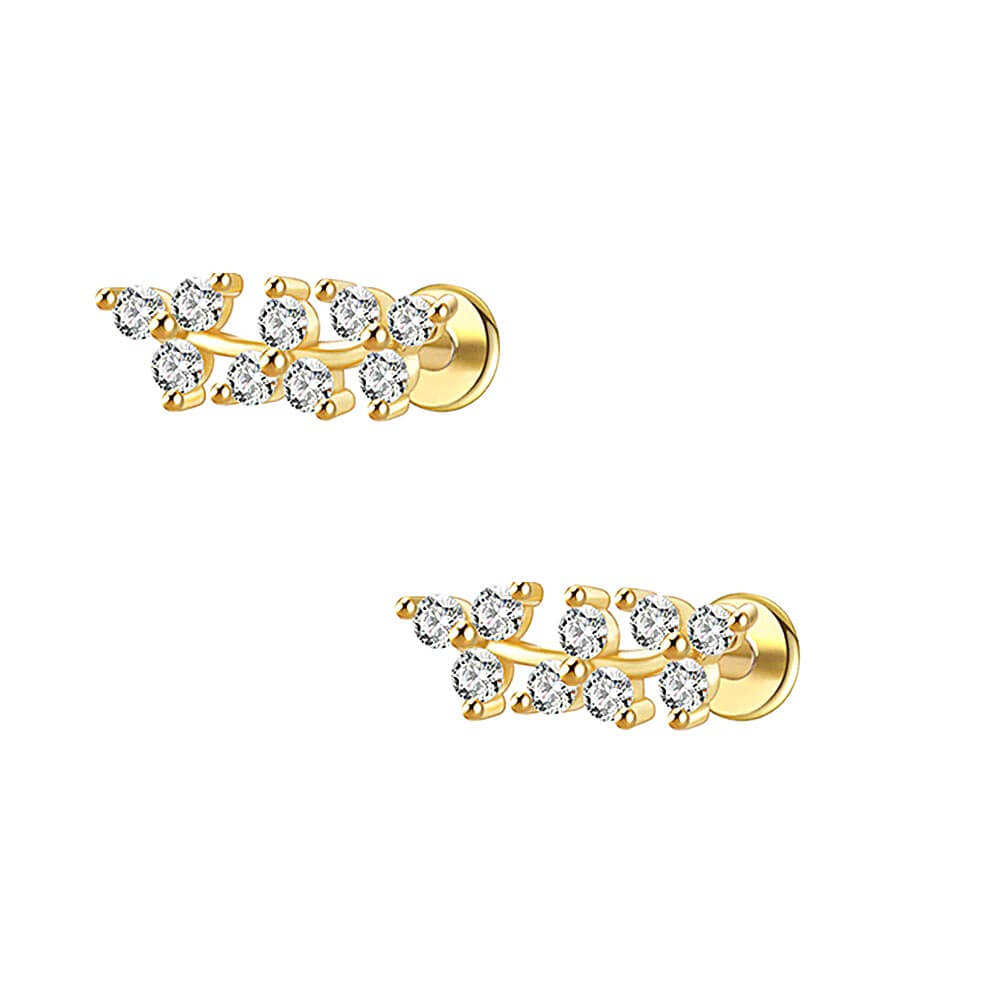
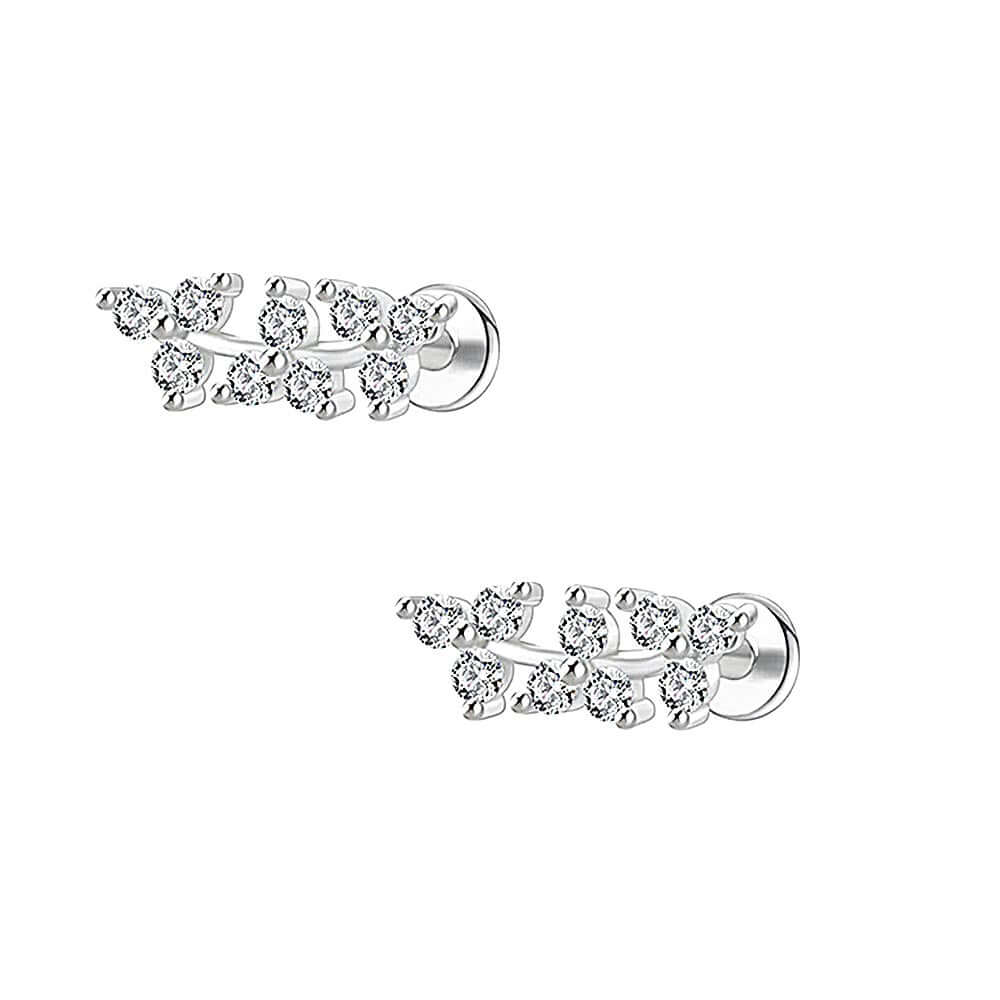
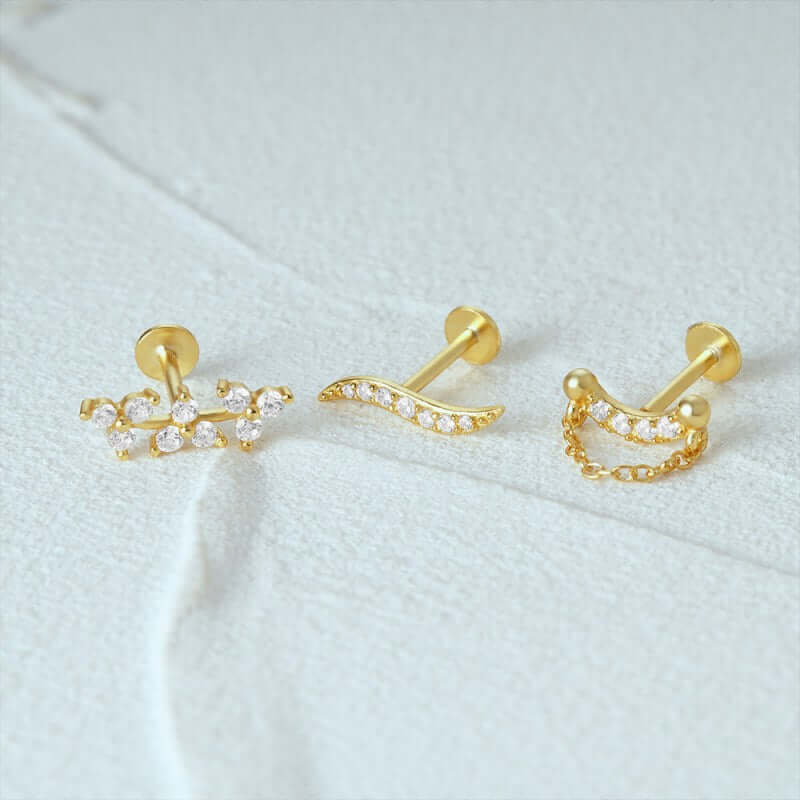
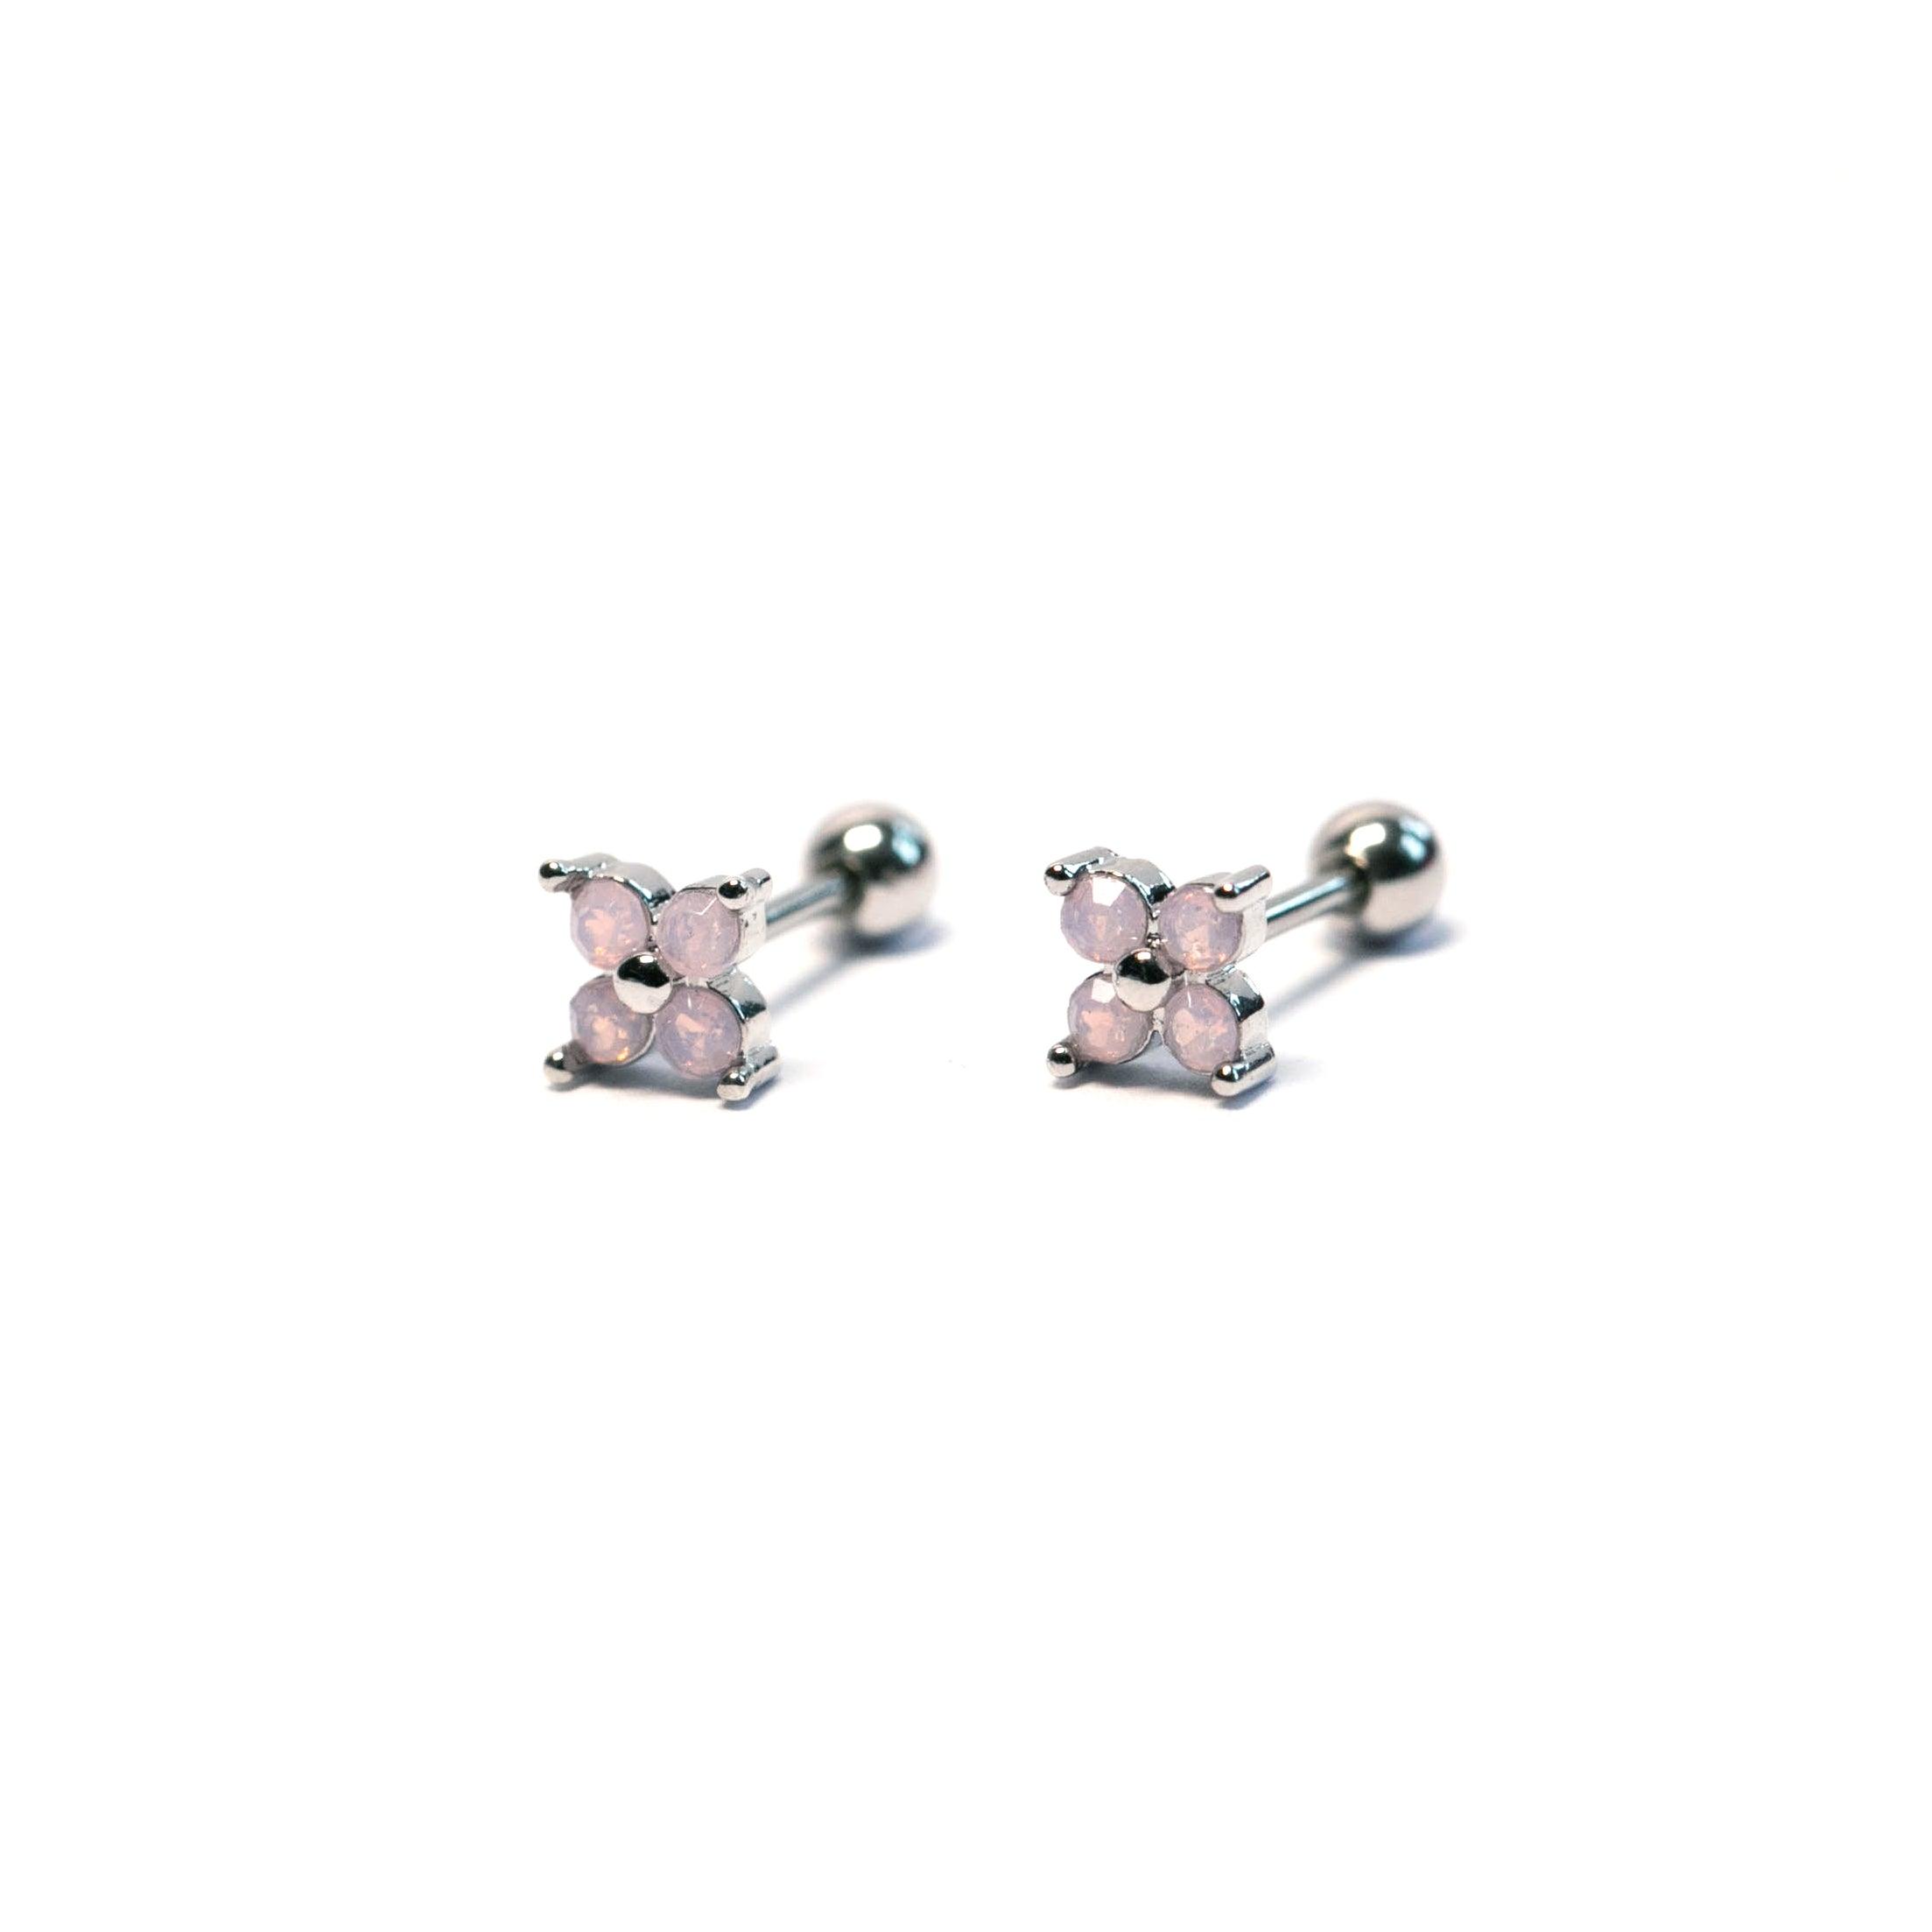
- 925 Silver Stacked CZ Diamond Flat Back Earrings – $34
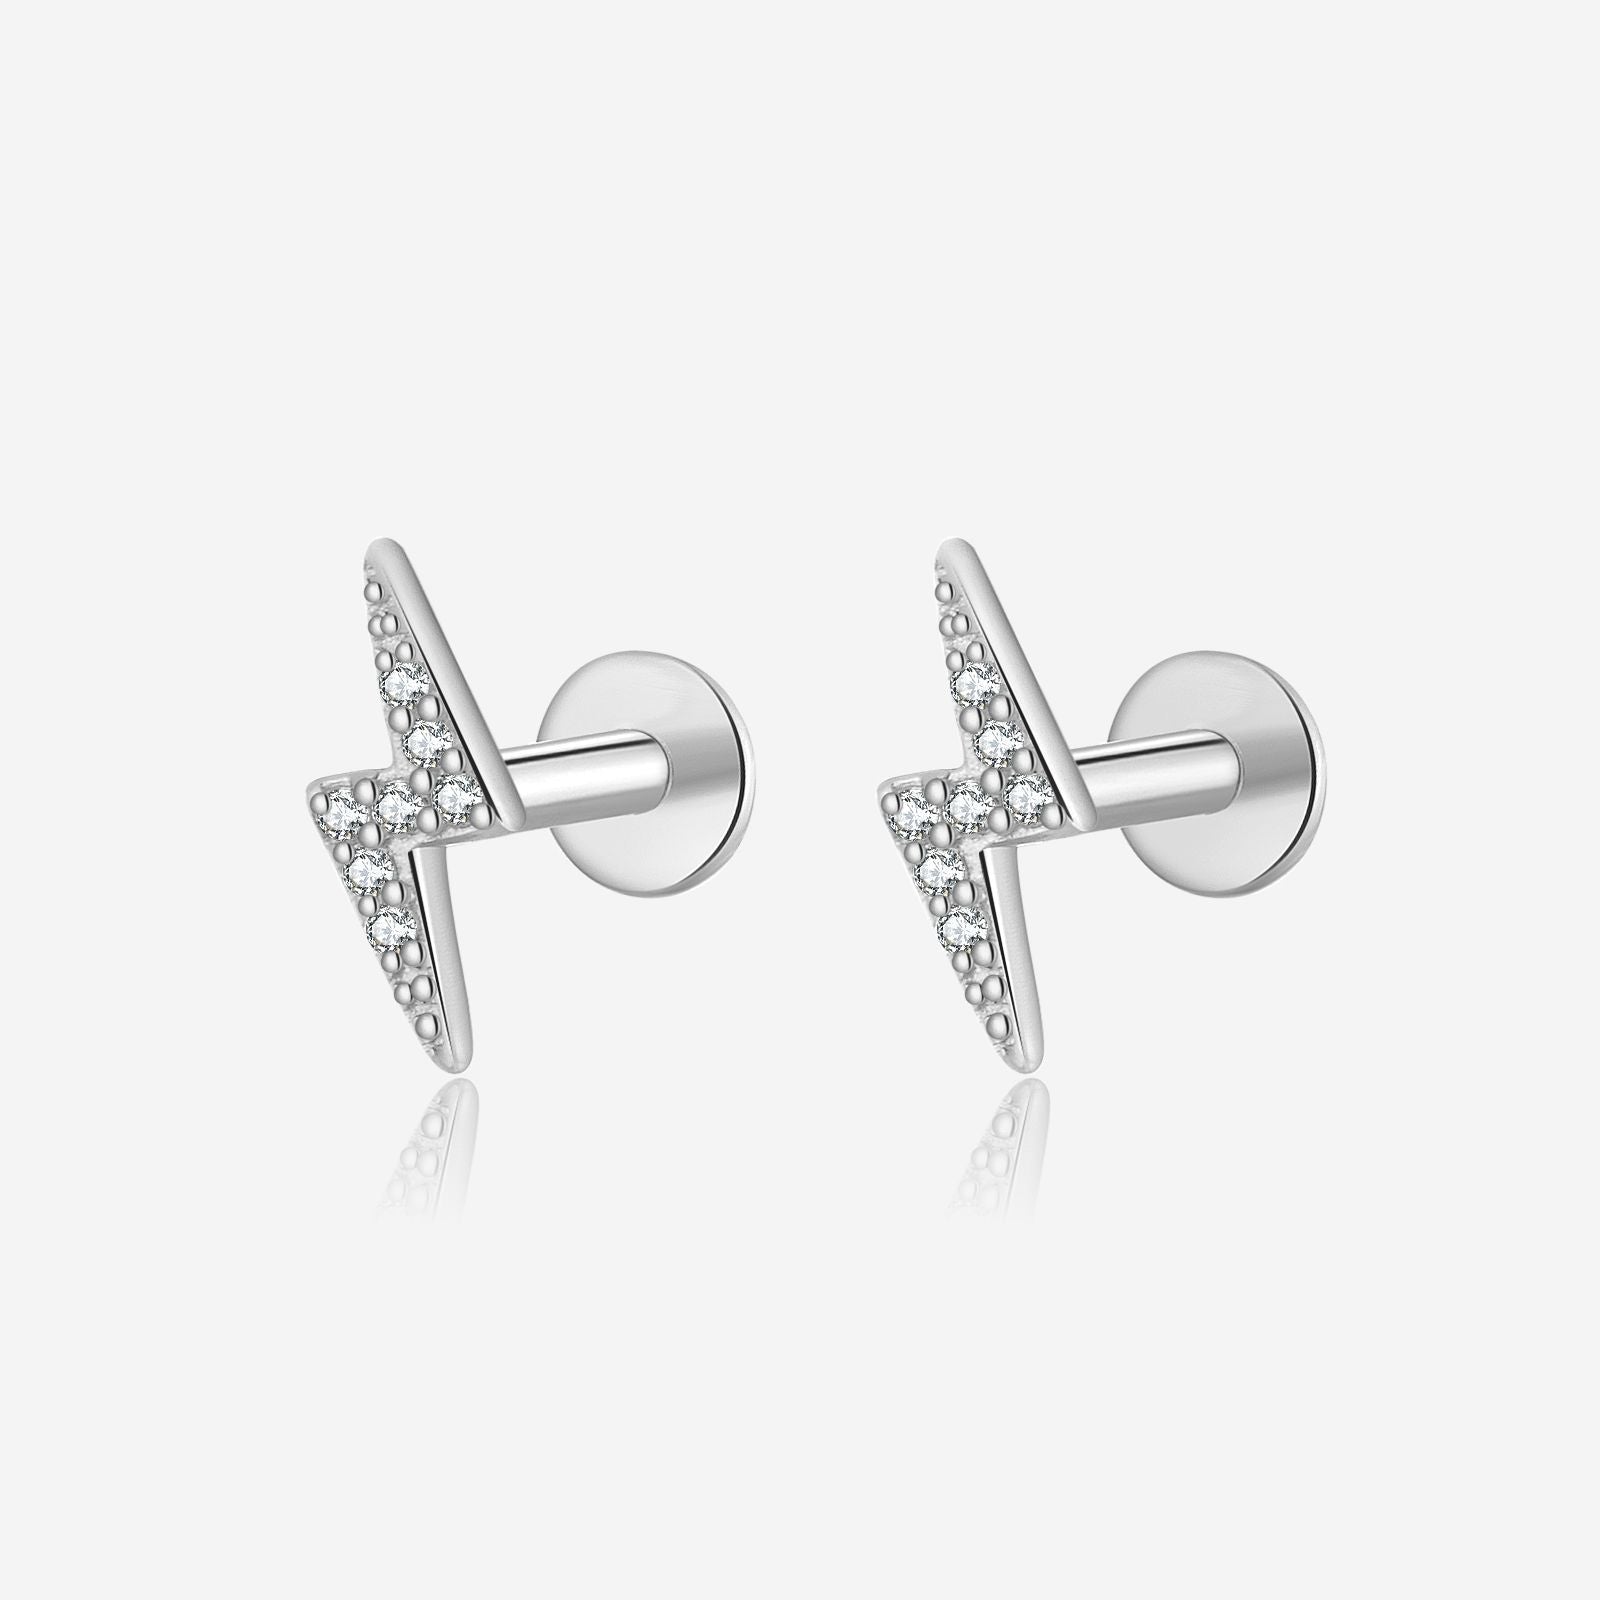
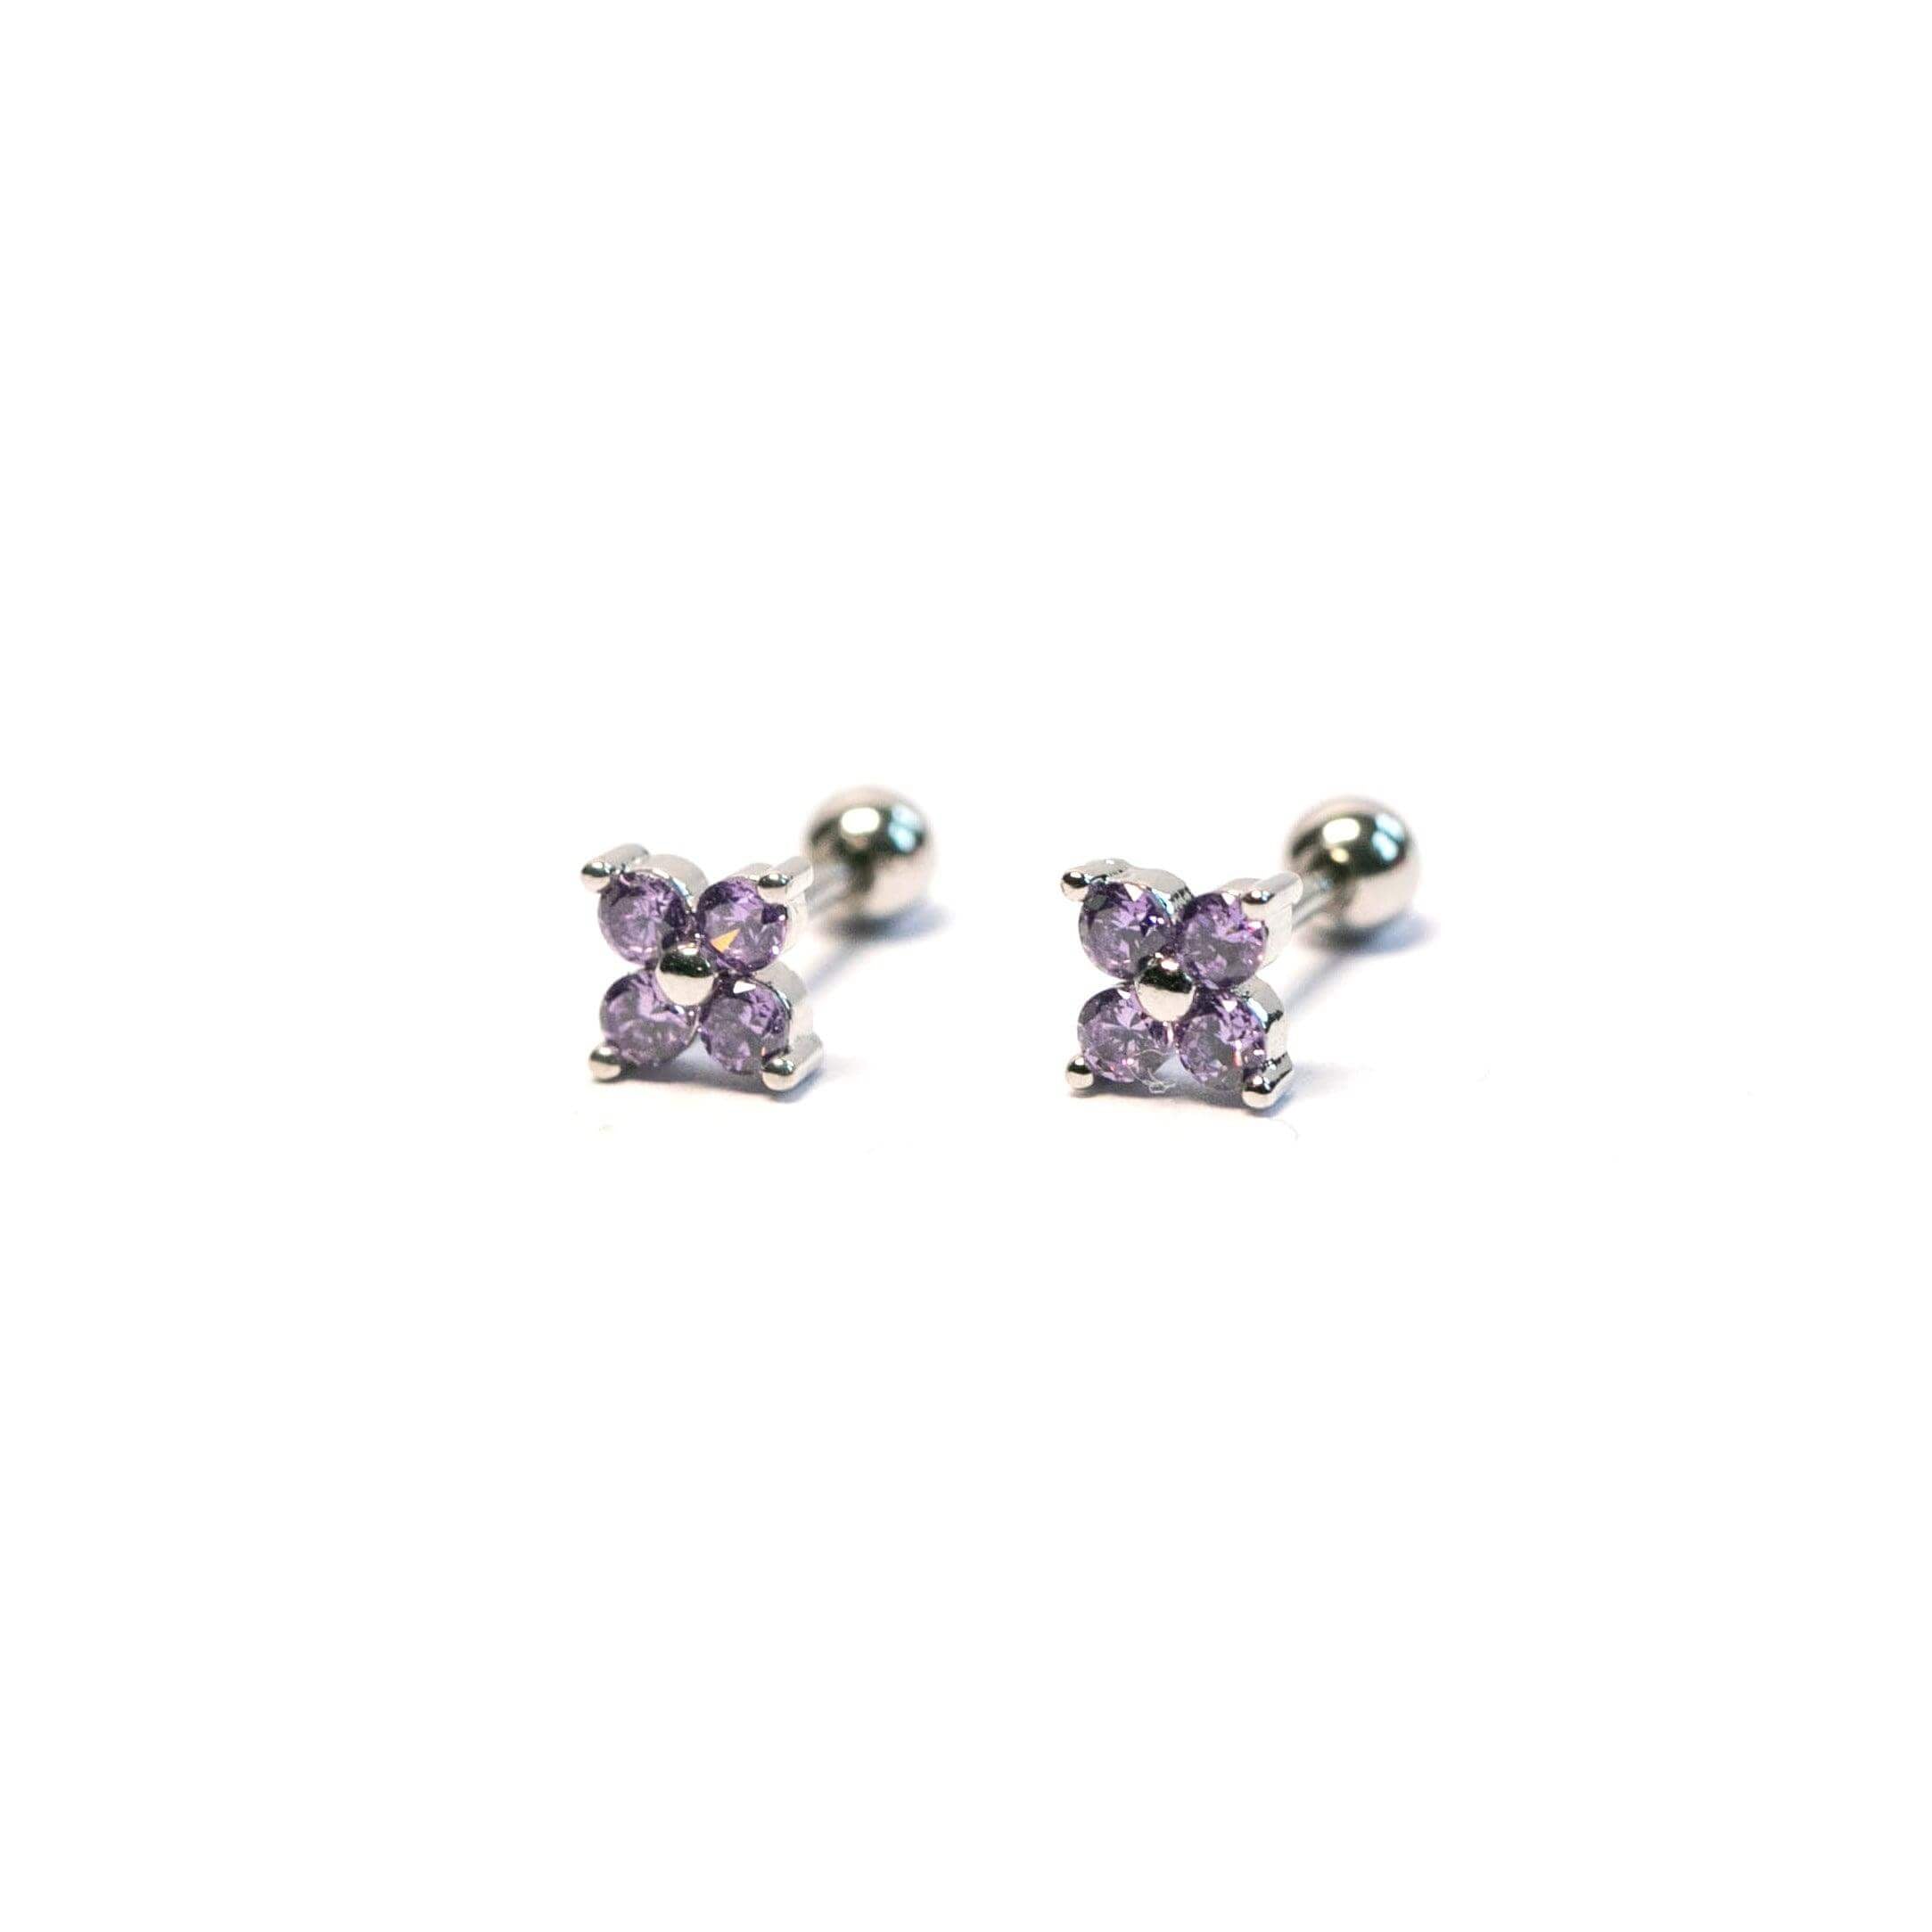
- 925 Silver Star Diamond Drop Flat Back Earrings – $34
External Resources for Further Reading
Explore these fashion magazines for more jewelry transformation tips:
Comparison Table: Clip-On vs. Pierced Earrings
| Feature | Clip-On | Pierced (Converted) |
|---|---|---|
| Comfort | May pinch | Lightweight, secure |
| Versatility | Limited designs | Works with all styles |
| Durability | Hinges can loosen | Long-lasting with proper care |

Final Thoughts
Learning to convert clip on earrings to pierced opens up a treasure trove of possibilities. Whether you’re revamping a family heirloom or modernizing a thrifted find, the process is both rewarding and practical. For those who prefer ready-made options, Trendolla Jewelry offers an exquisite range of pierced earrings designed for comfort and elegance.
```